




Is your Samsung Galaxy S6 home button rattling or unresponsive? Don’t panic! You can replace the home button yourself by following these simple steps.
You’ll need the following items:
- Samsung Galaxy S6 Home Button Replacement (also available in White or Gold)
- Plastic Triangle Opening Tool
- Small Phillips Screwdriver
- Plastic Opening Tools
- Nylon Spudger
- SIM Card Ejection Tool
- Fine Tip Curved Tweezers
- iSesamo Opening Tool
- Multi-Purpose Heat Gun
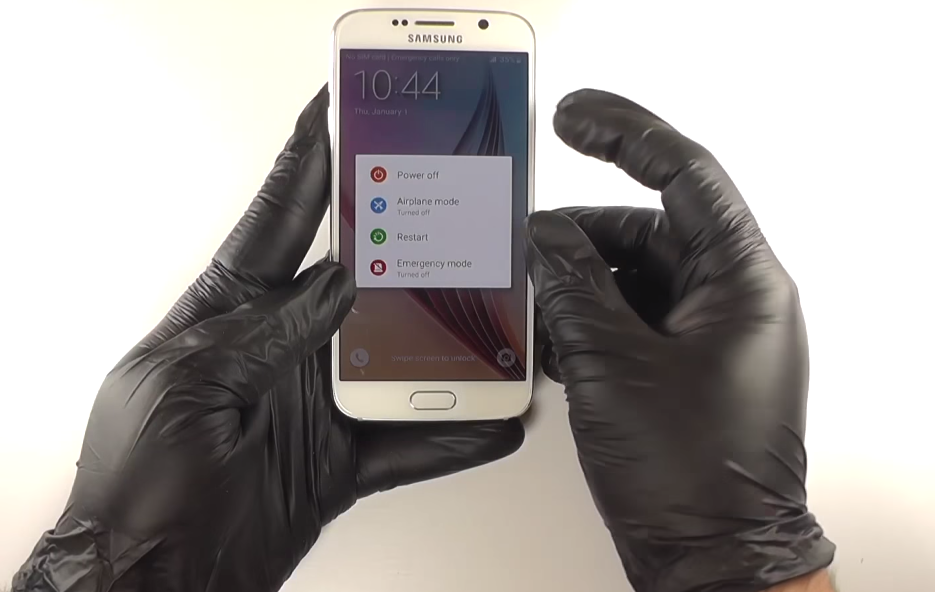
Step 1: Turn Your Device Off
Make sure your device is completely turned off by pressing and holding the power button until you see the “power off” screen.
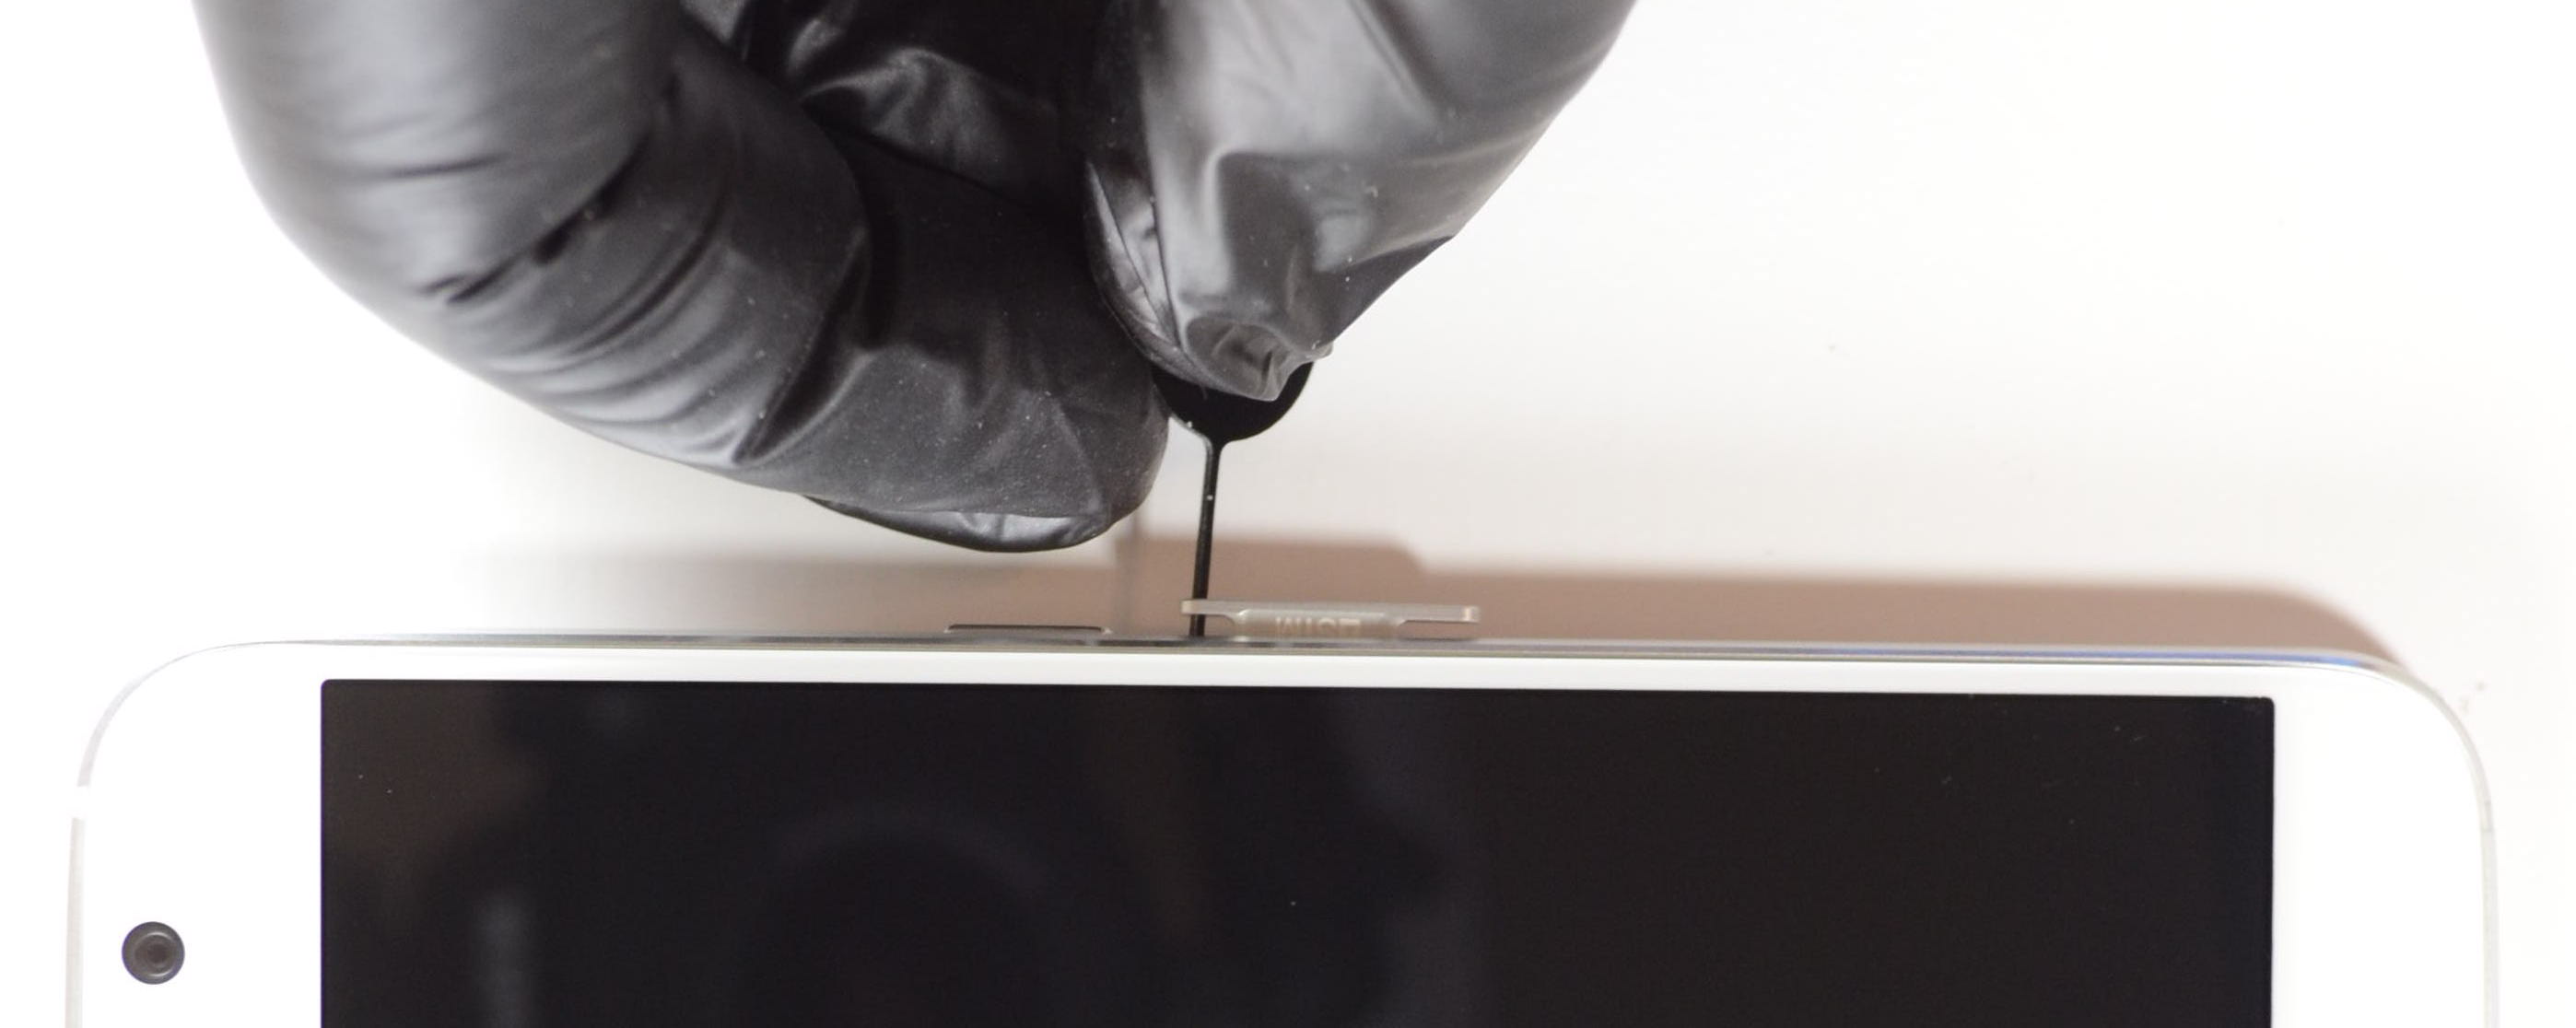
Step 2: Remove the SIM Card
Using your SIM Card Ejection Tool, remove the SIM card located on the side of the phone.
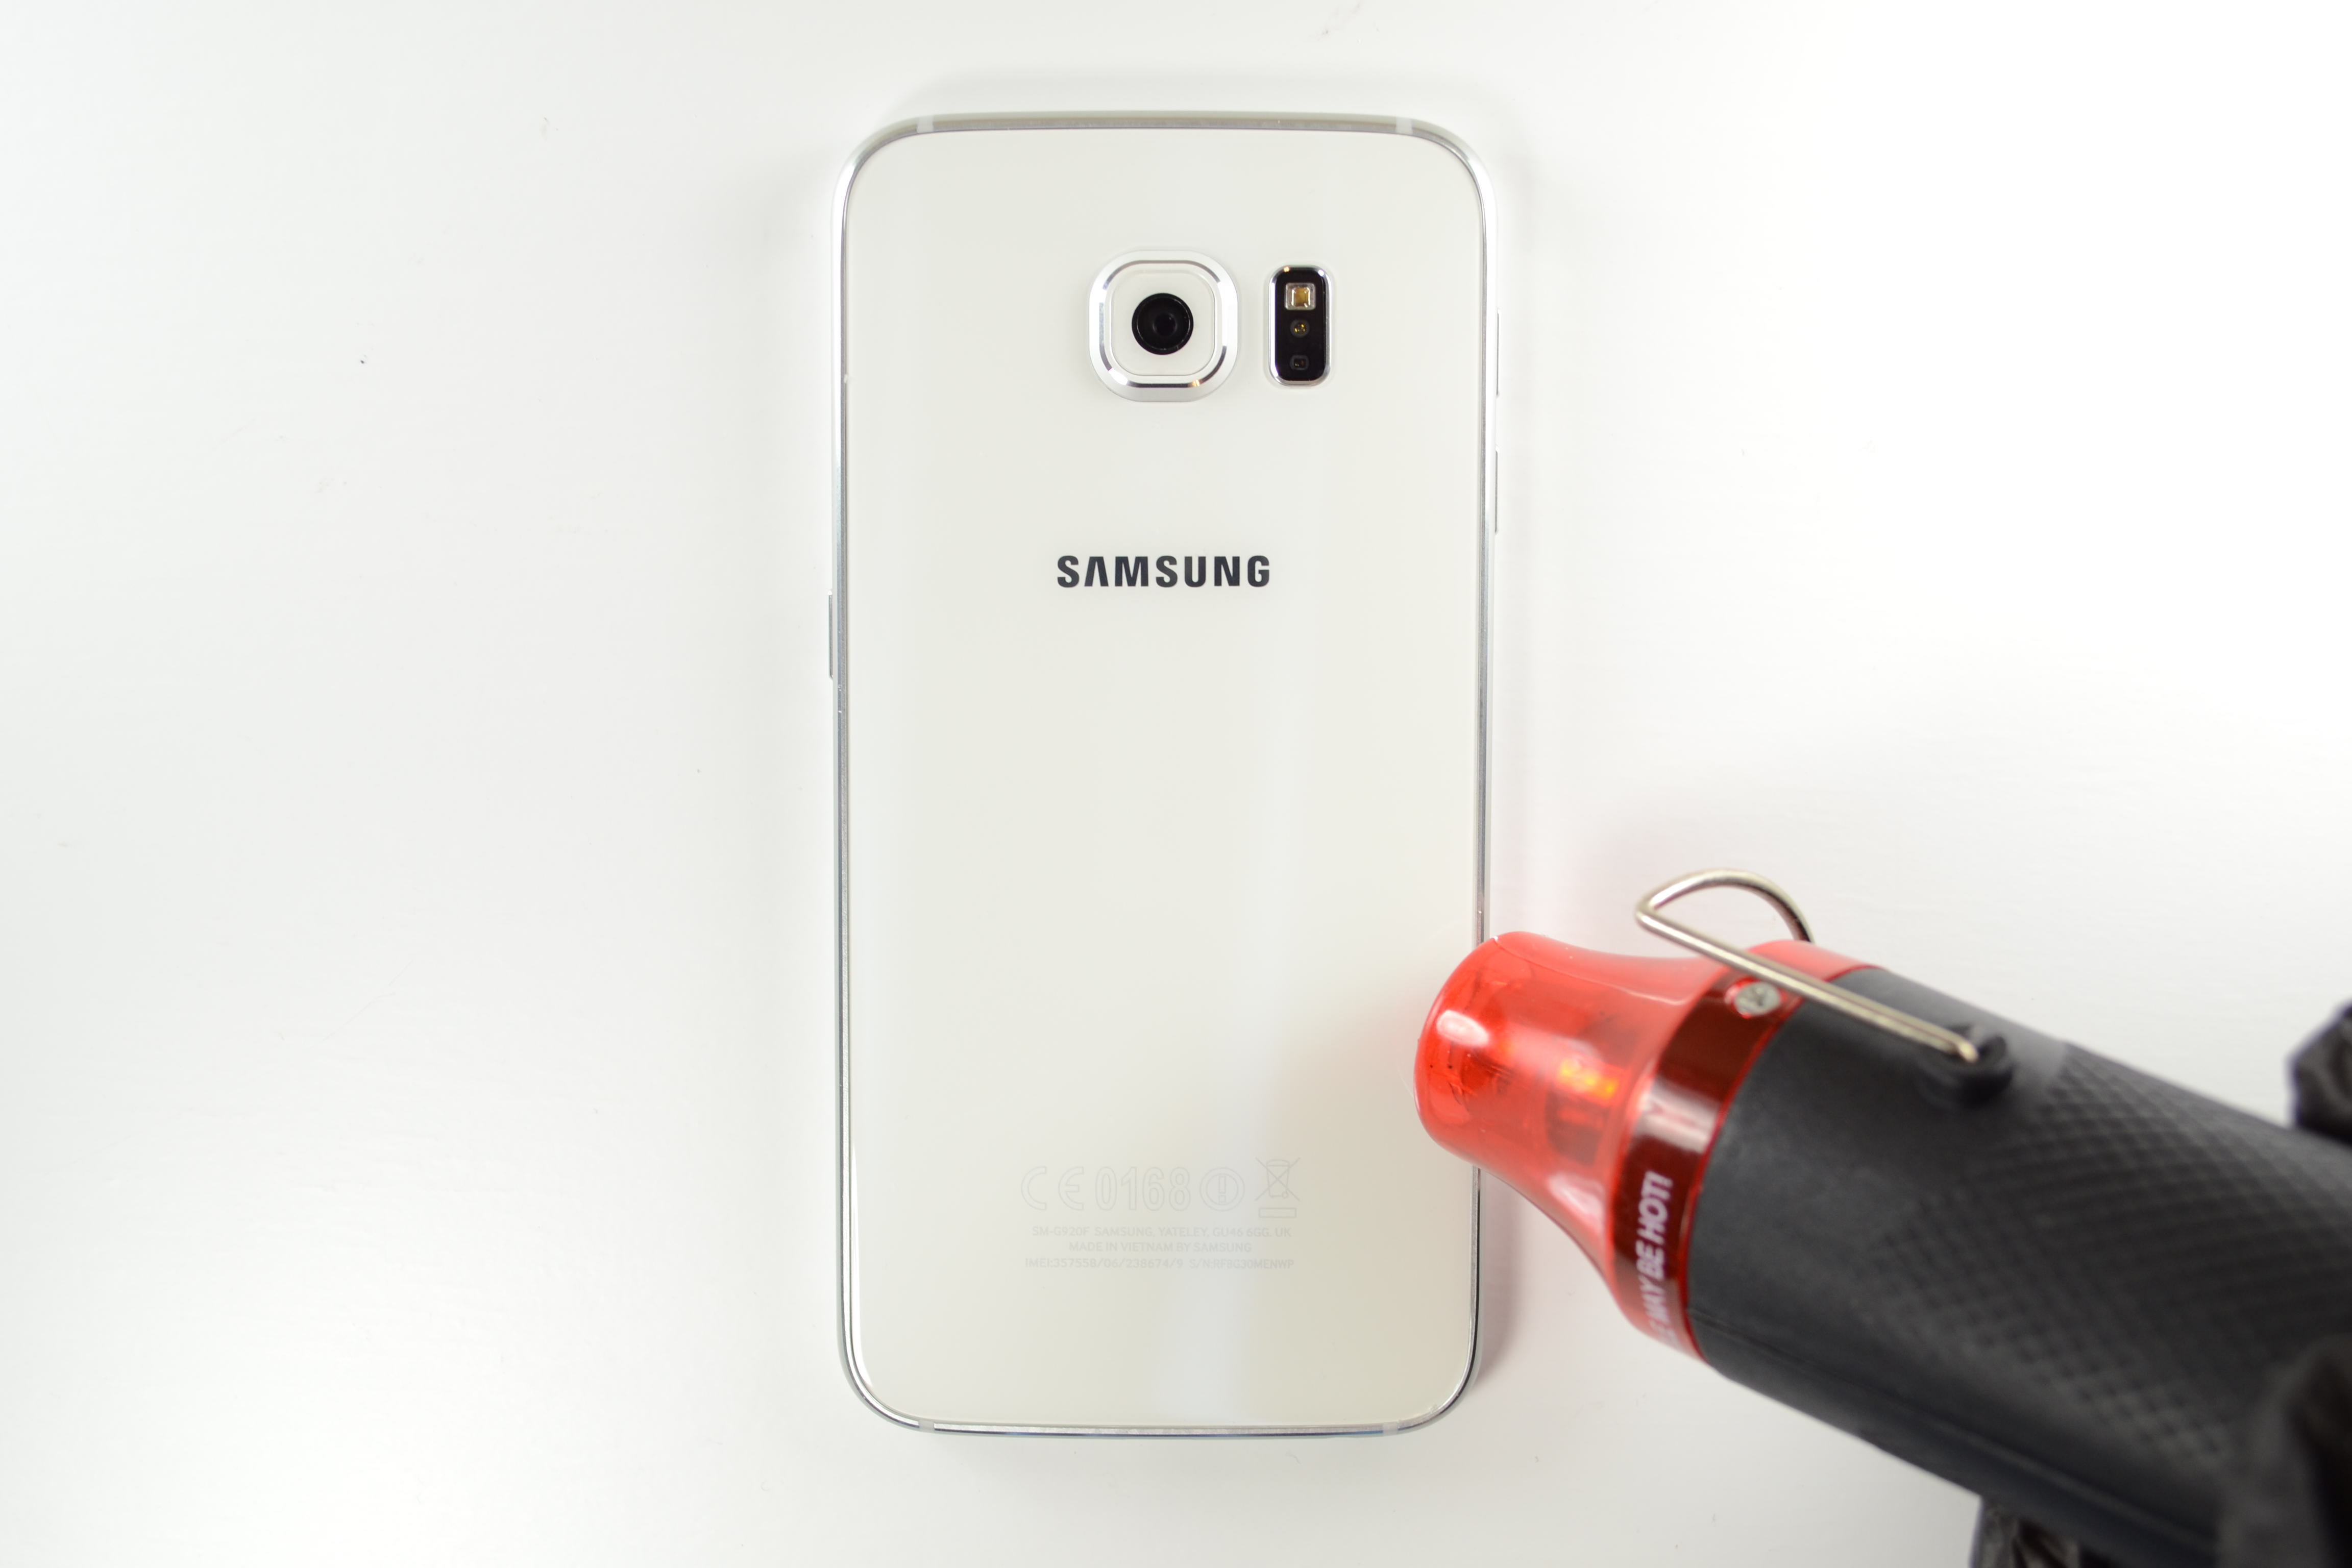
Step 3: Heat The Adhesive
Soften the adhesive on the back of your Samsung Galaxy S6 with a Multi-Purpose Heat Gun or a hairdryer.
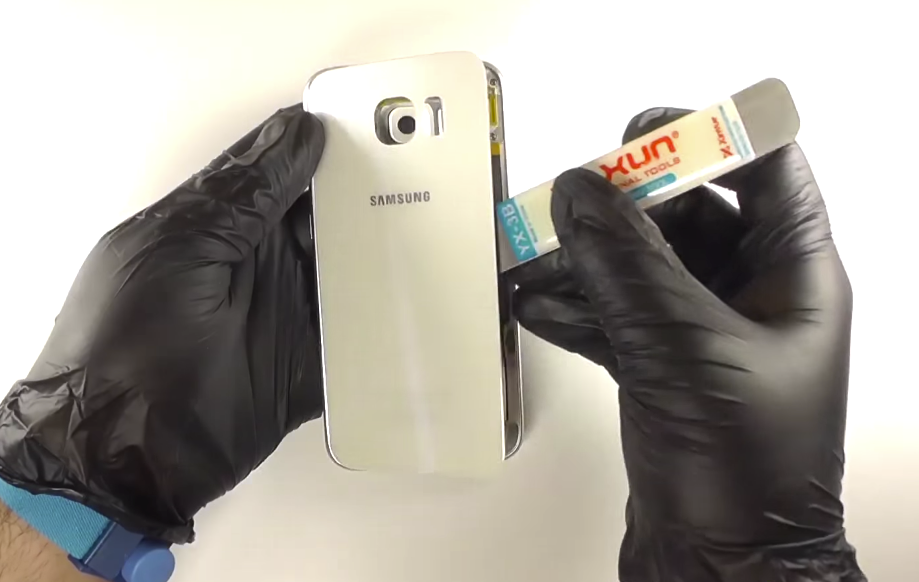
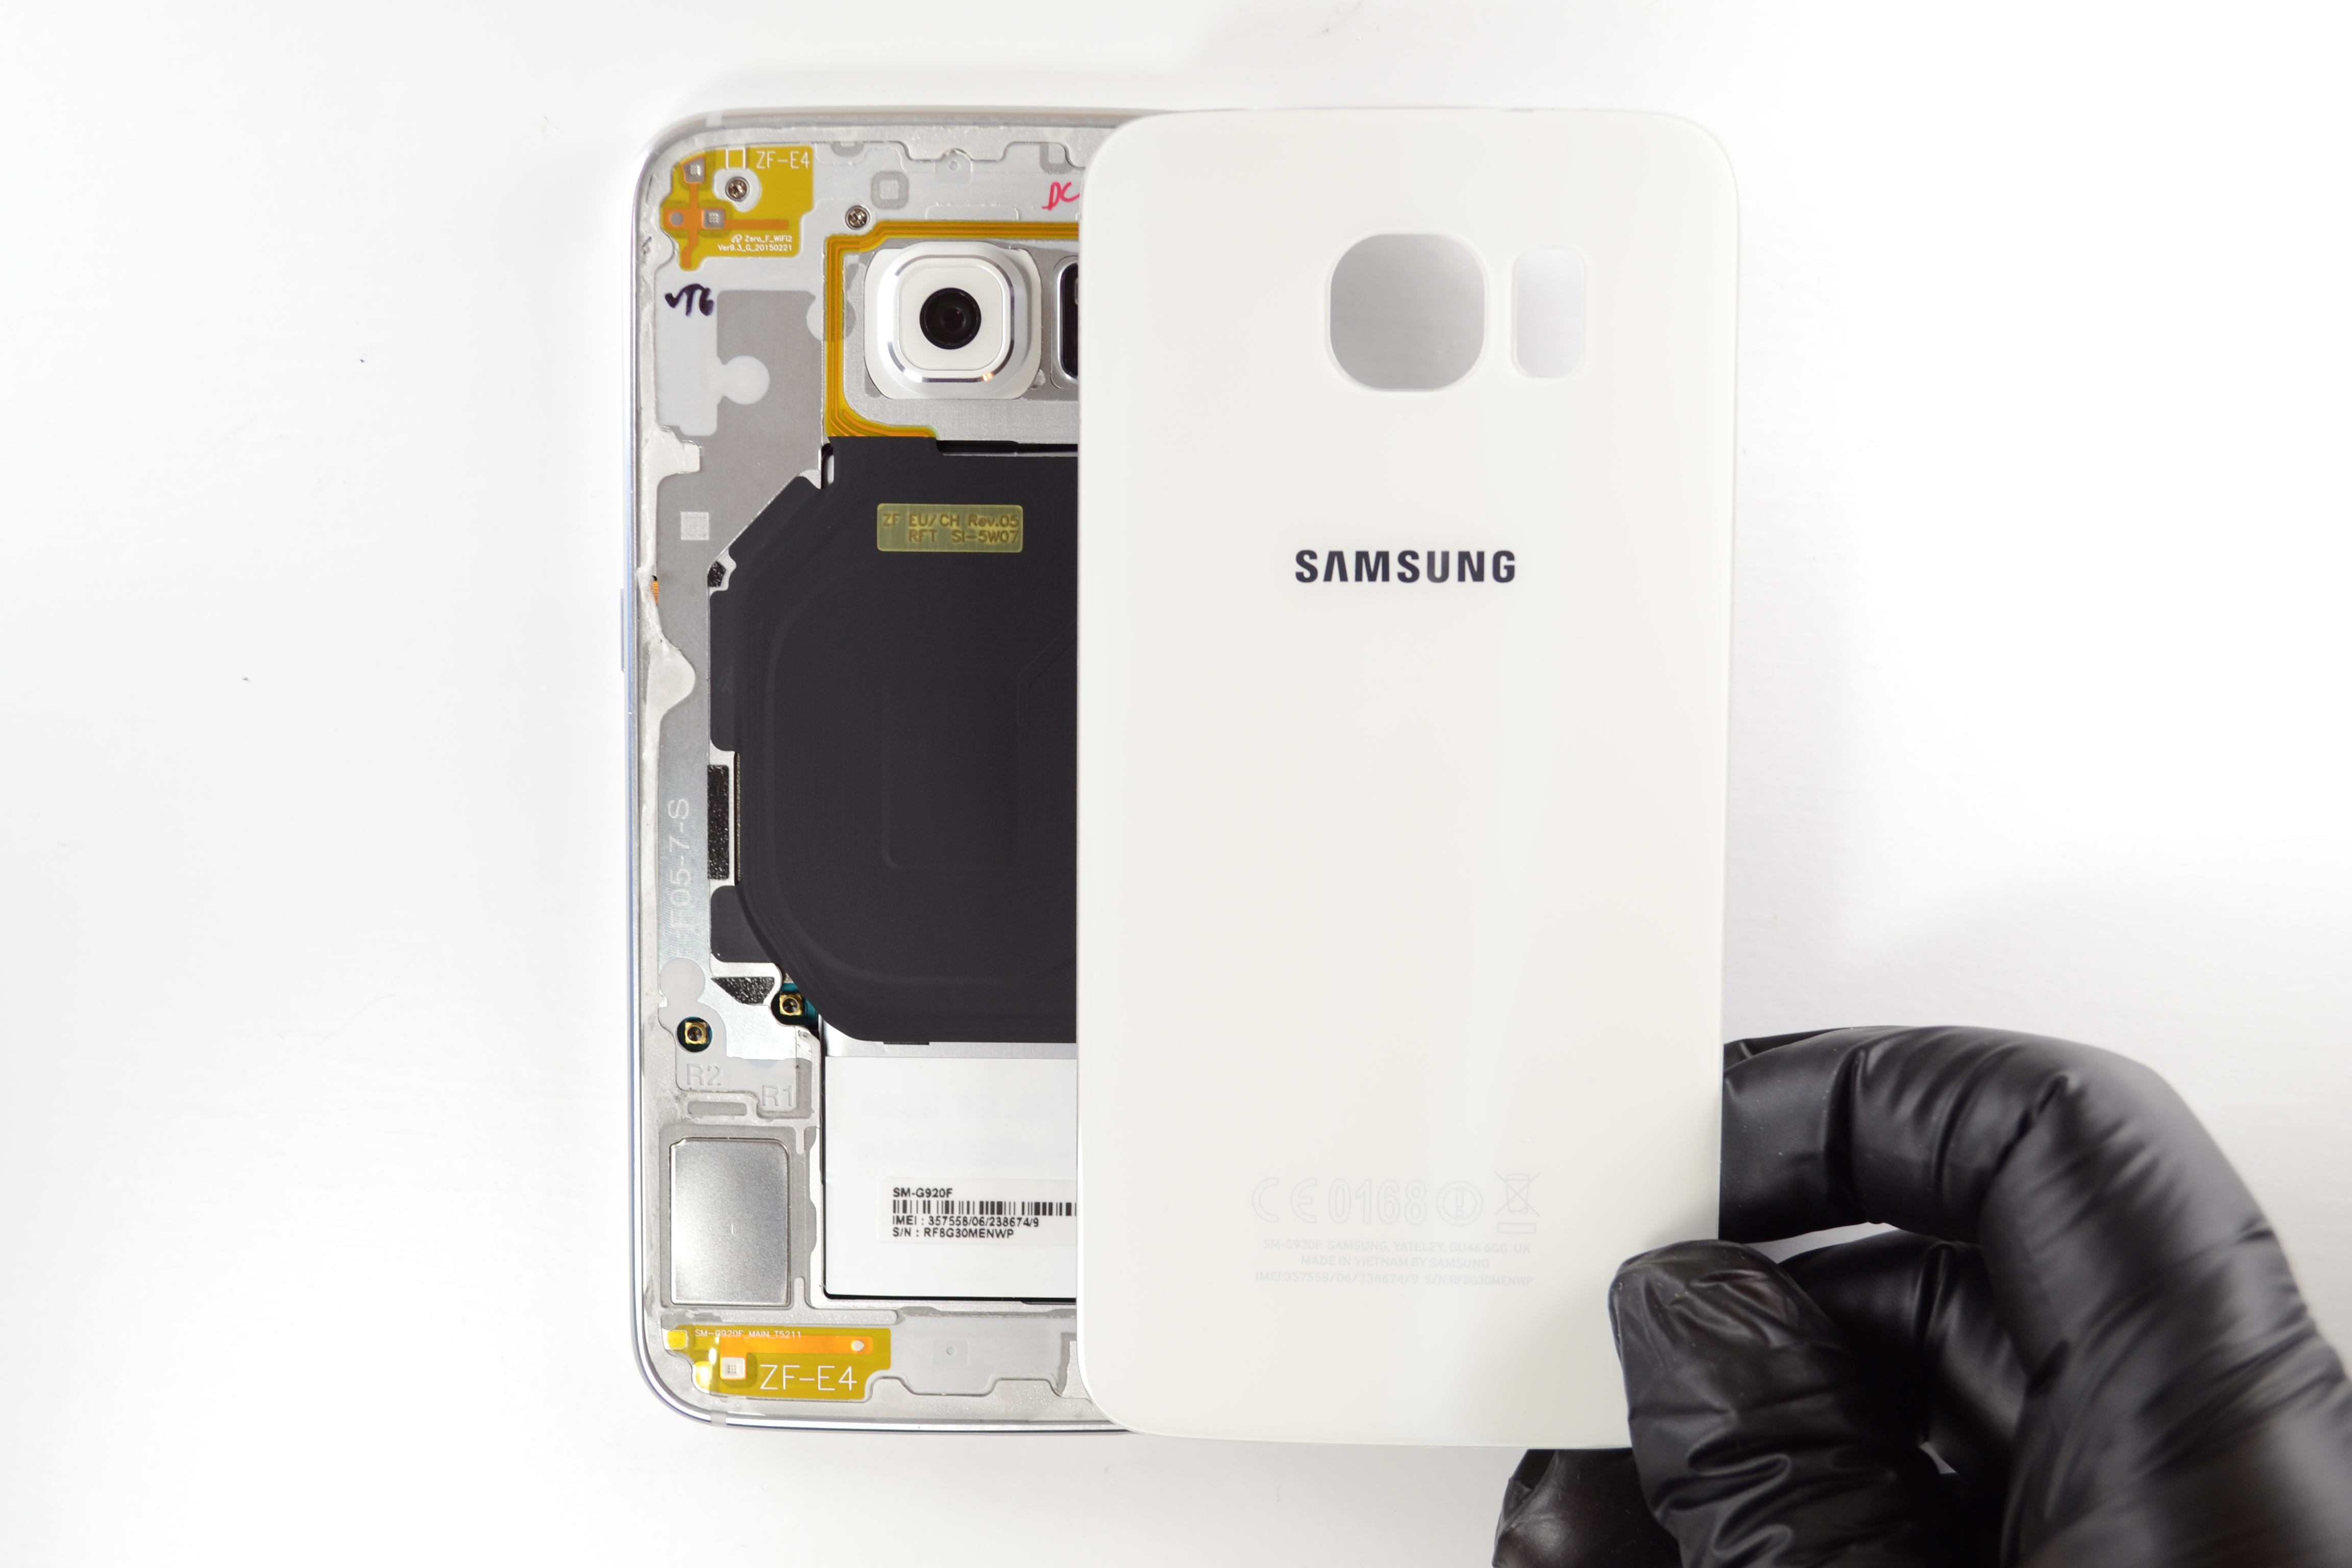
Step 4: Open the Back Cover
Use your iSesamo Opening Tool to gently pry the back cover up.
Step 5: Separate the Midframe
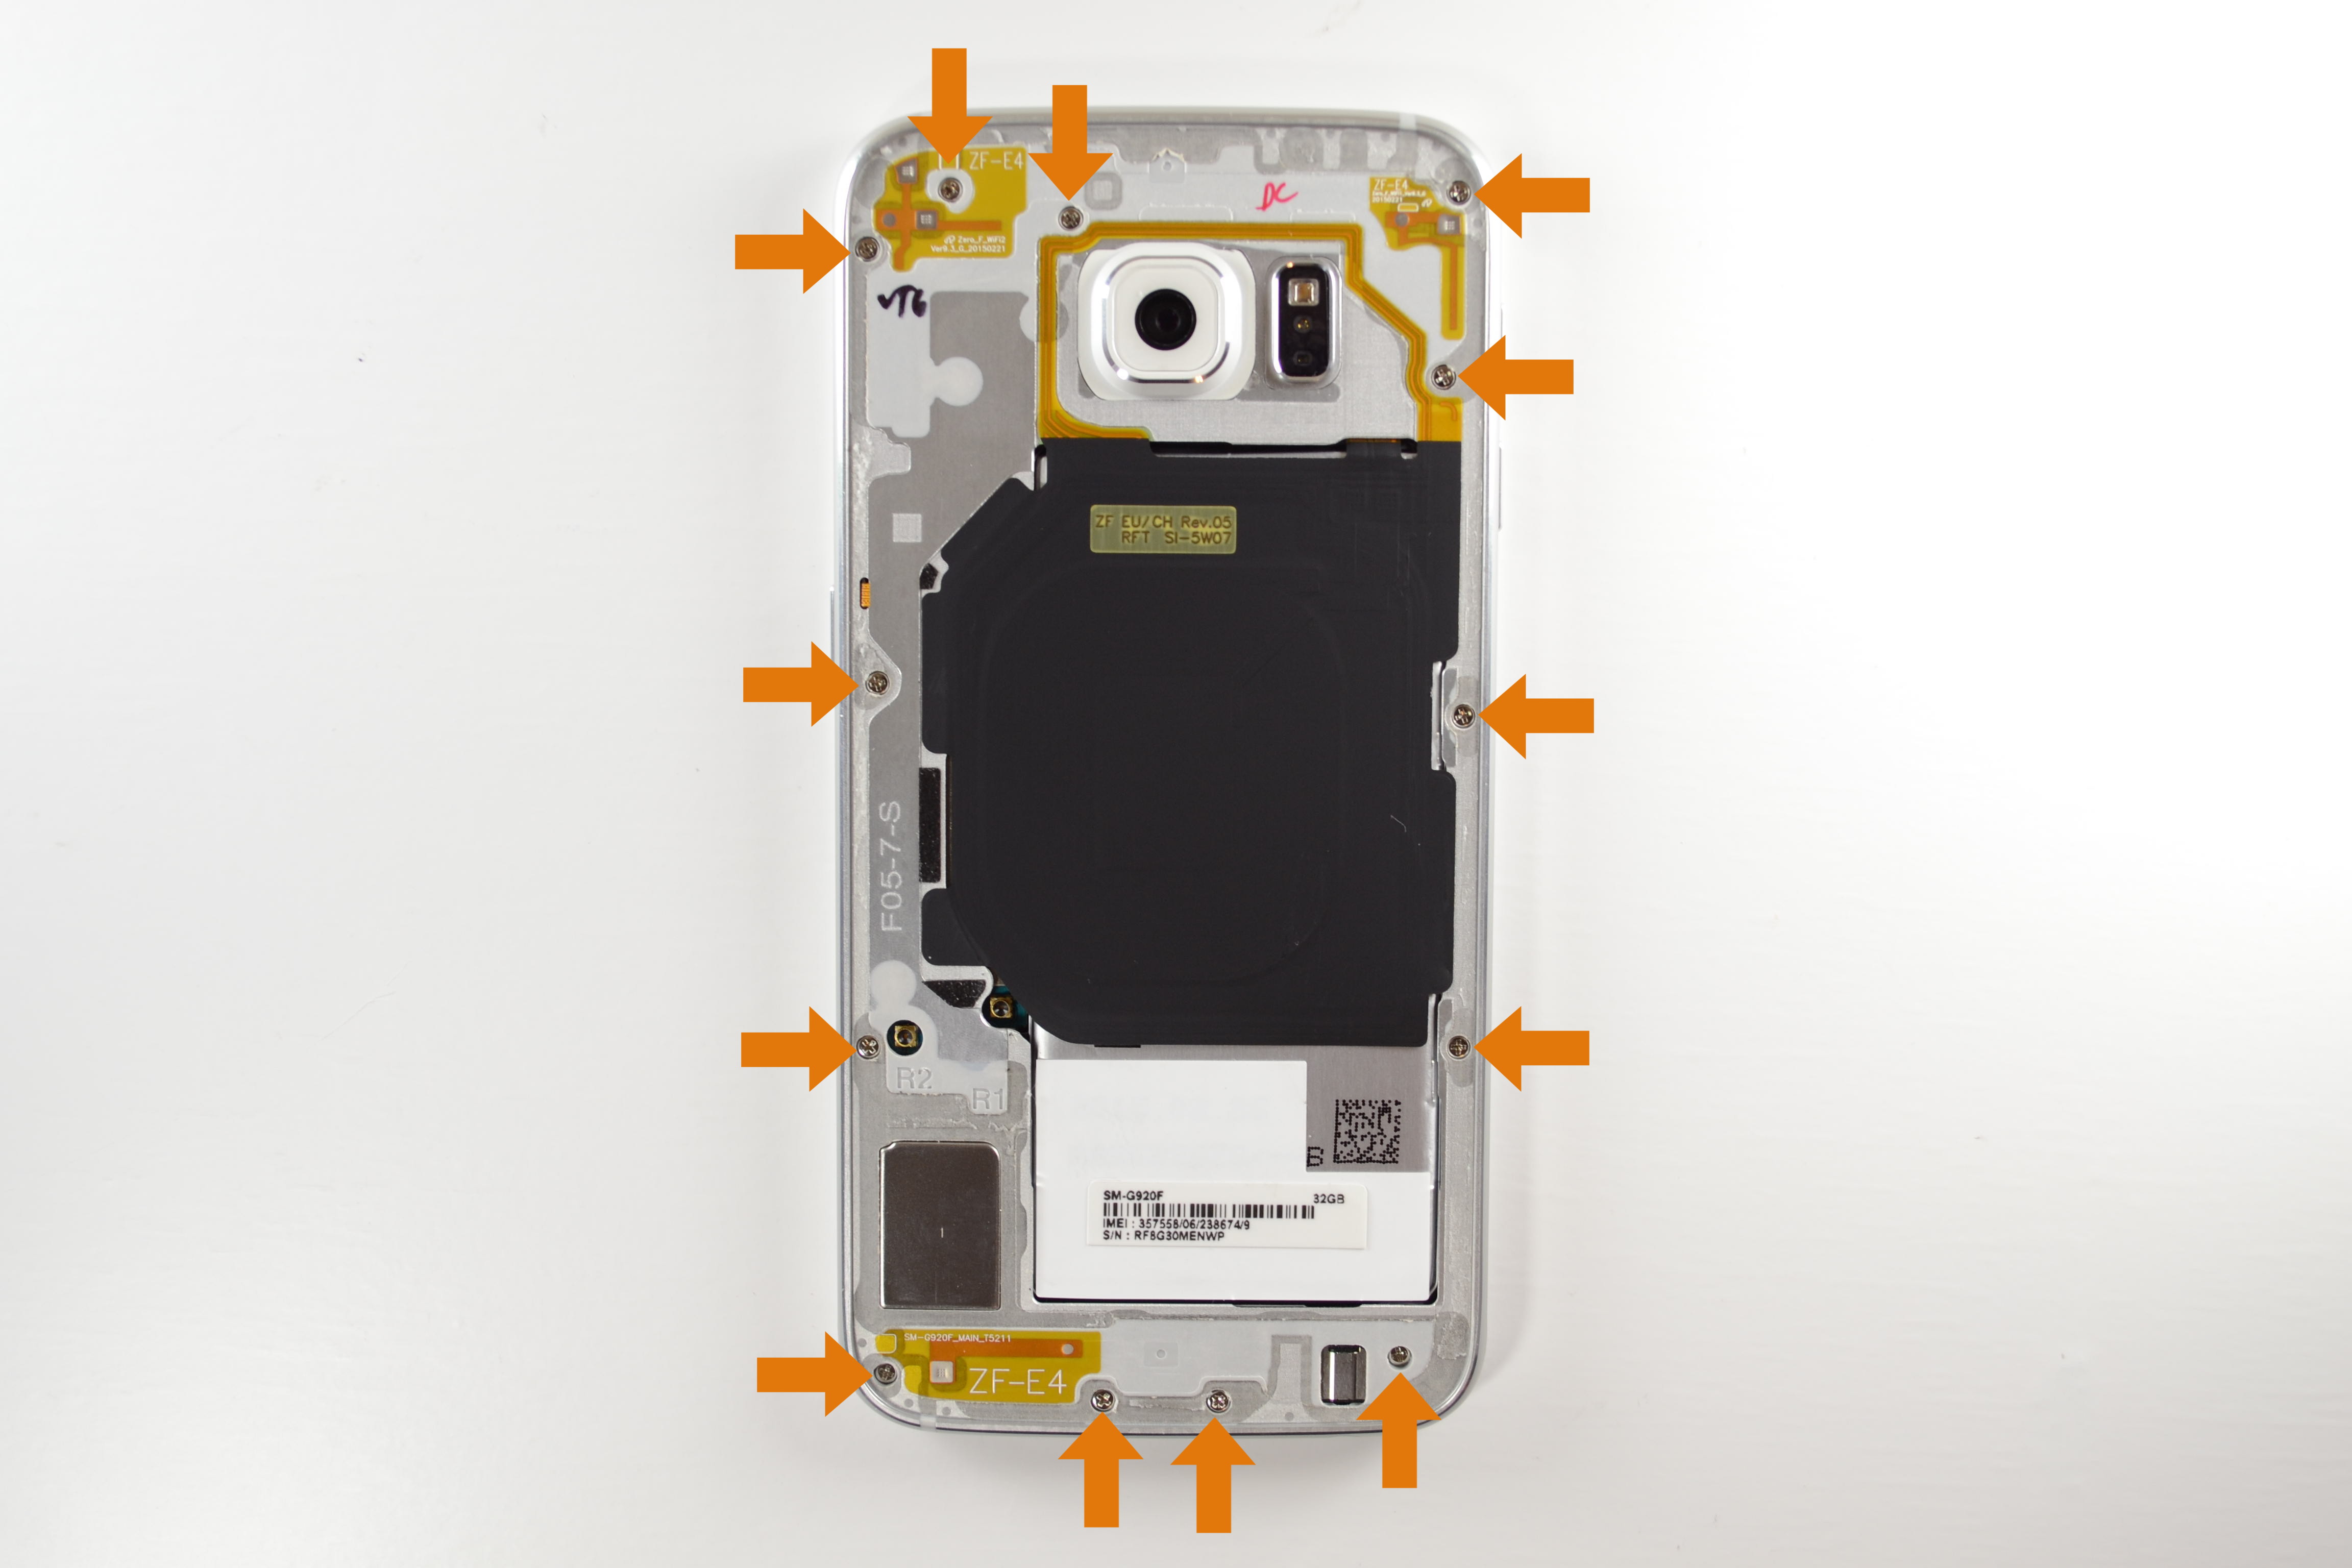
Use your Small Phillips Screwdriver to remove the 13 Small Phillips screws holding the two halves of the midframe together. (hint: use your Fine Tip Curved Tweezers to lift the screws once they are loose, and set them in an empty ice cube tray or on the sticky side of a piece of tape to keep them separated.)
Step 6: Heat the Top & Bottom of the LCD
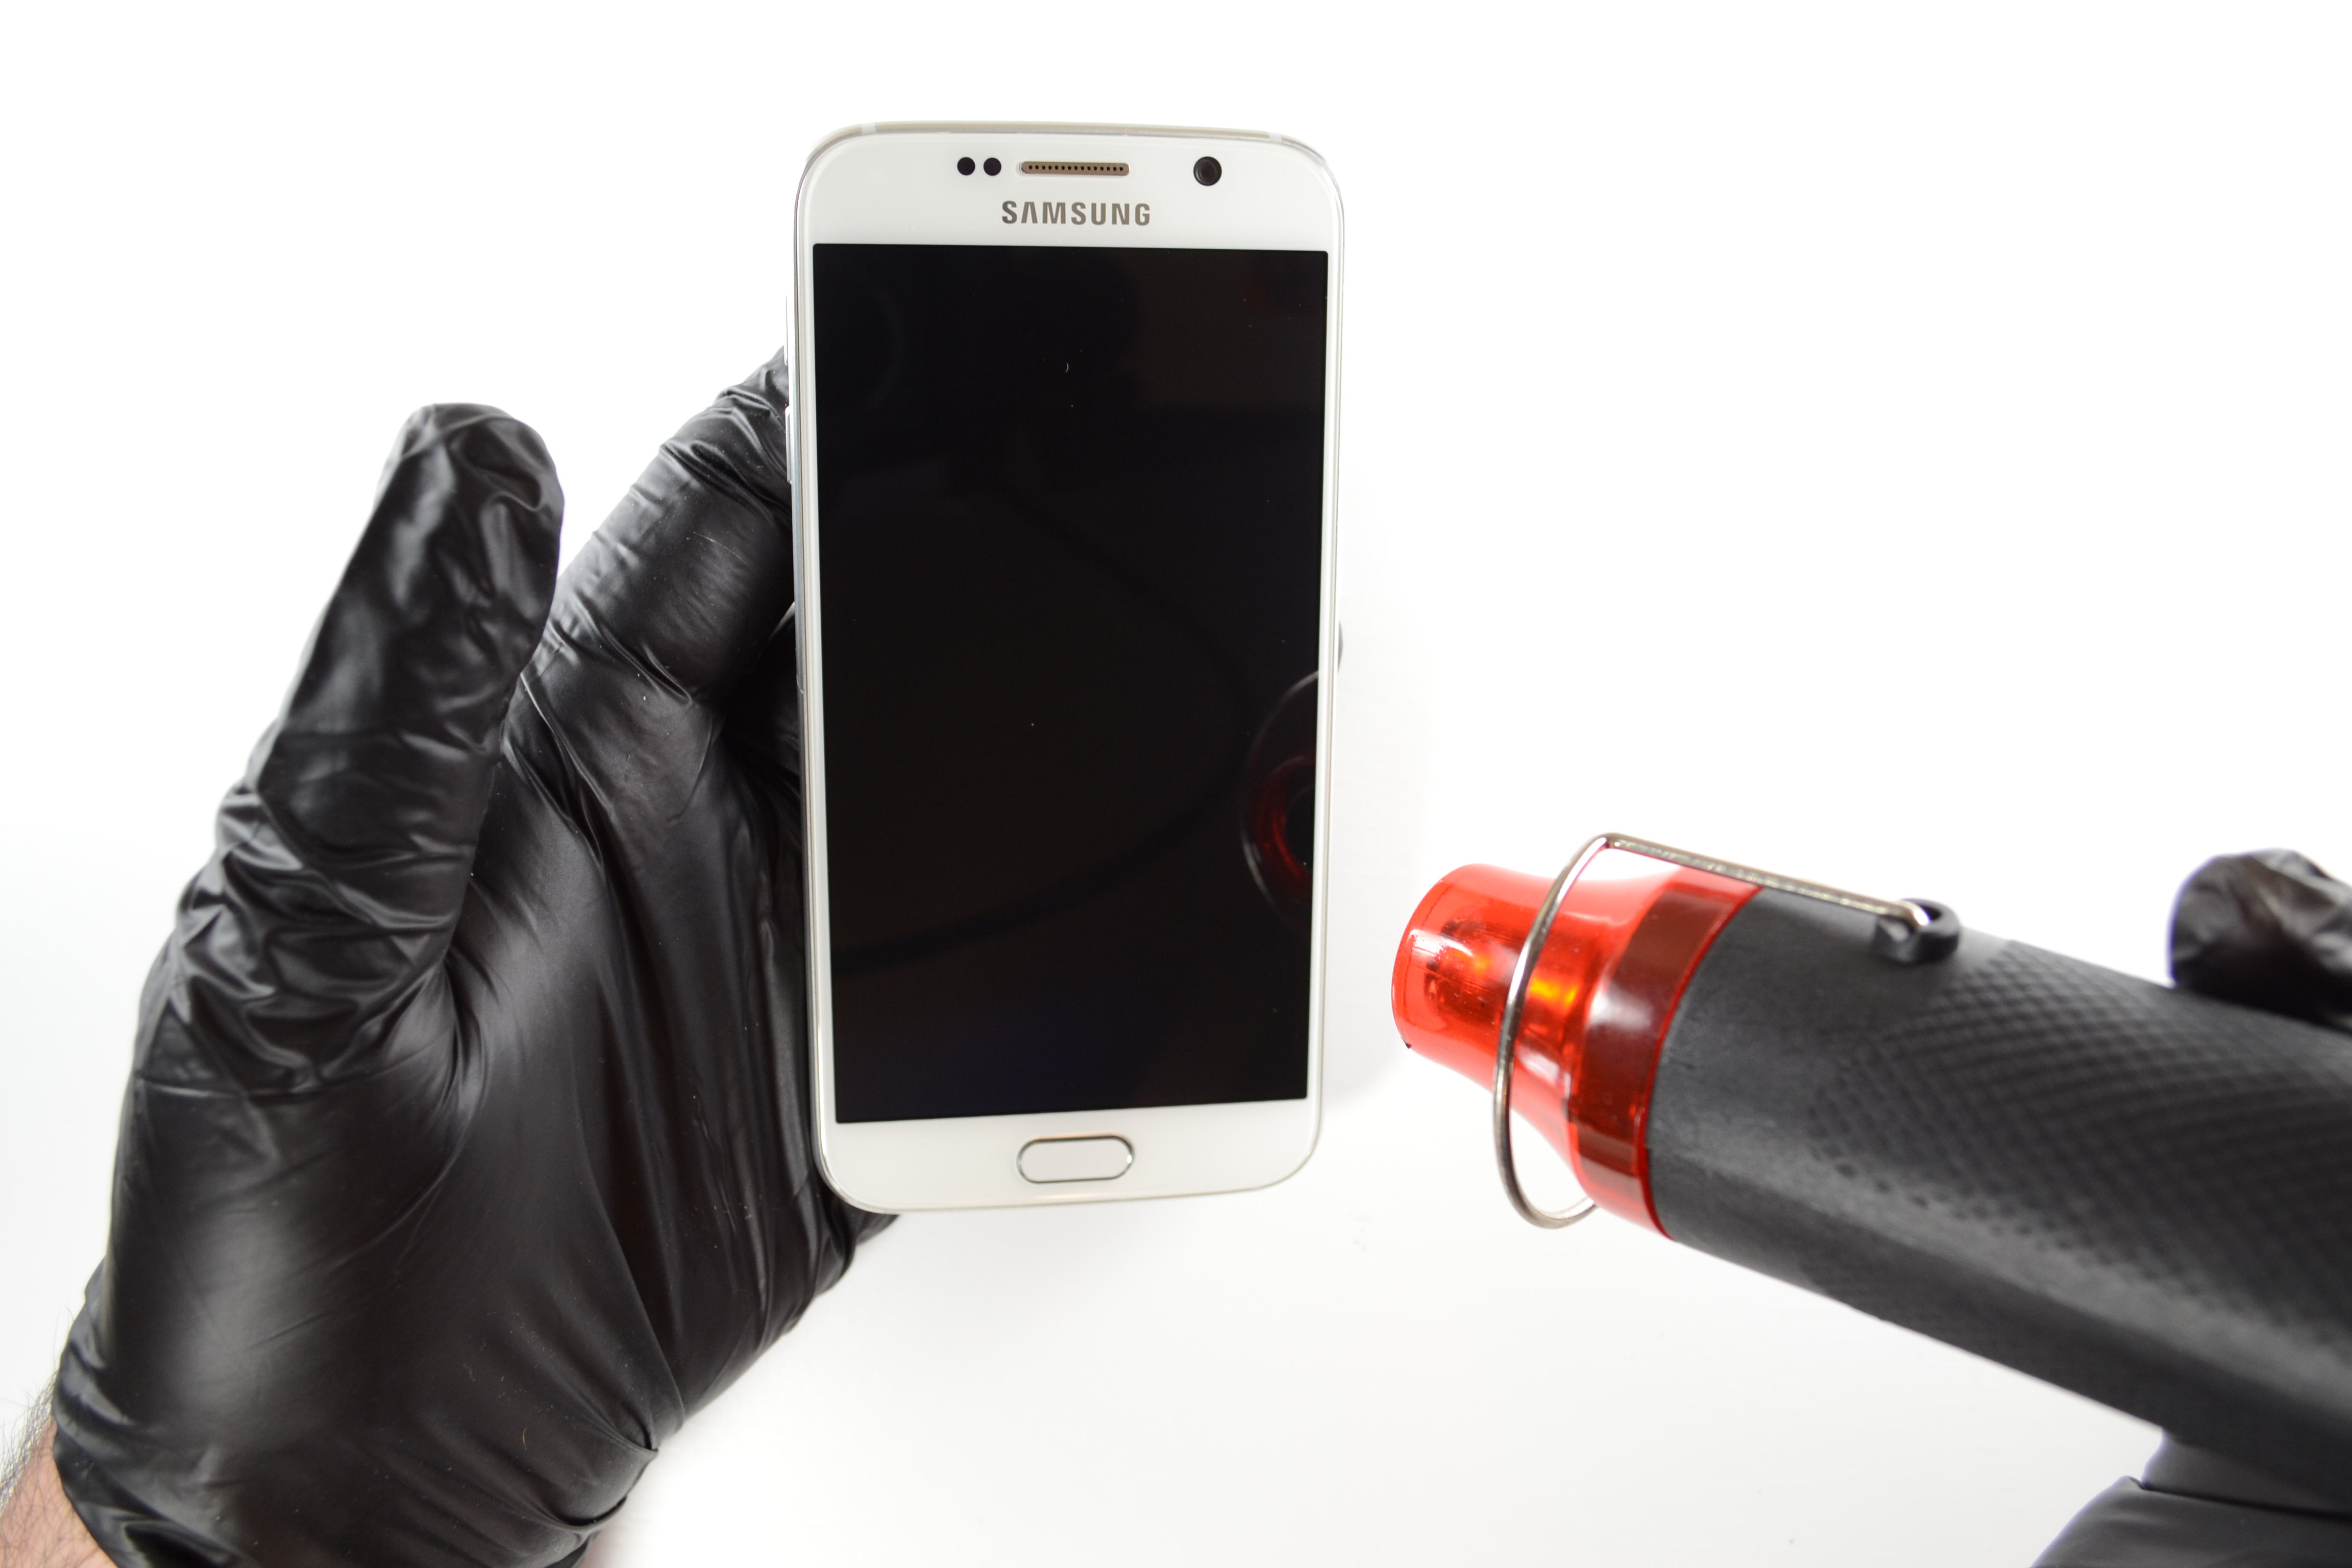
Use your Multi-Purpose Heat Gun to soften the adhesive on the top & bottom of the LCD on the front of your device.
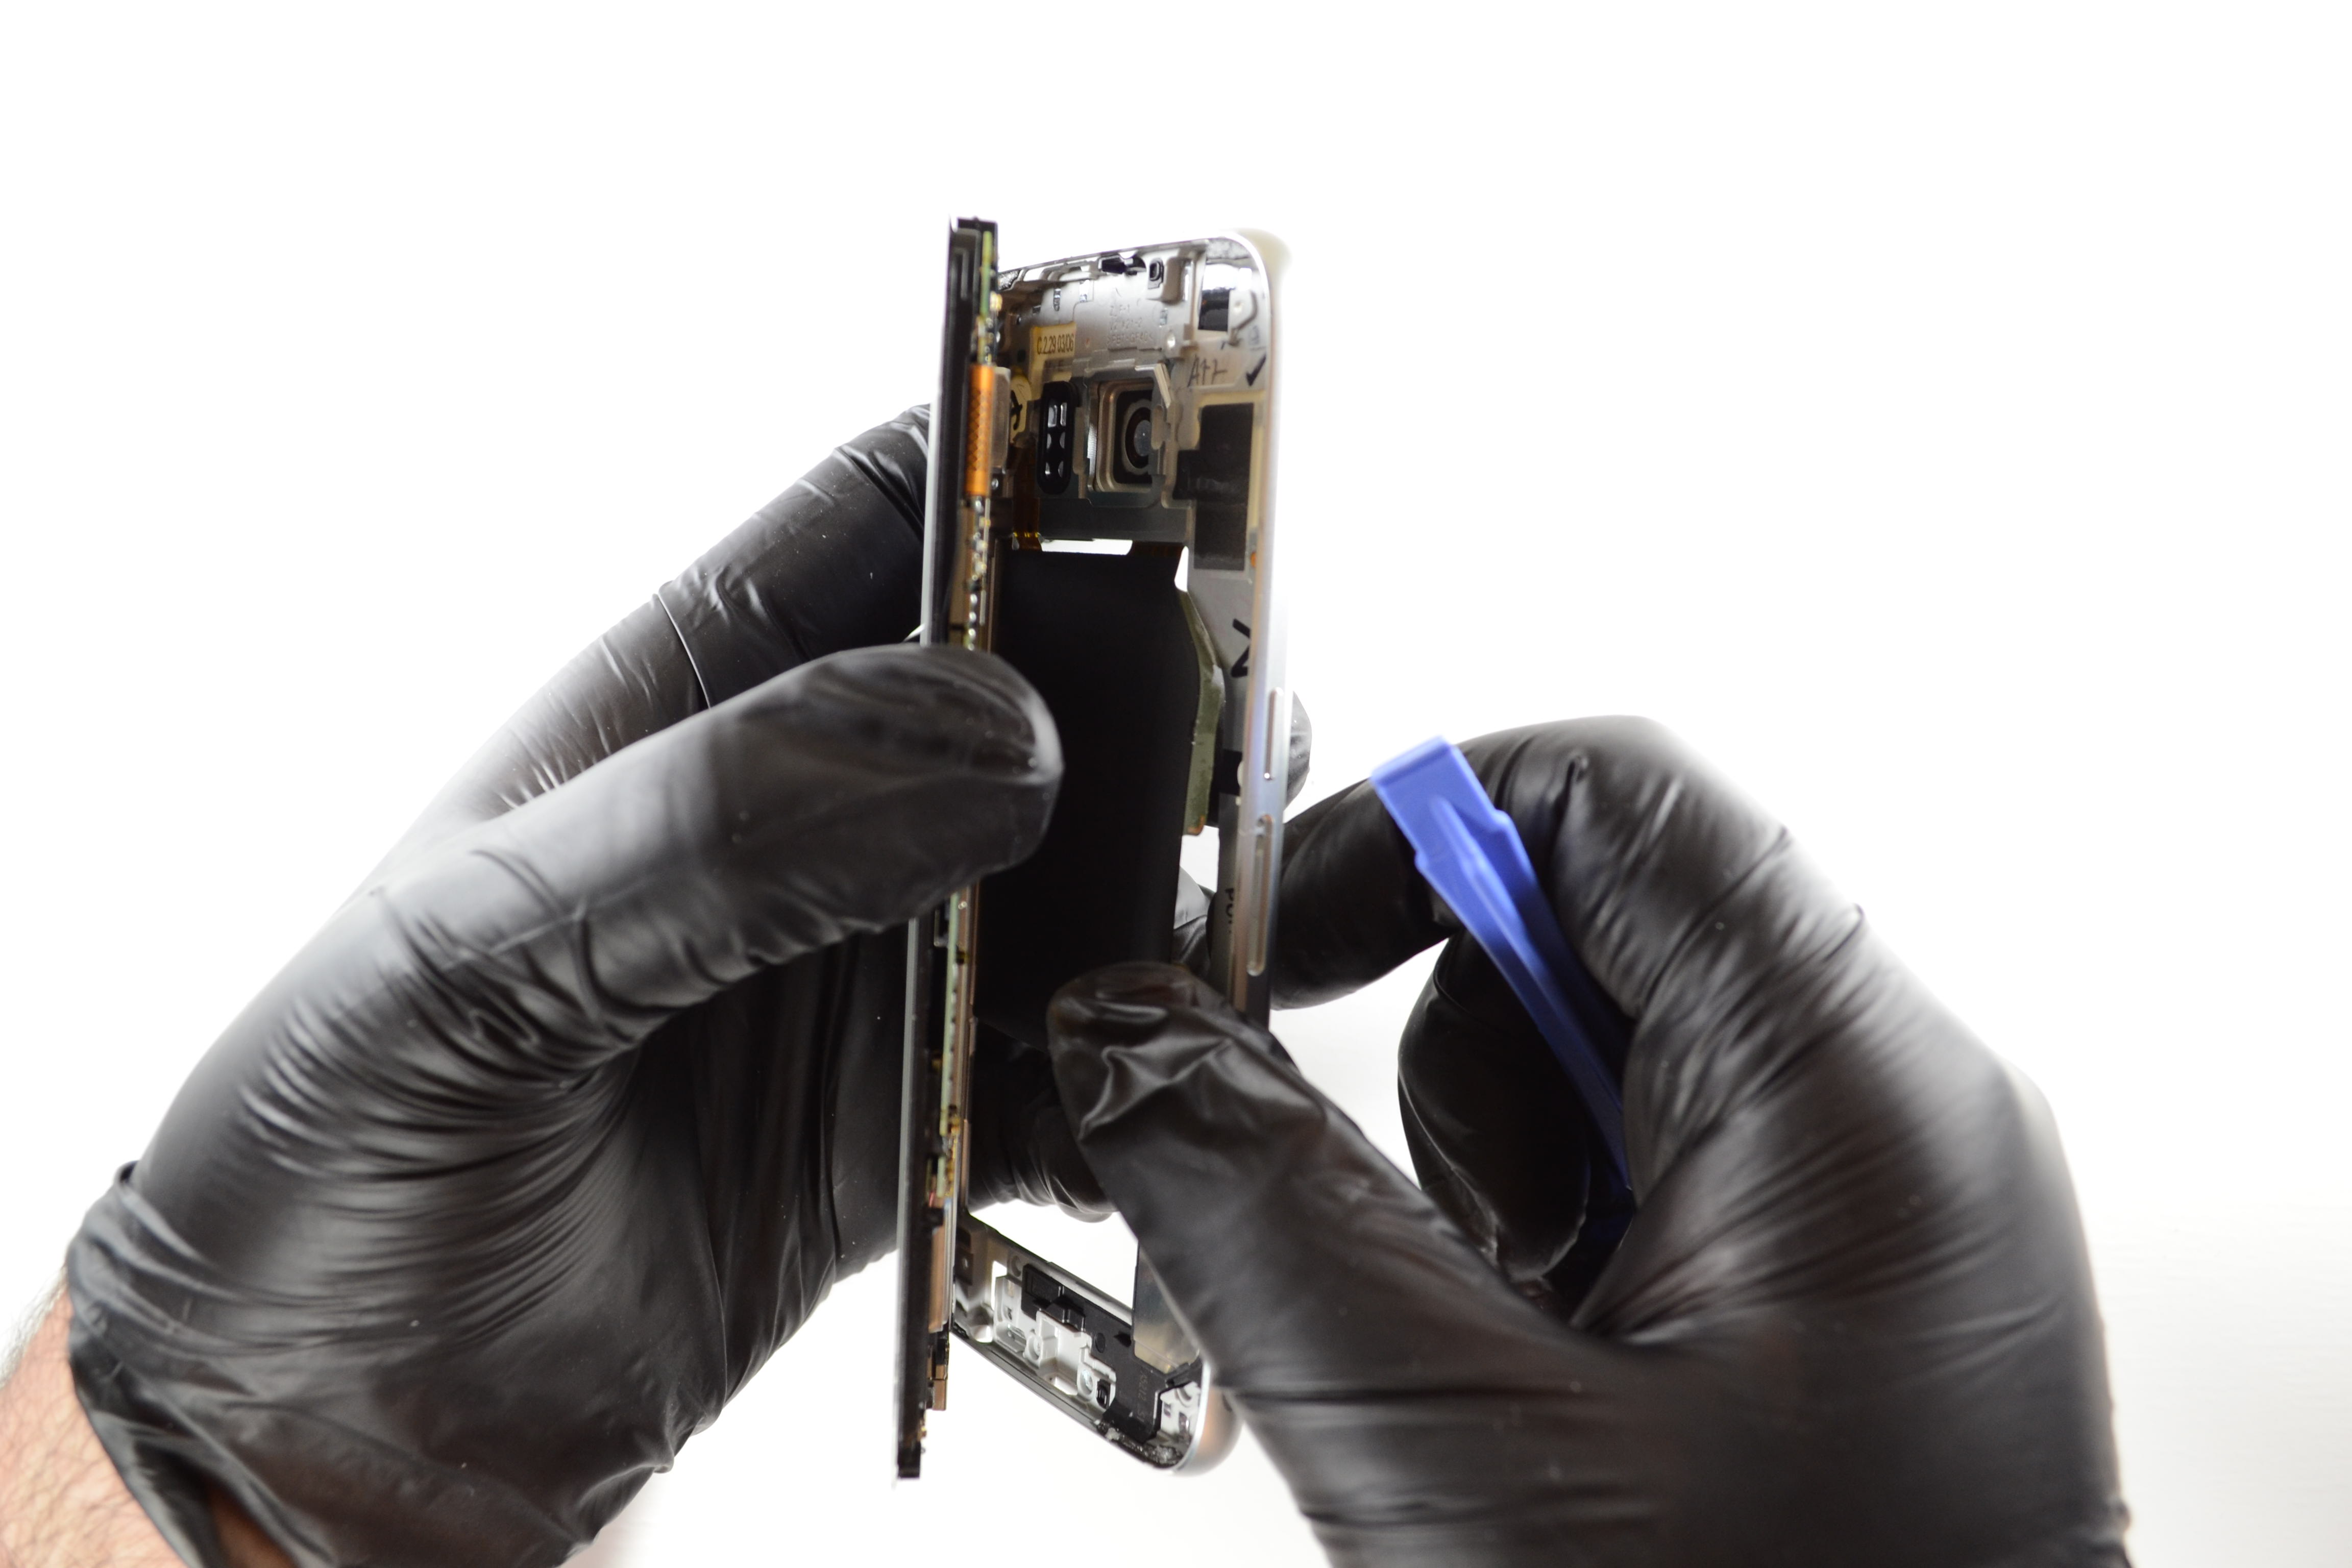
Step 7: Remove the LCD
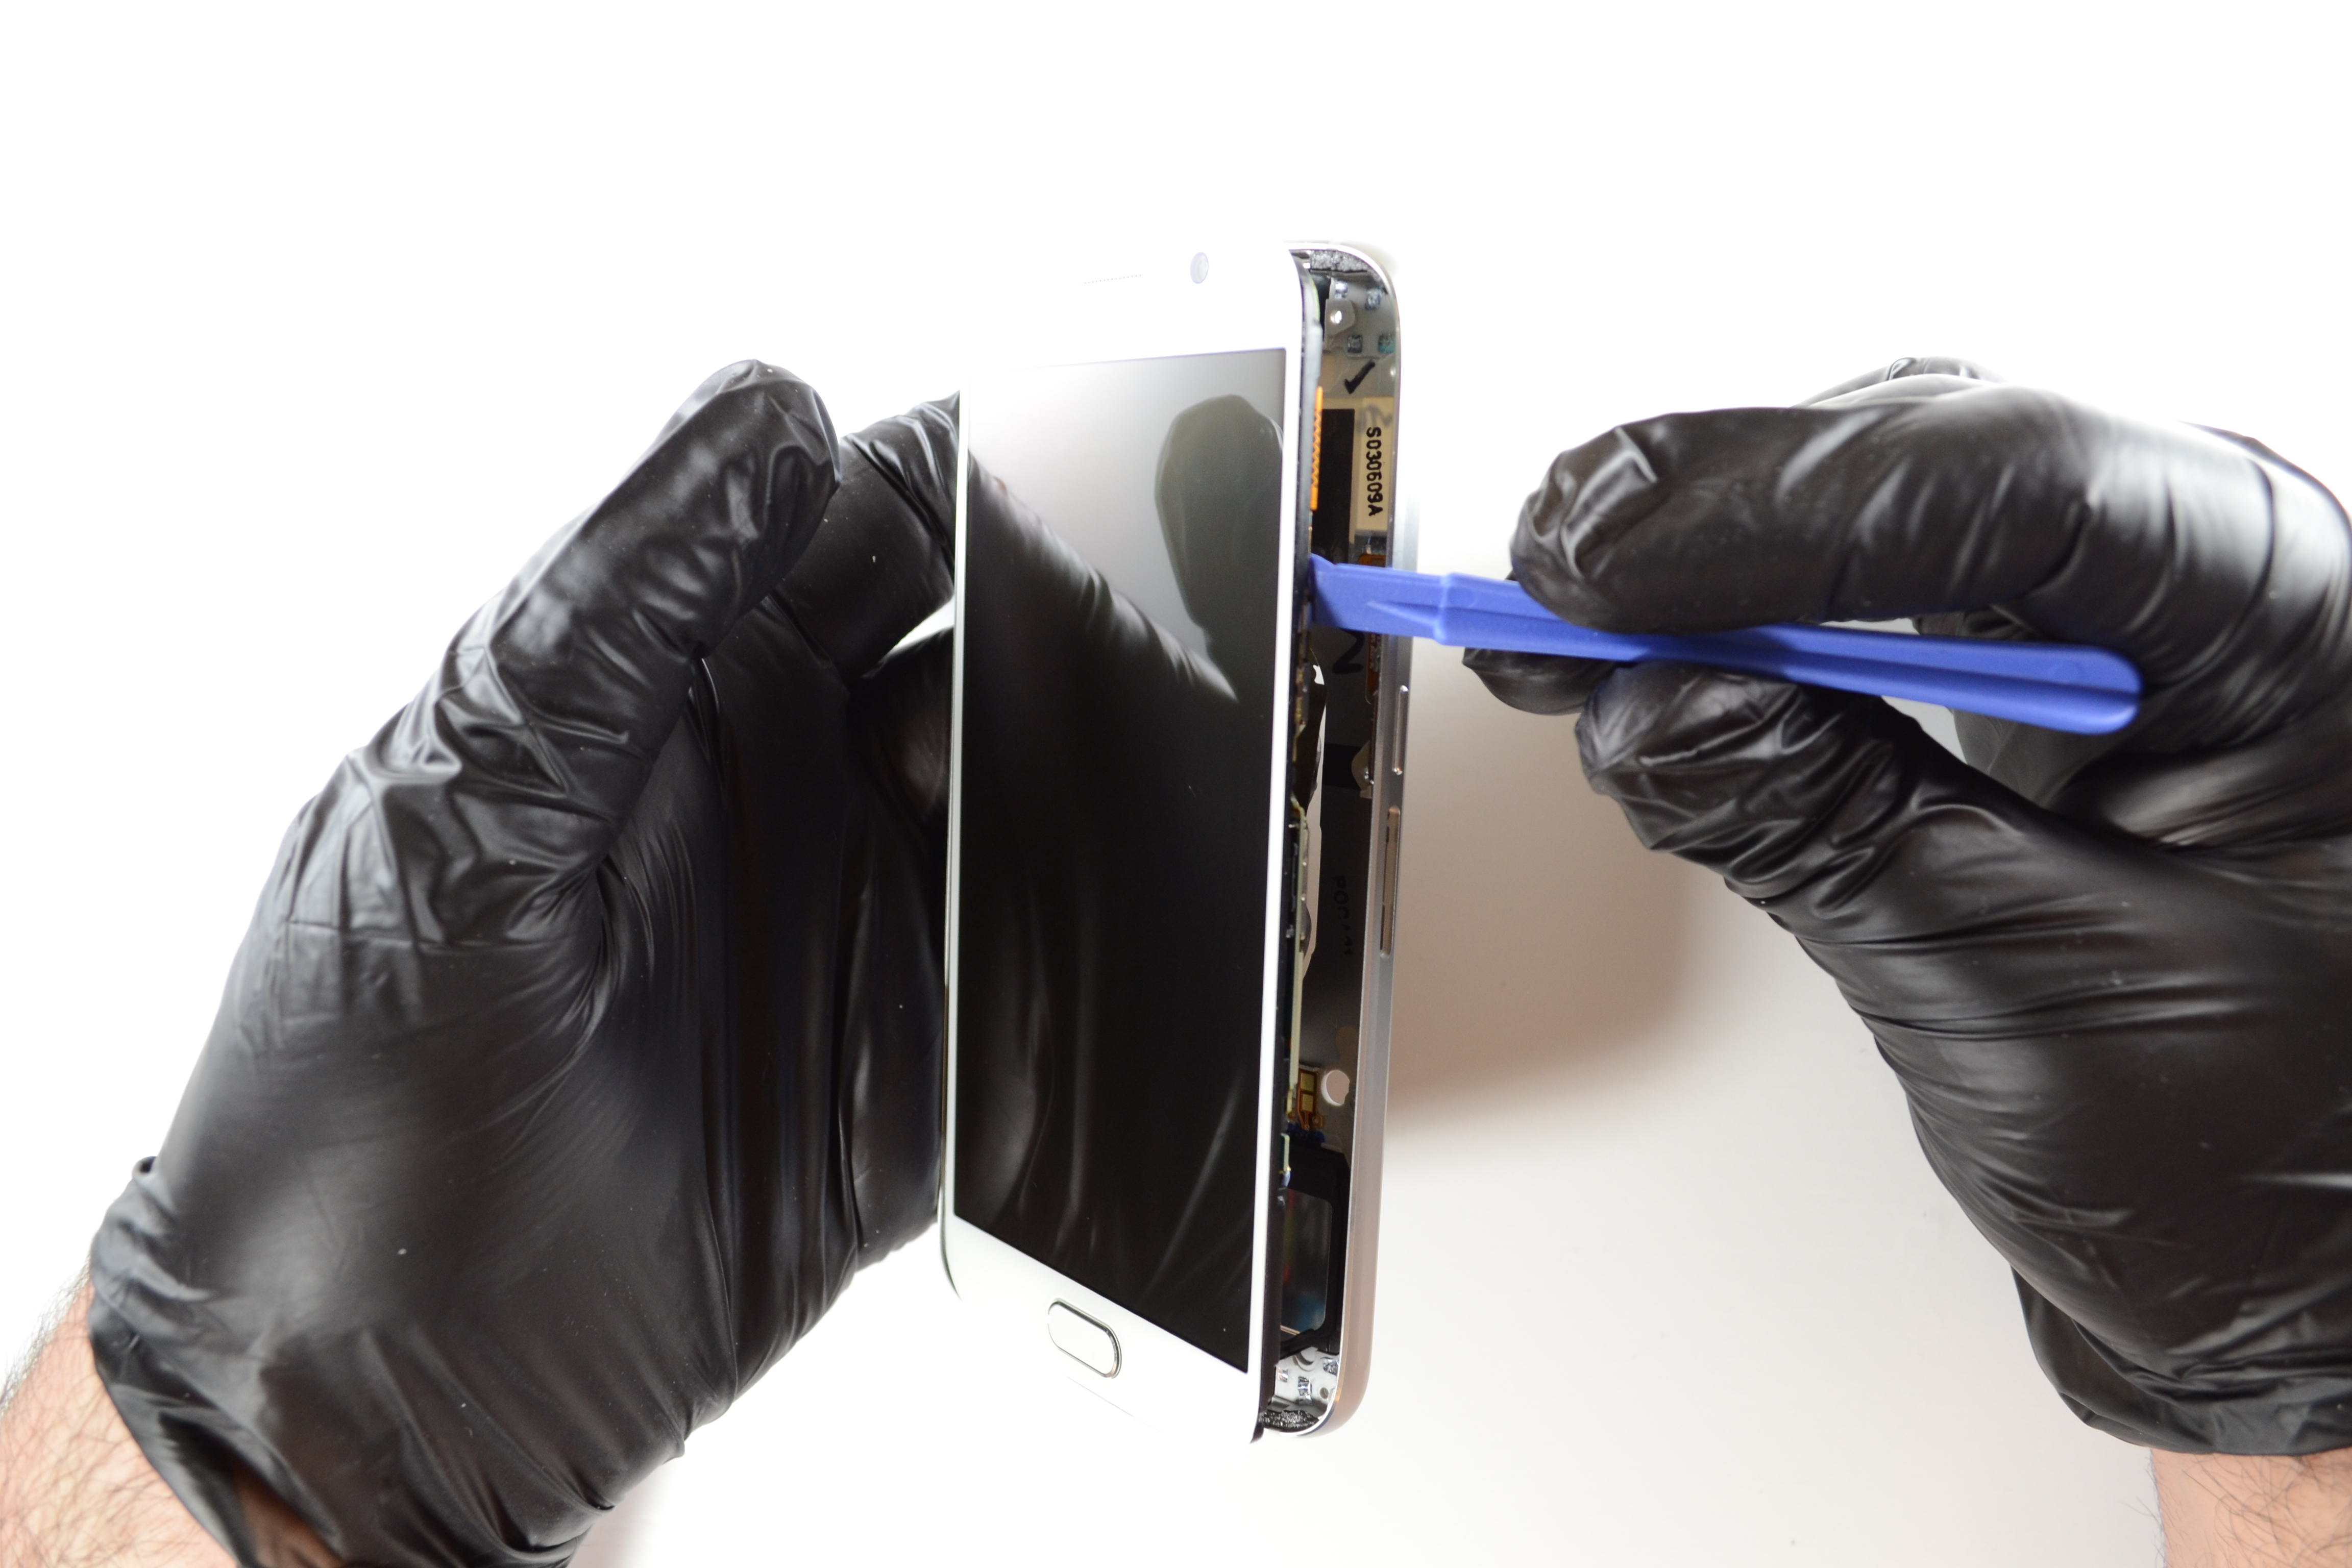
Insert your iSesamo Opening Tool or Plastic Opening Tools between the LCD and the midframe to remove it. (Hint, you may need to use multiple tools, or switch between tools to remove the LCD).
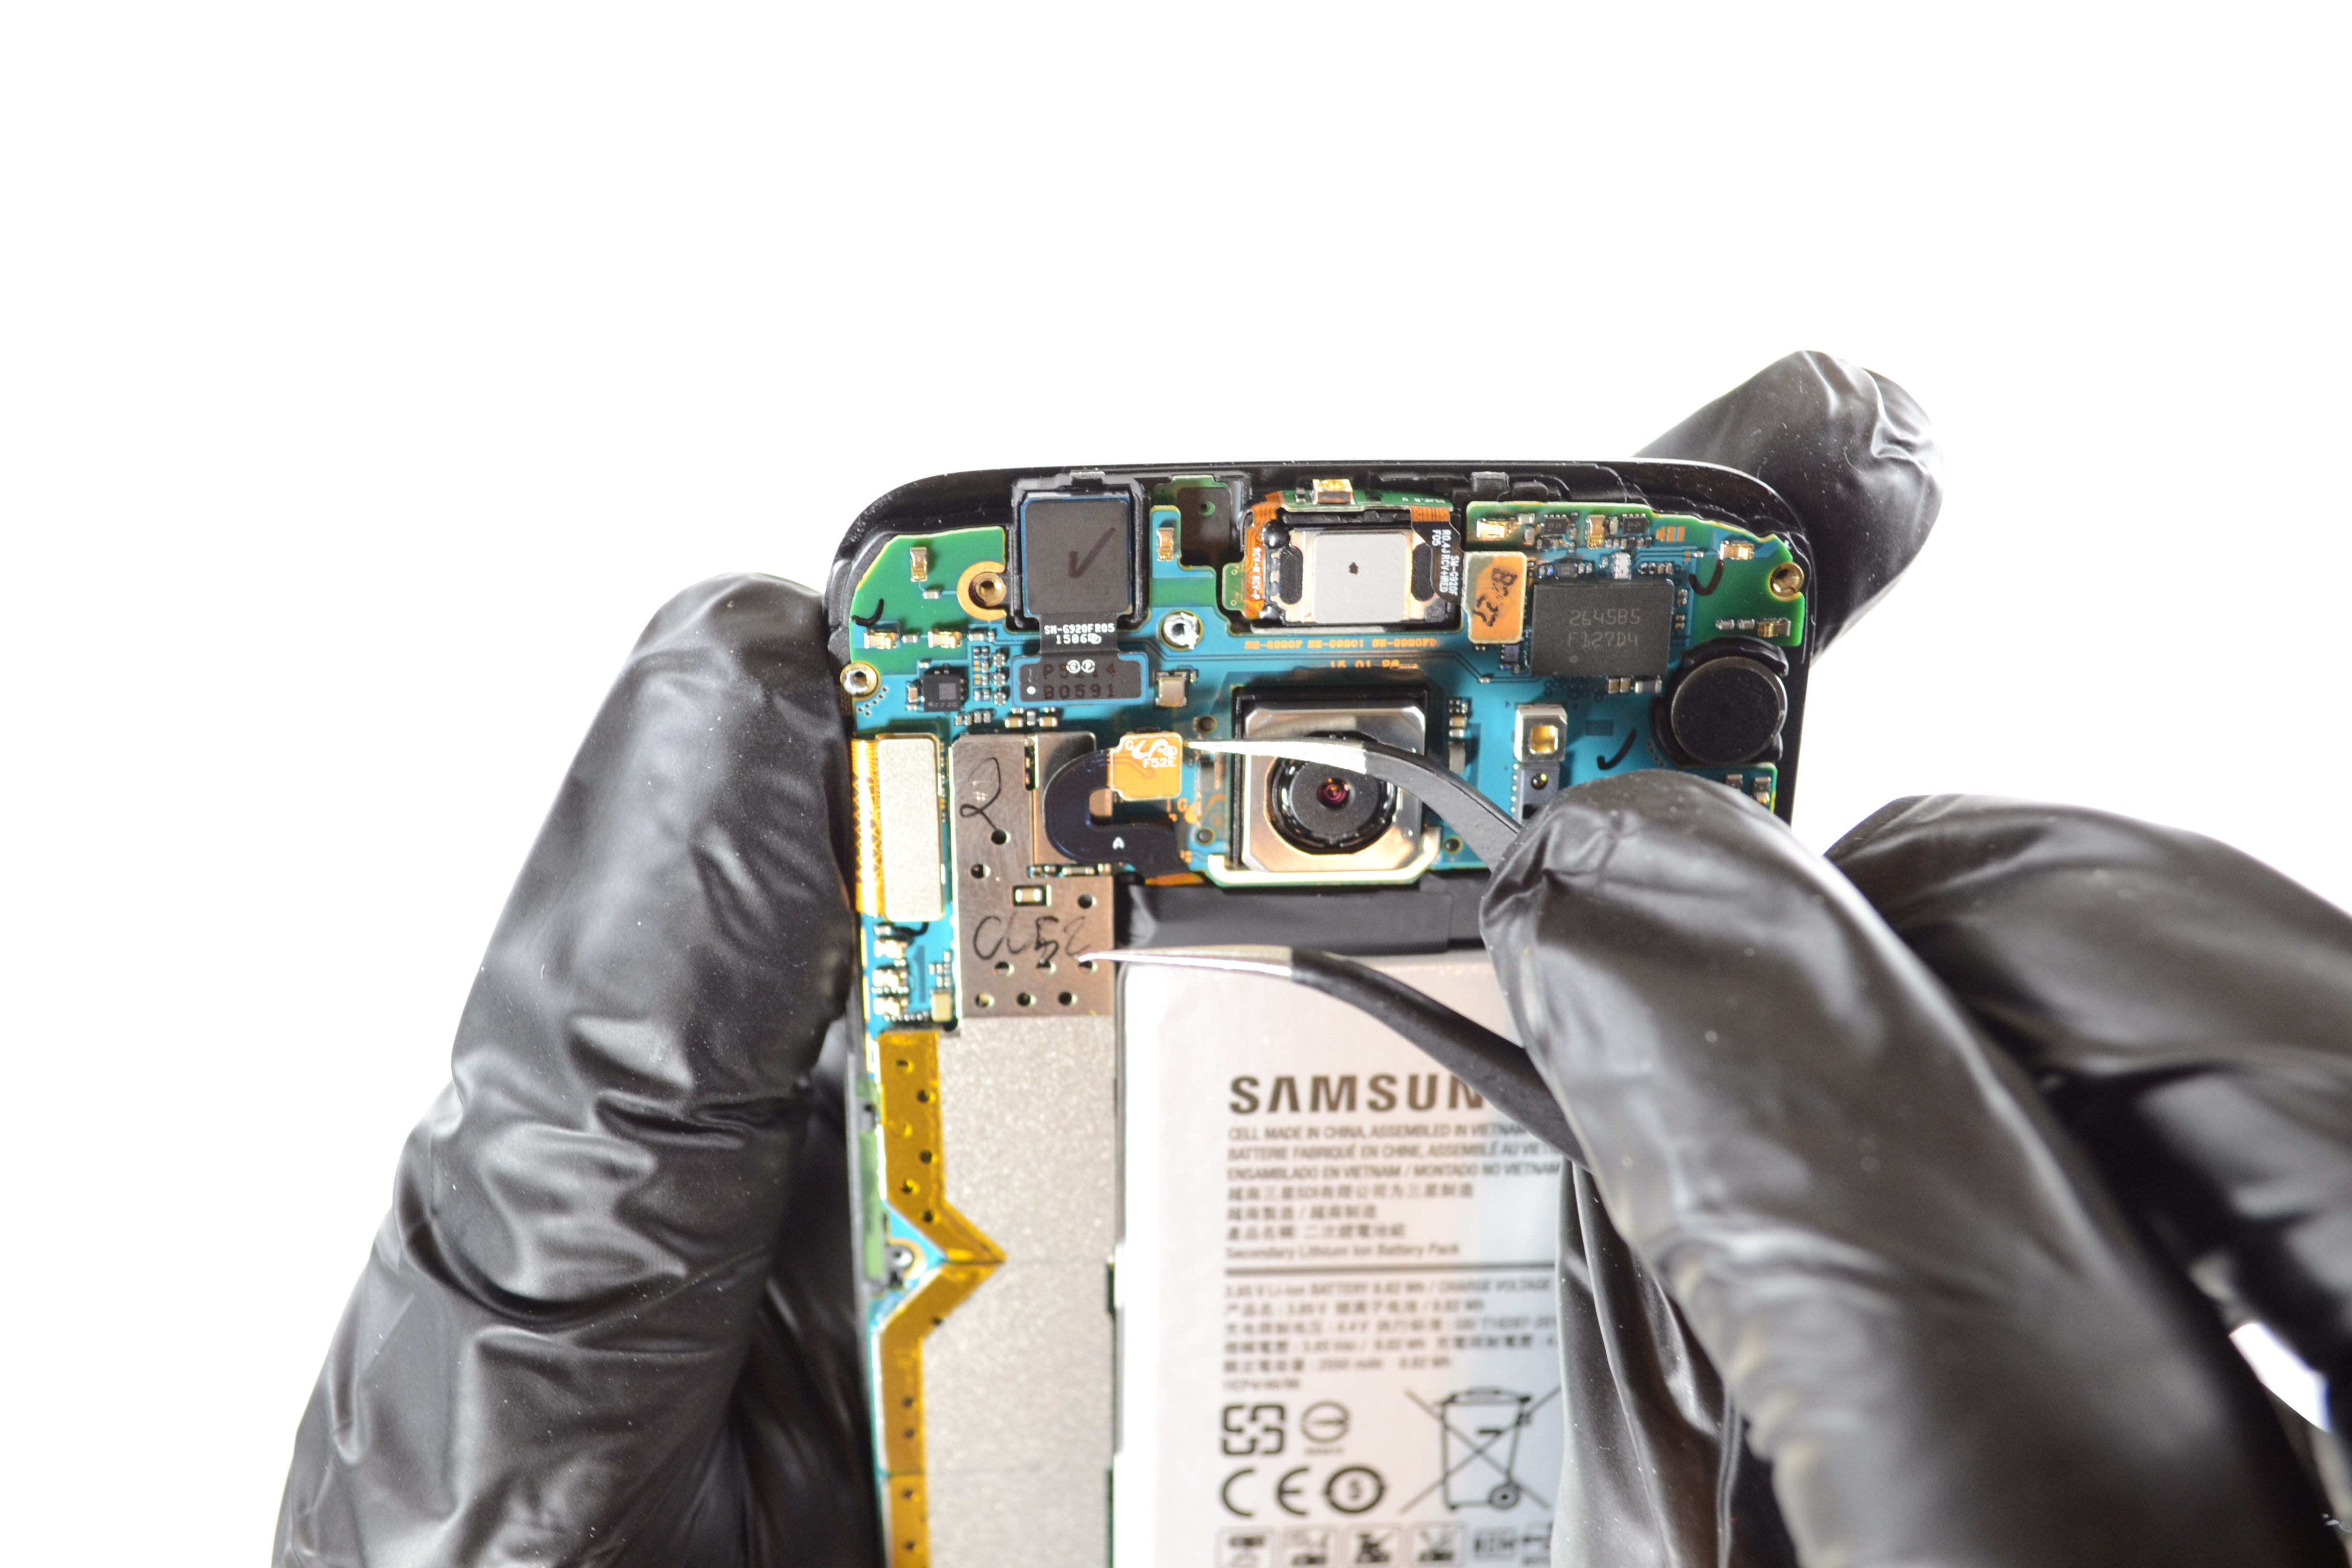
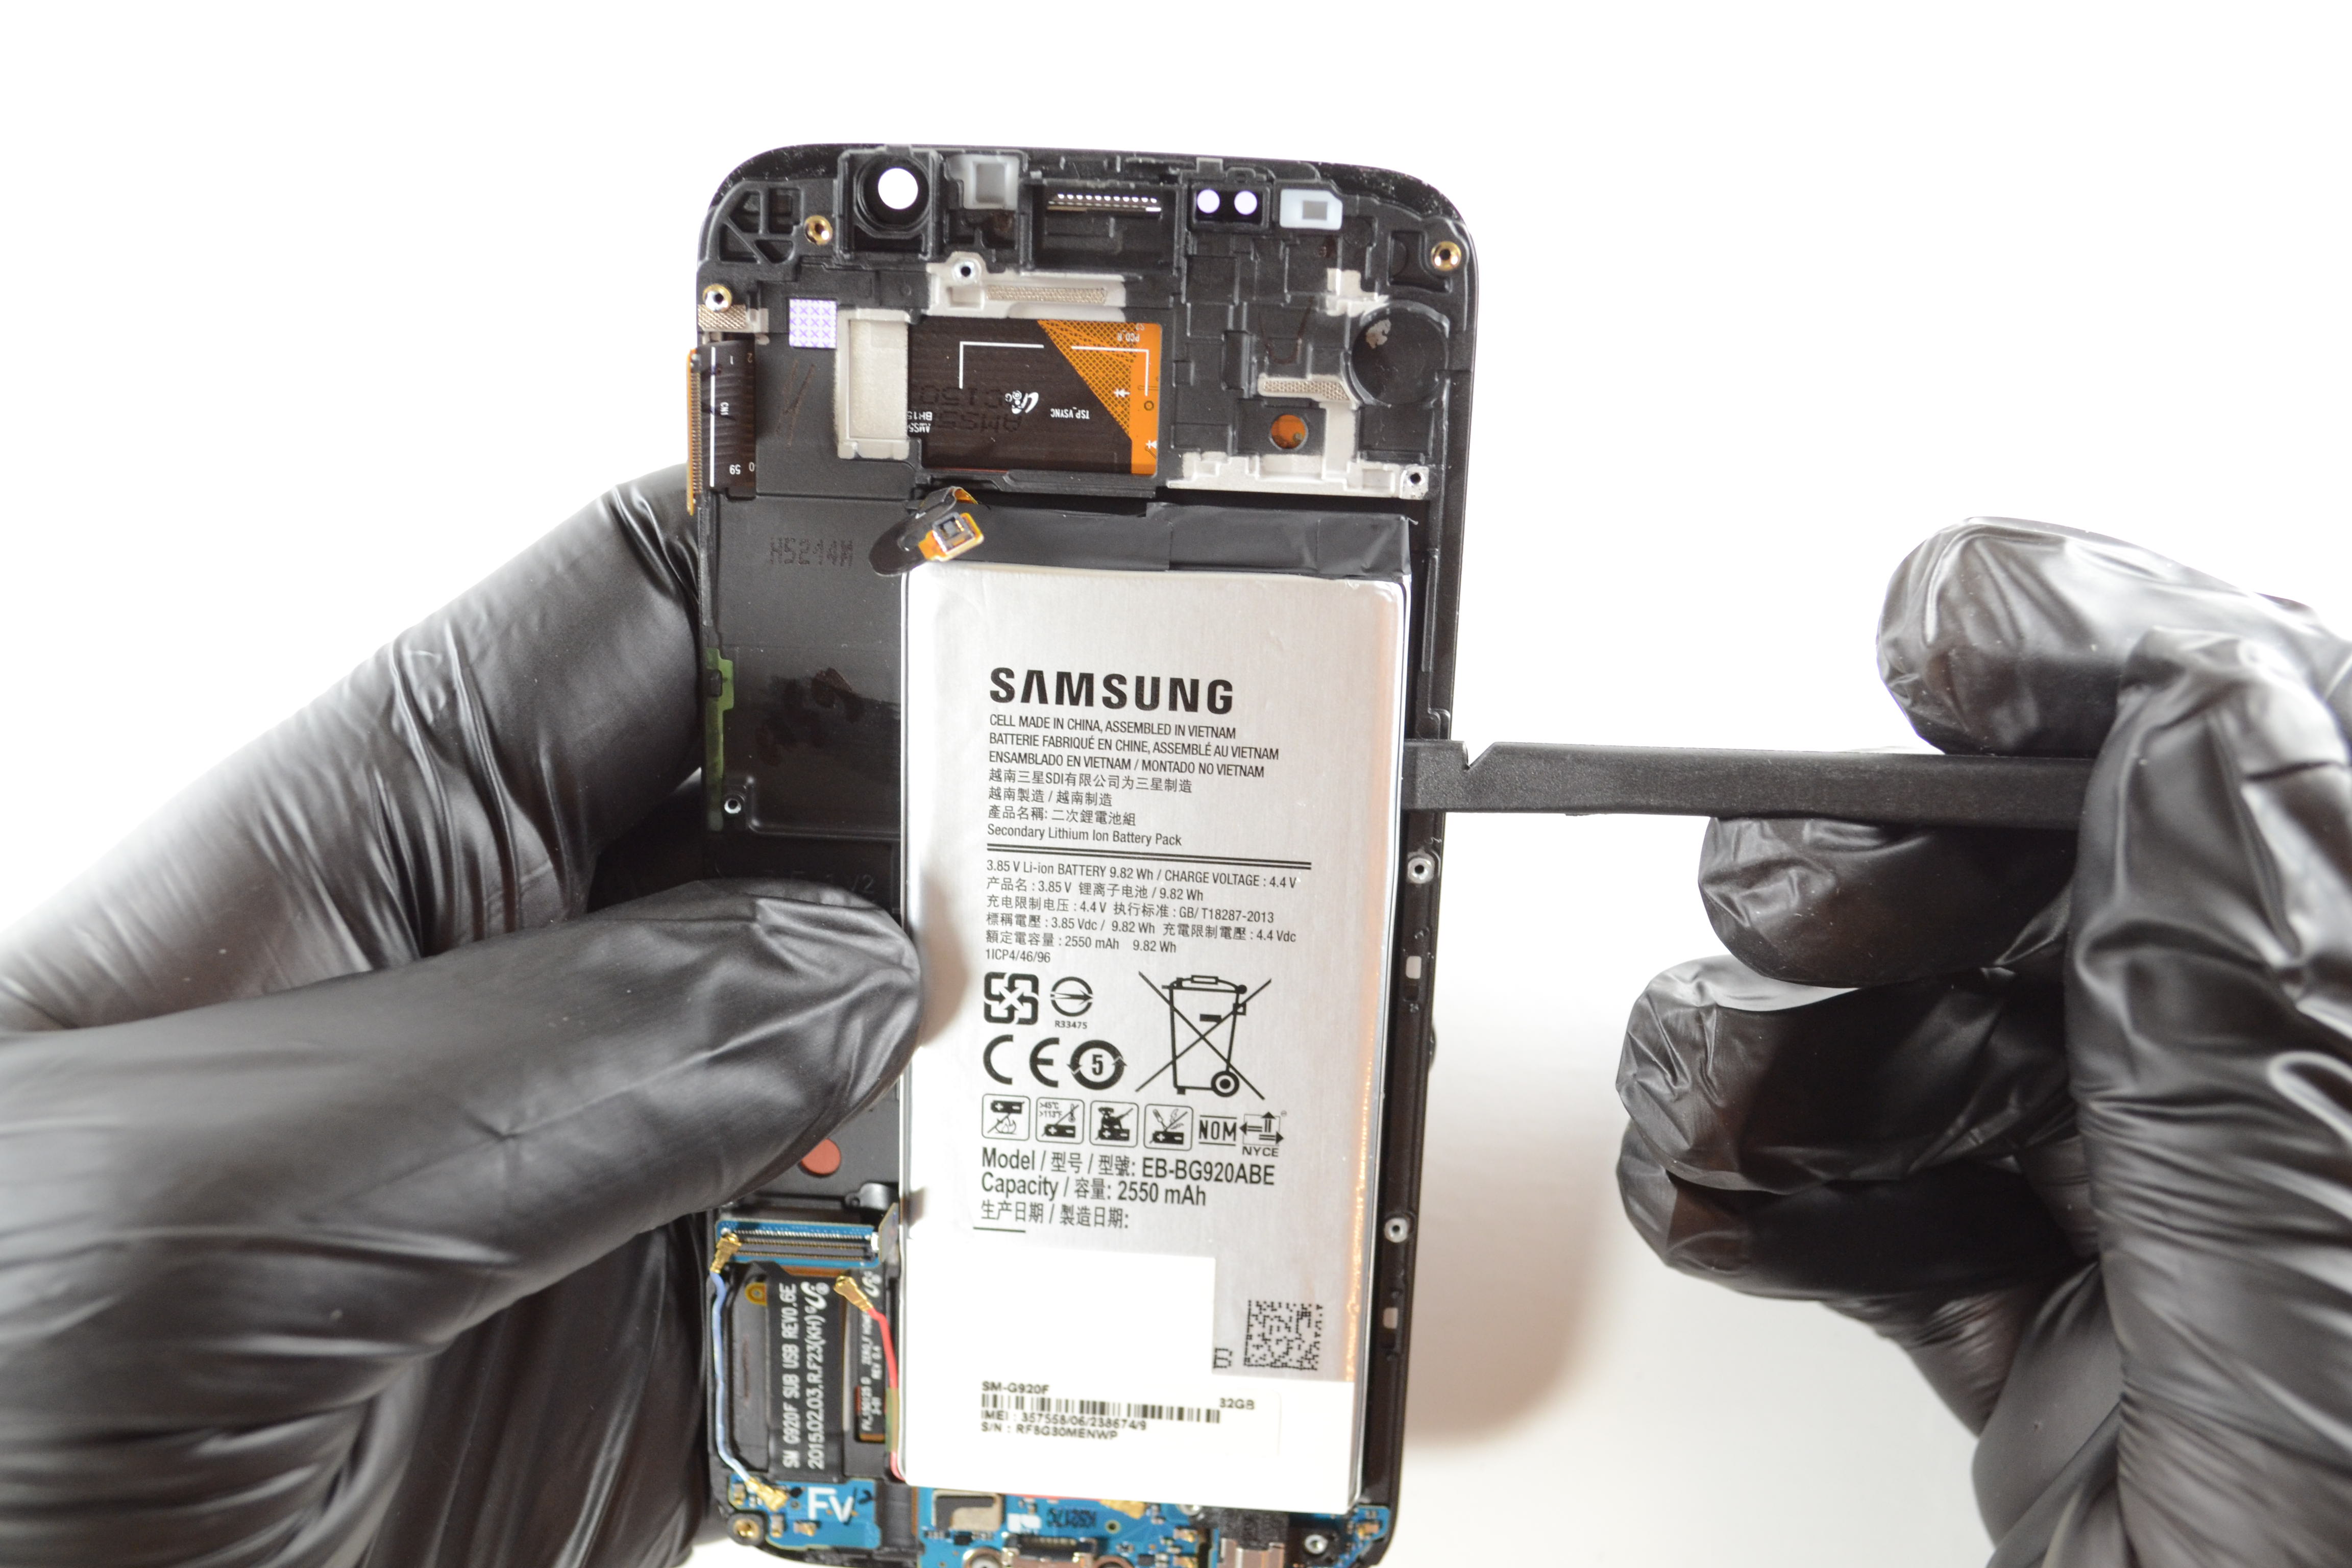
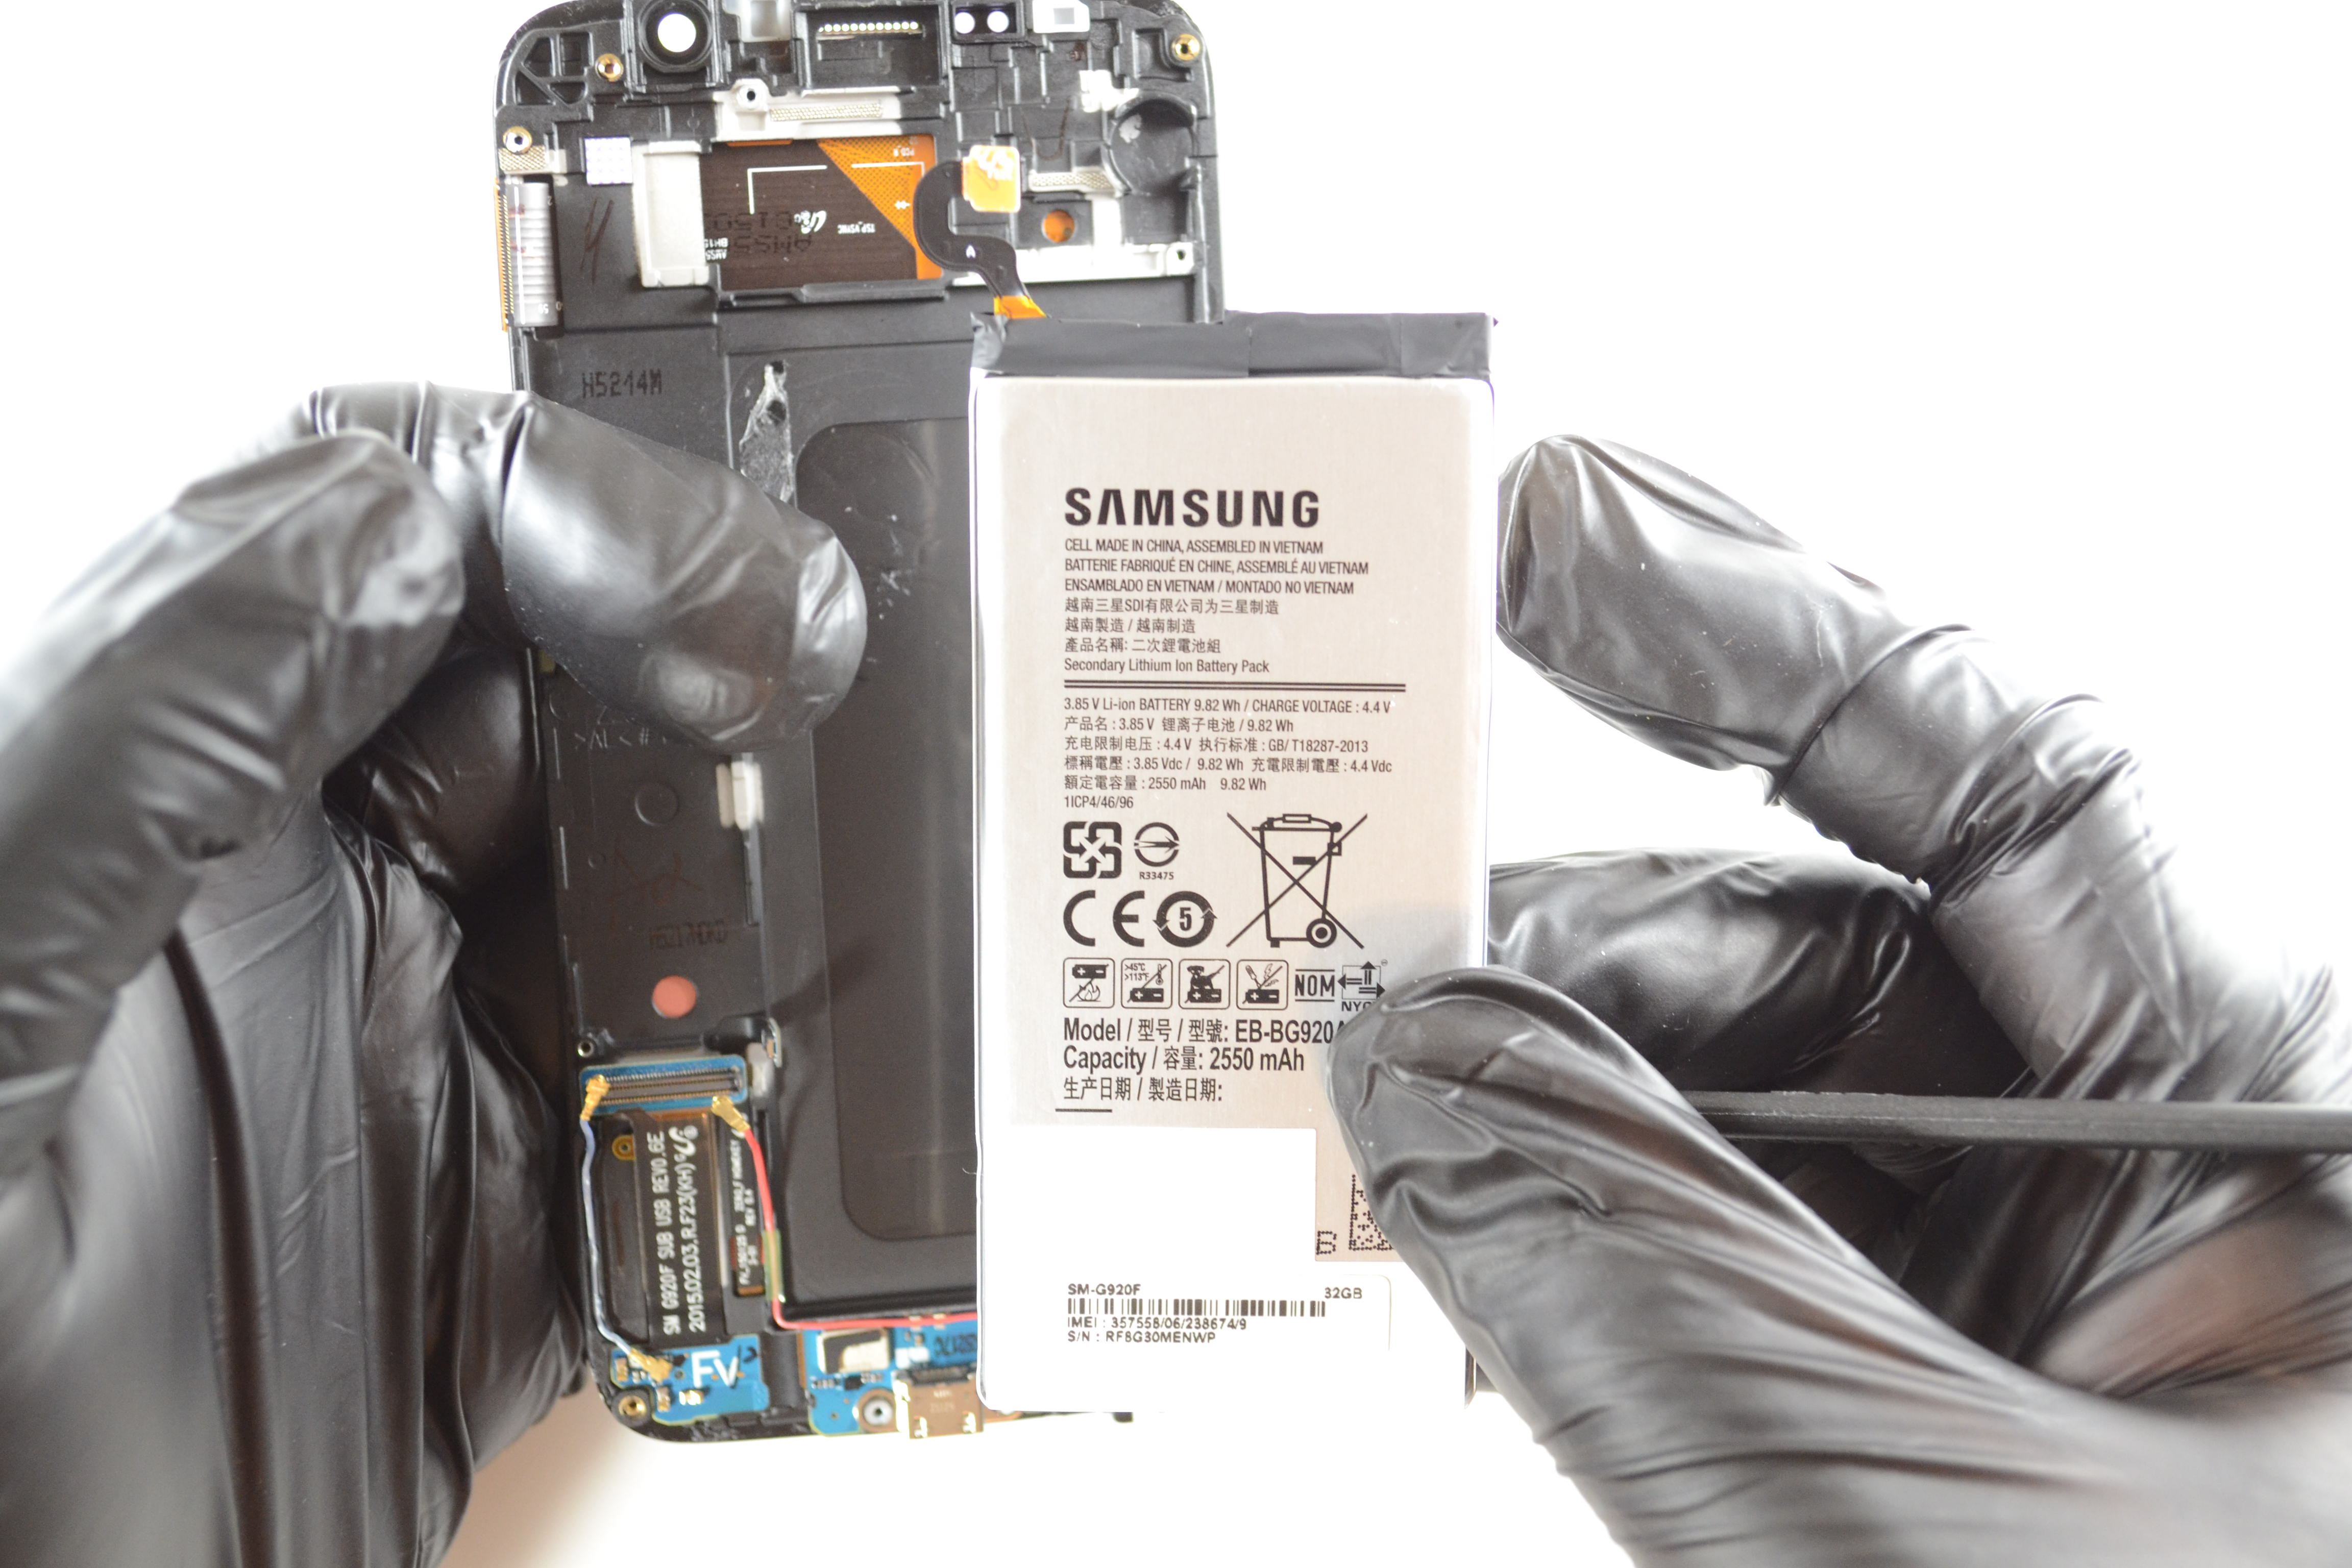
Step 8: Disconnect the Battery from the Motherboard & Remove the Battery
Use the end of your Nylon Spudger or a pair of Fine Tip Curved Tweezers to disconnect the battery. Then pry the battery out of of the motherboard.
Step 9: Remove the Cables Connecting the Motherboard to the LCD
Use the back of your Nylon Spudger or a pair of Fine Tip Curved Tweezers, pry off the cables connecting the ear speaker, LCD, interconnect cables, and the home button cable.
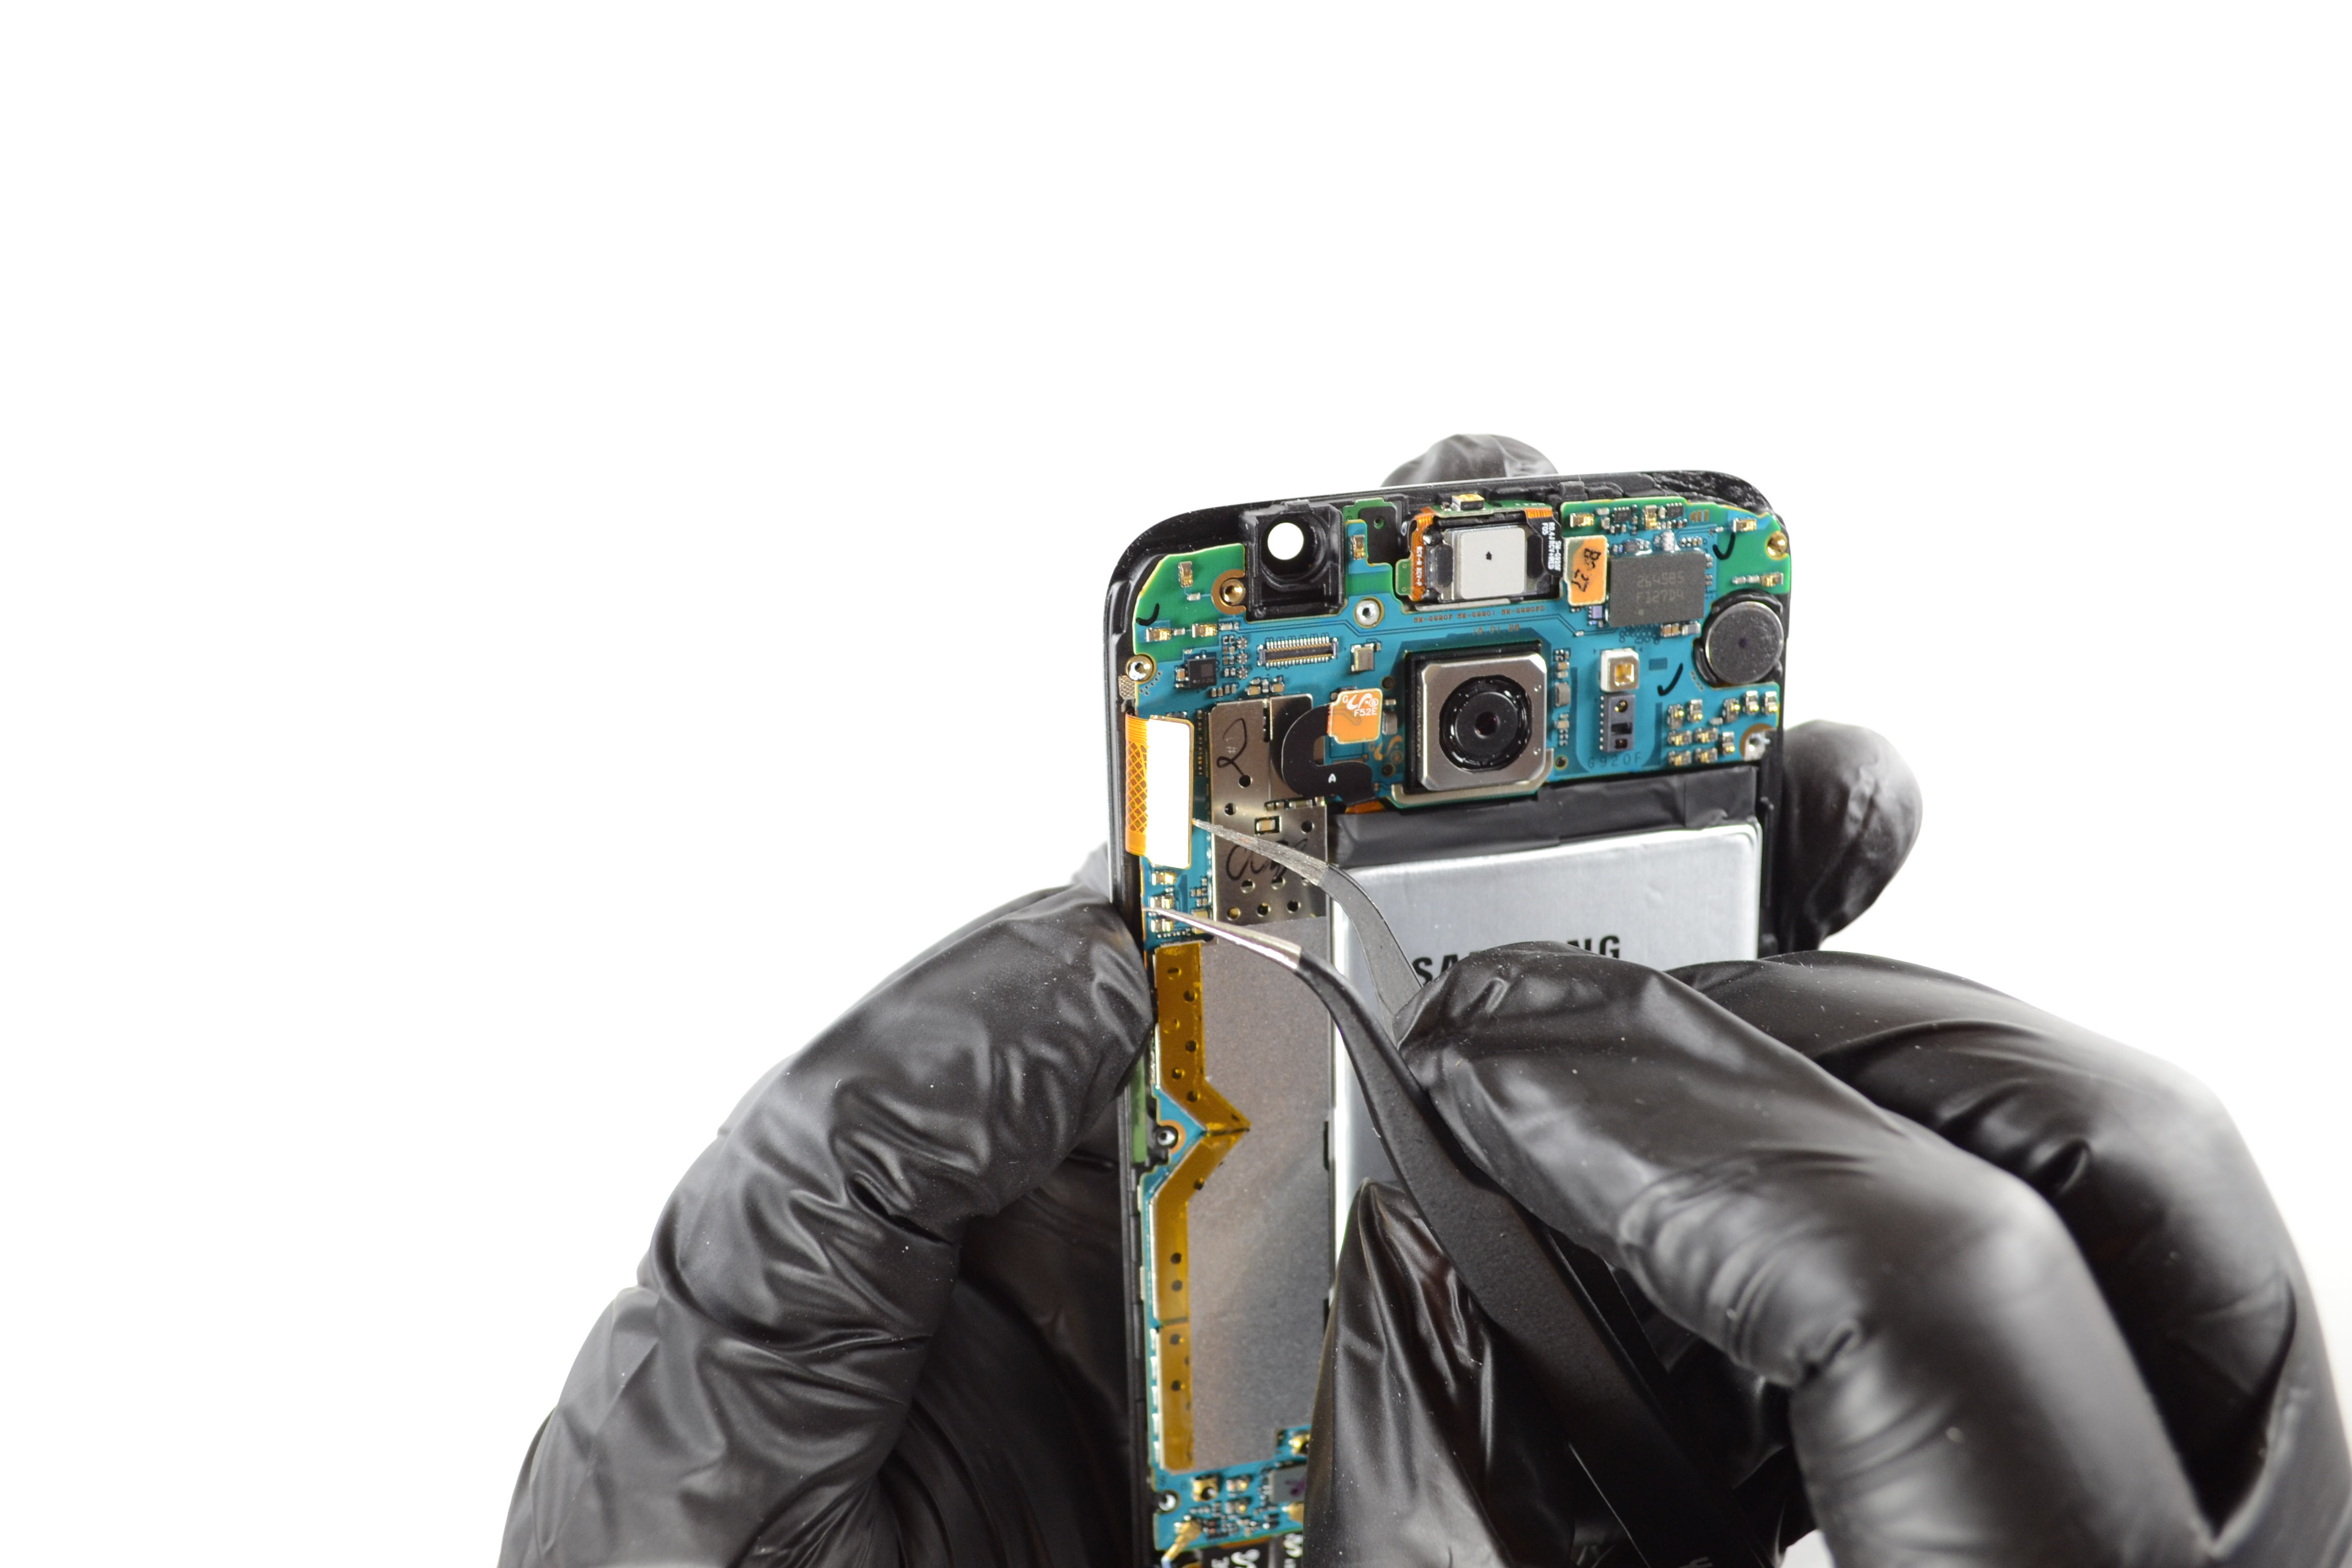
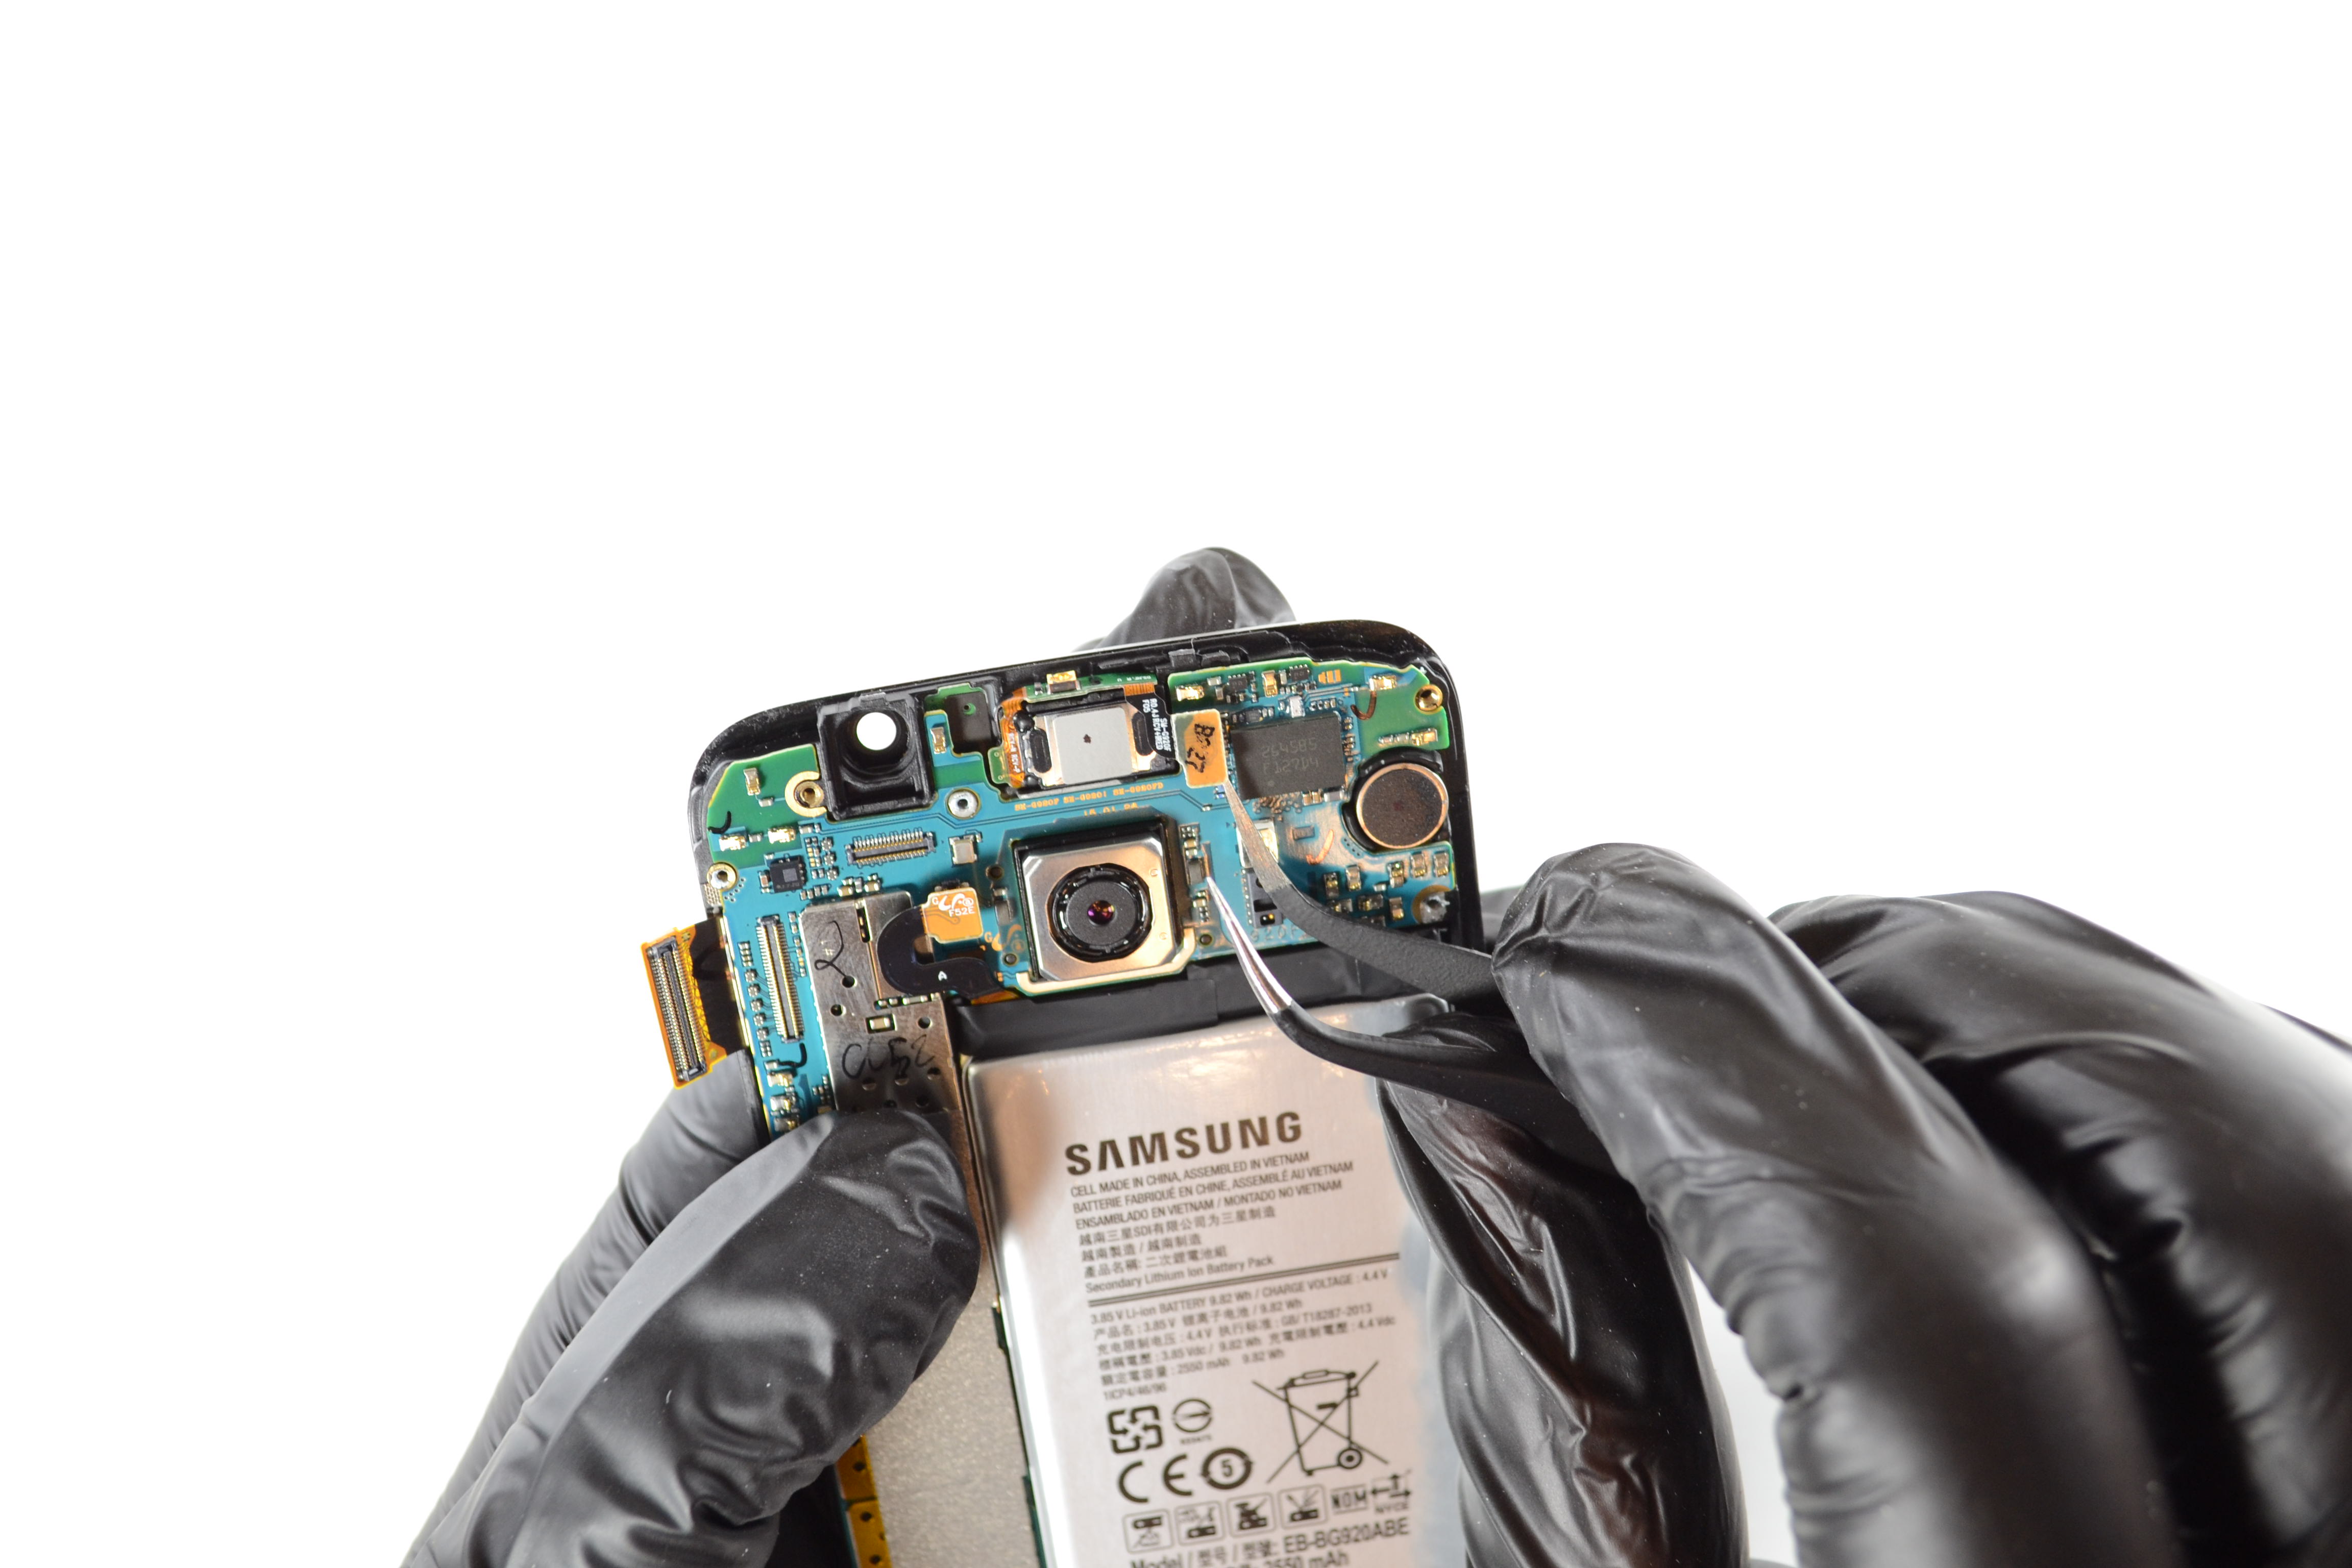
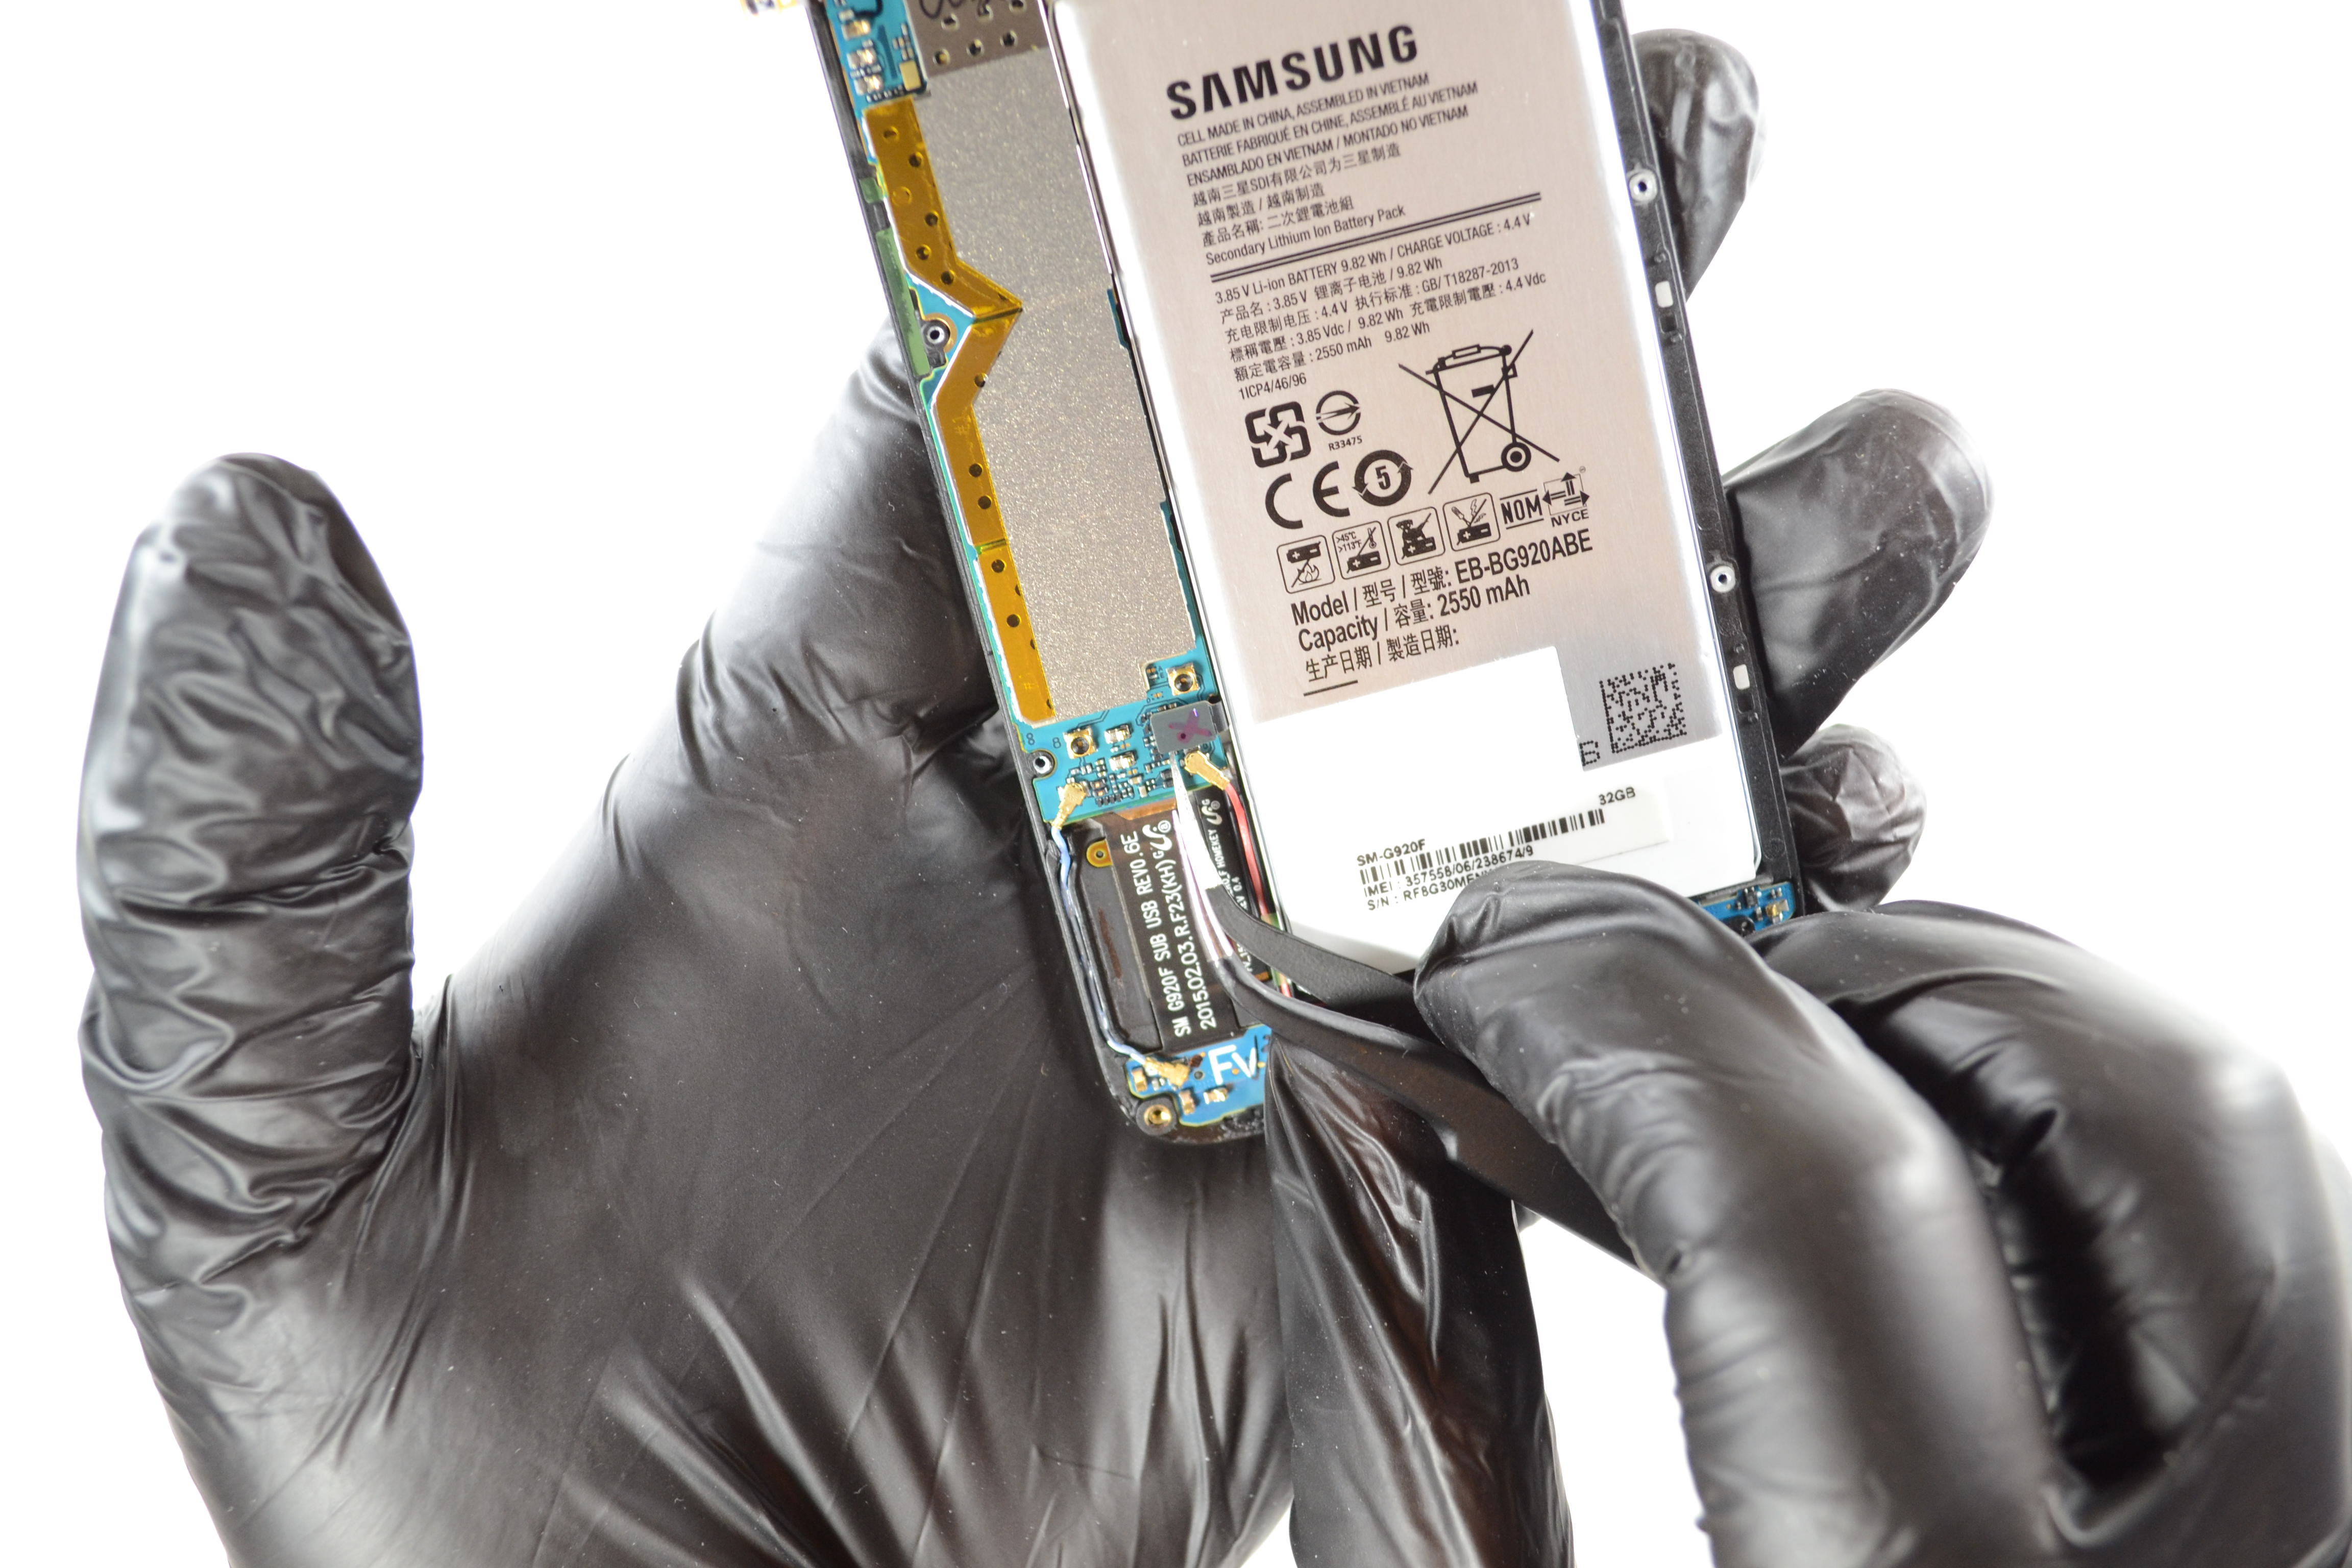
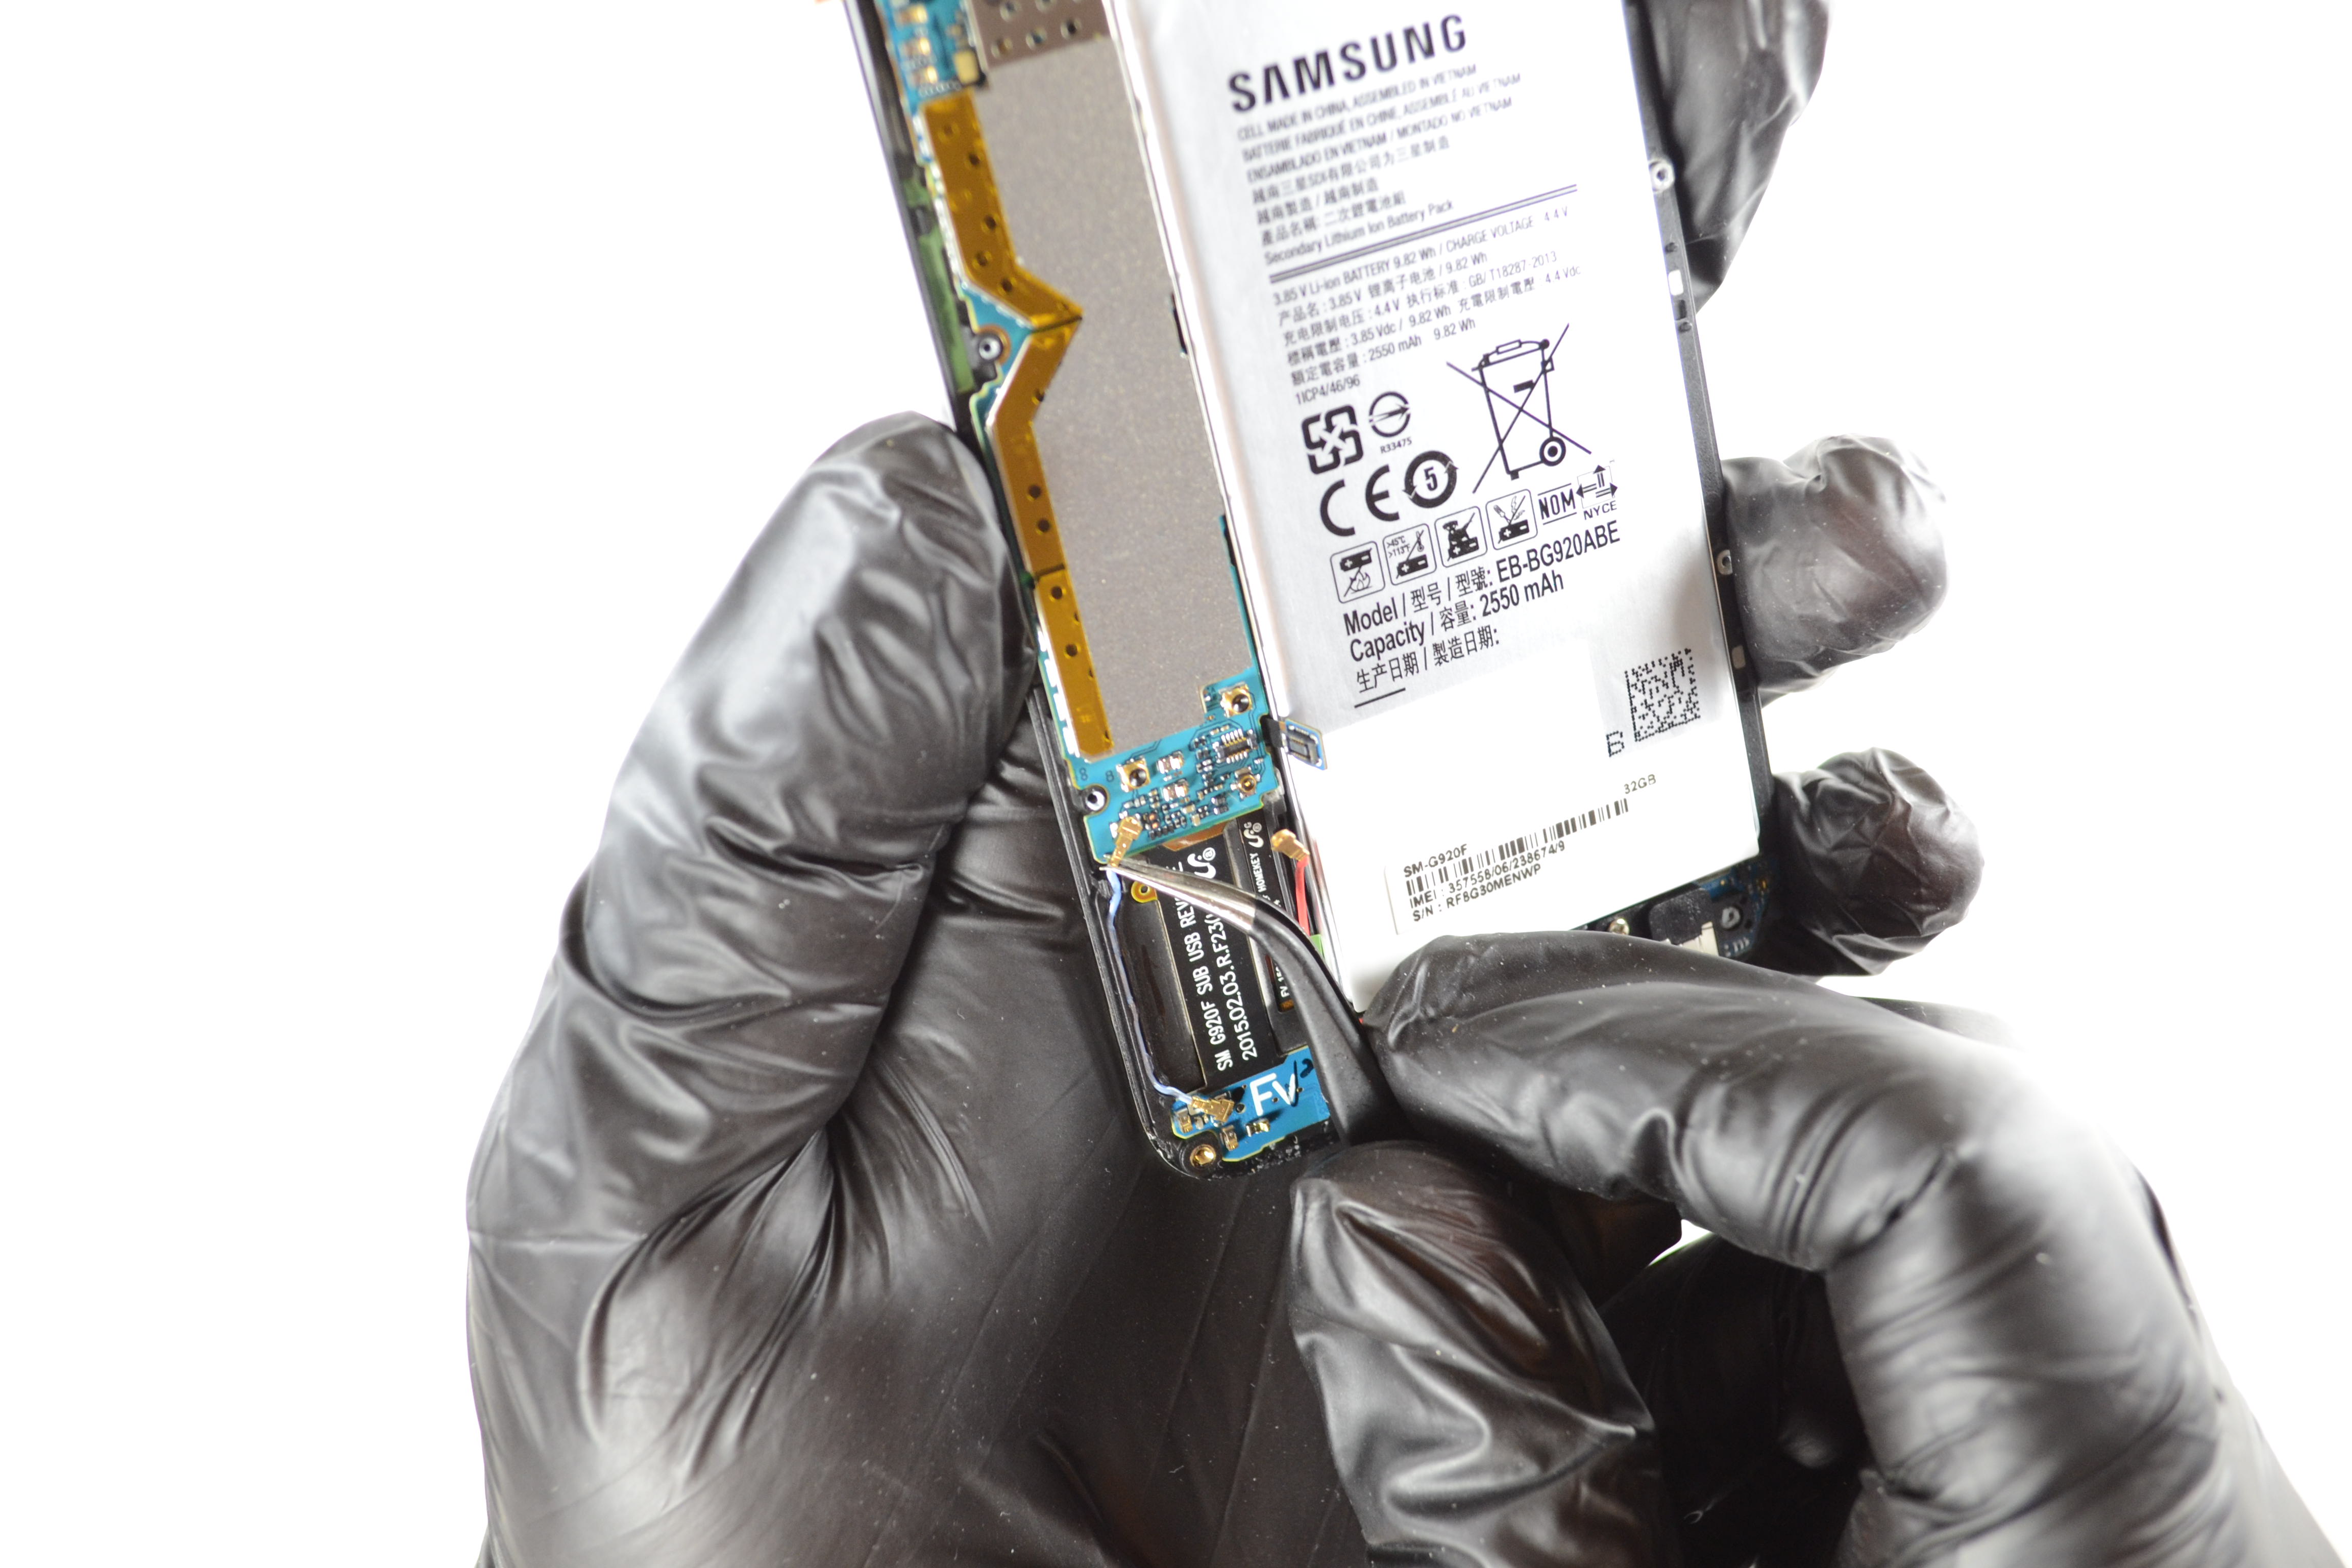
Step 10: Remove the Motherboard
Lift the motherboard, starting at the top of the LCD. Then, use your Nylon Spudger to disconnect the ribbon cable at the base and pull the motherboard out.
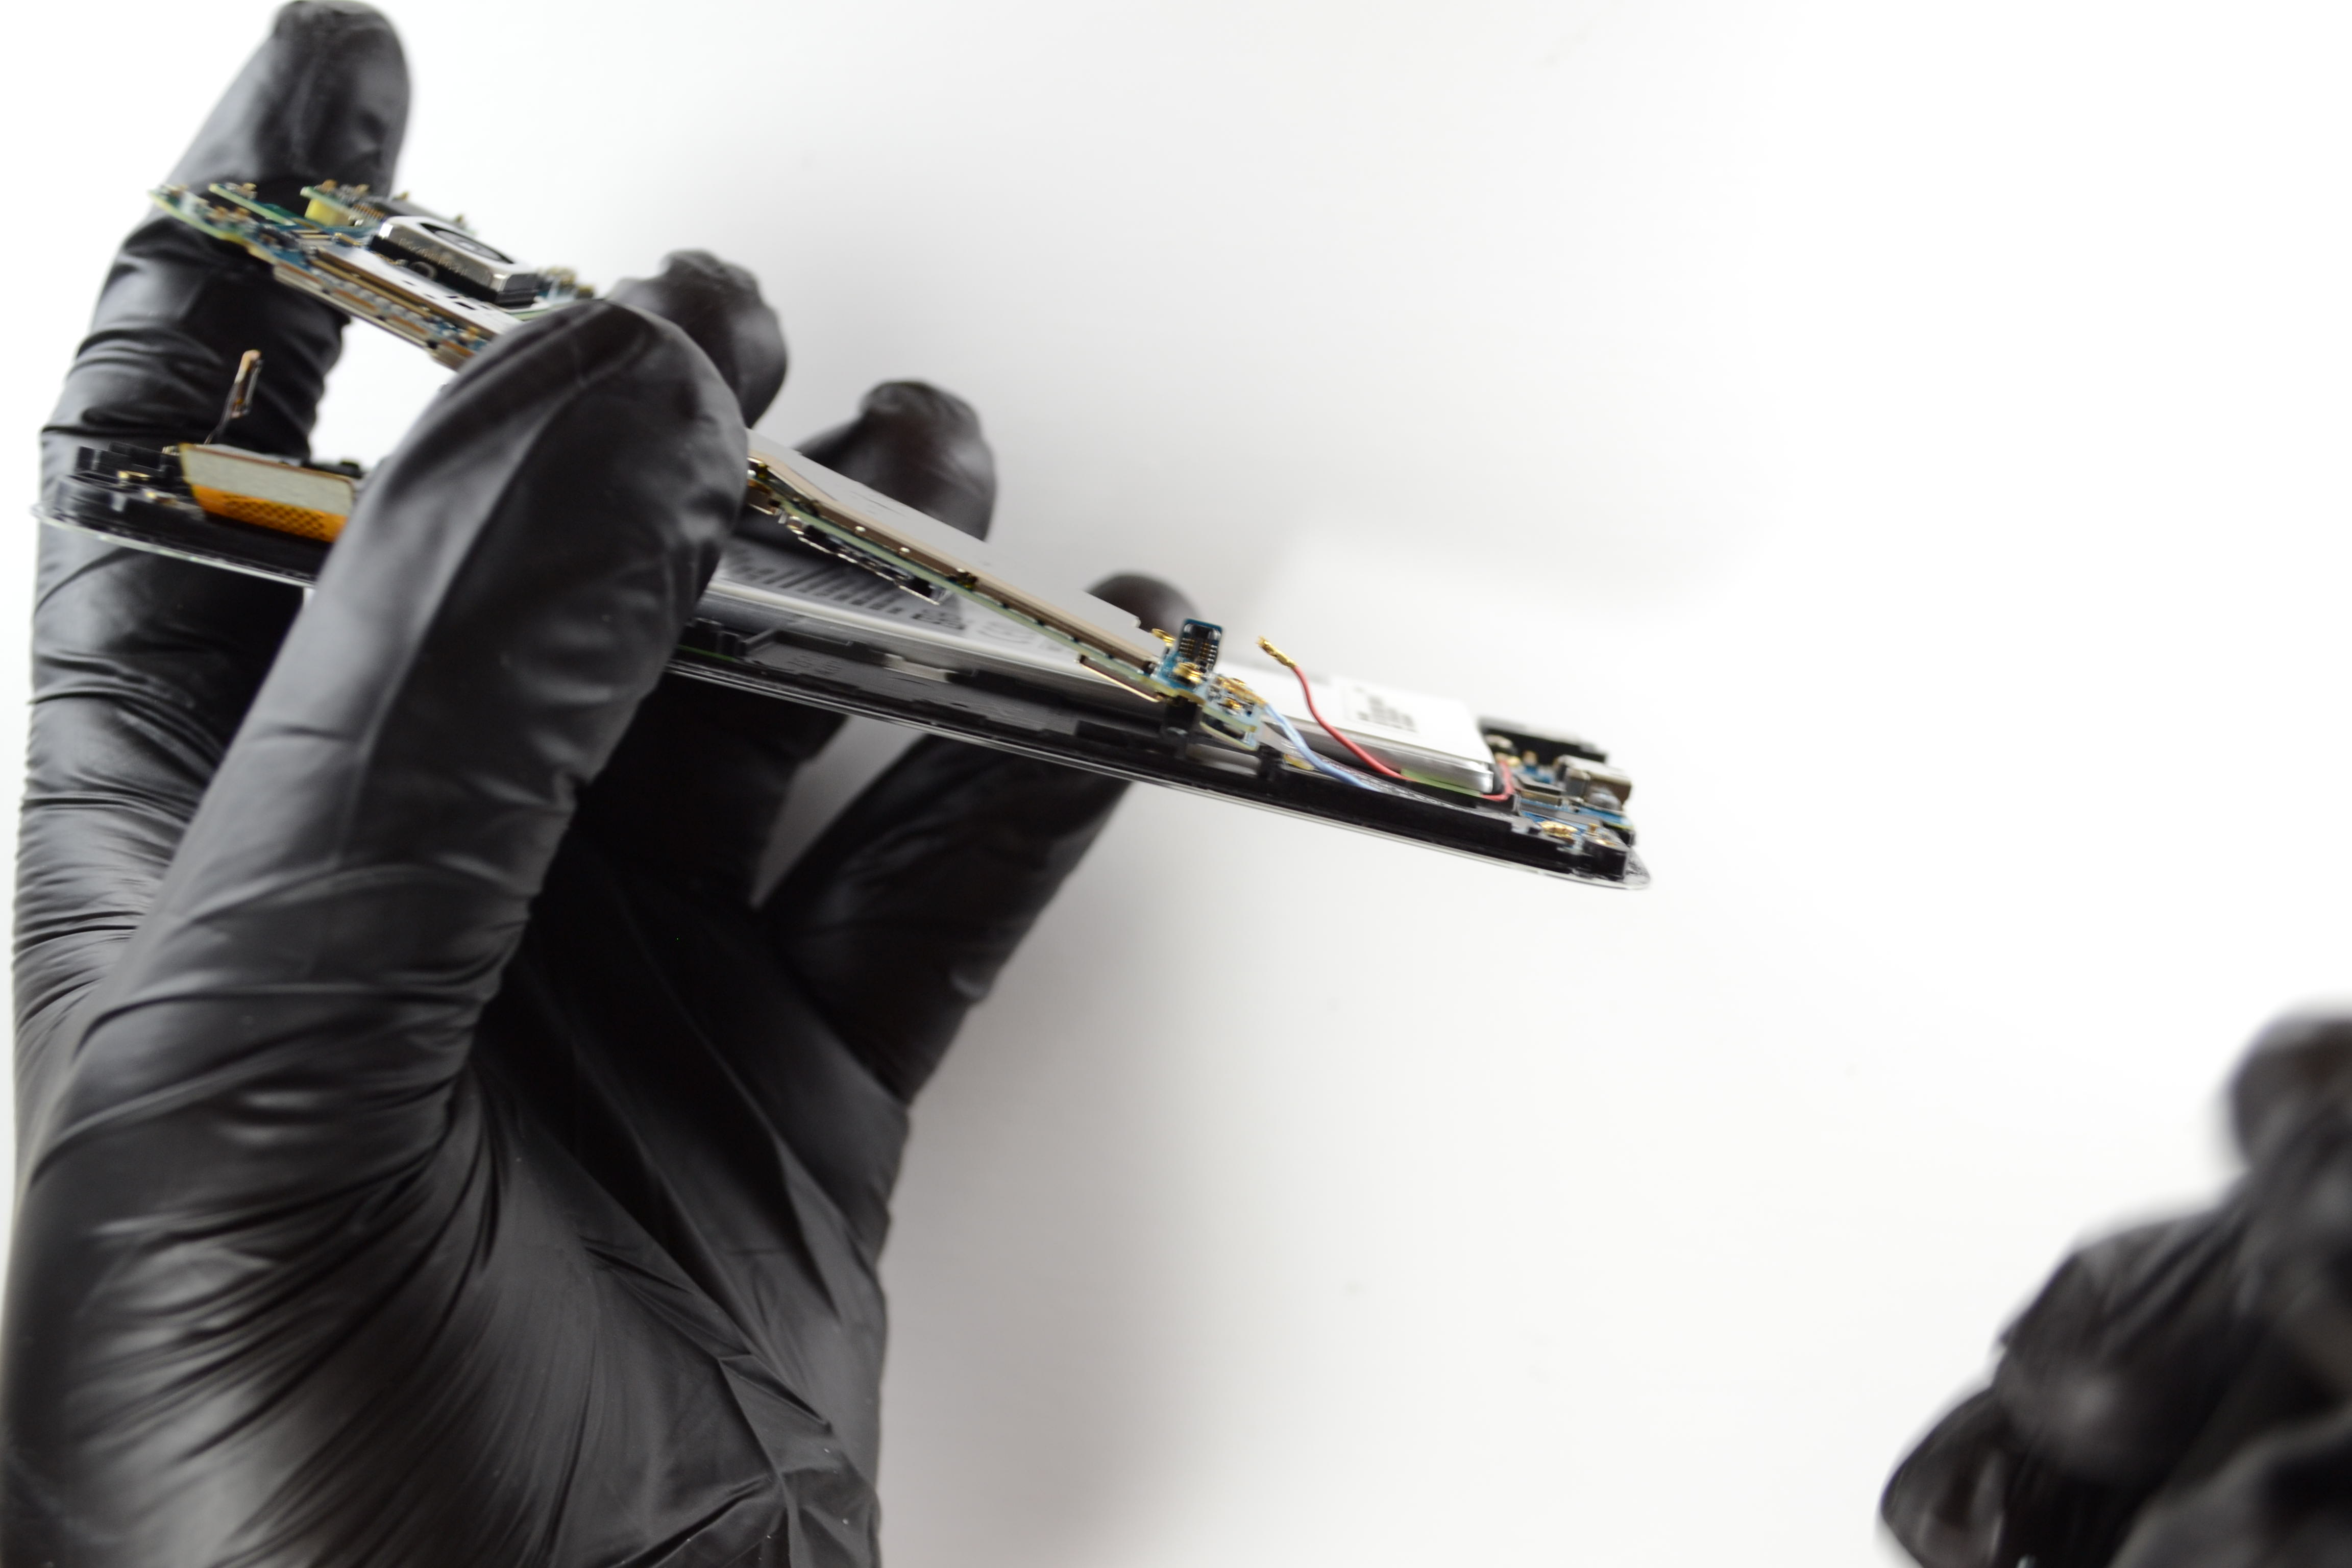
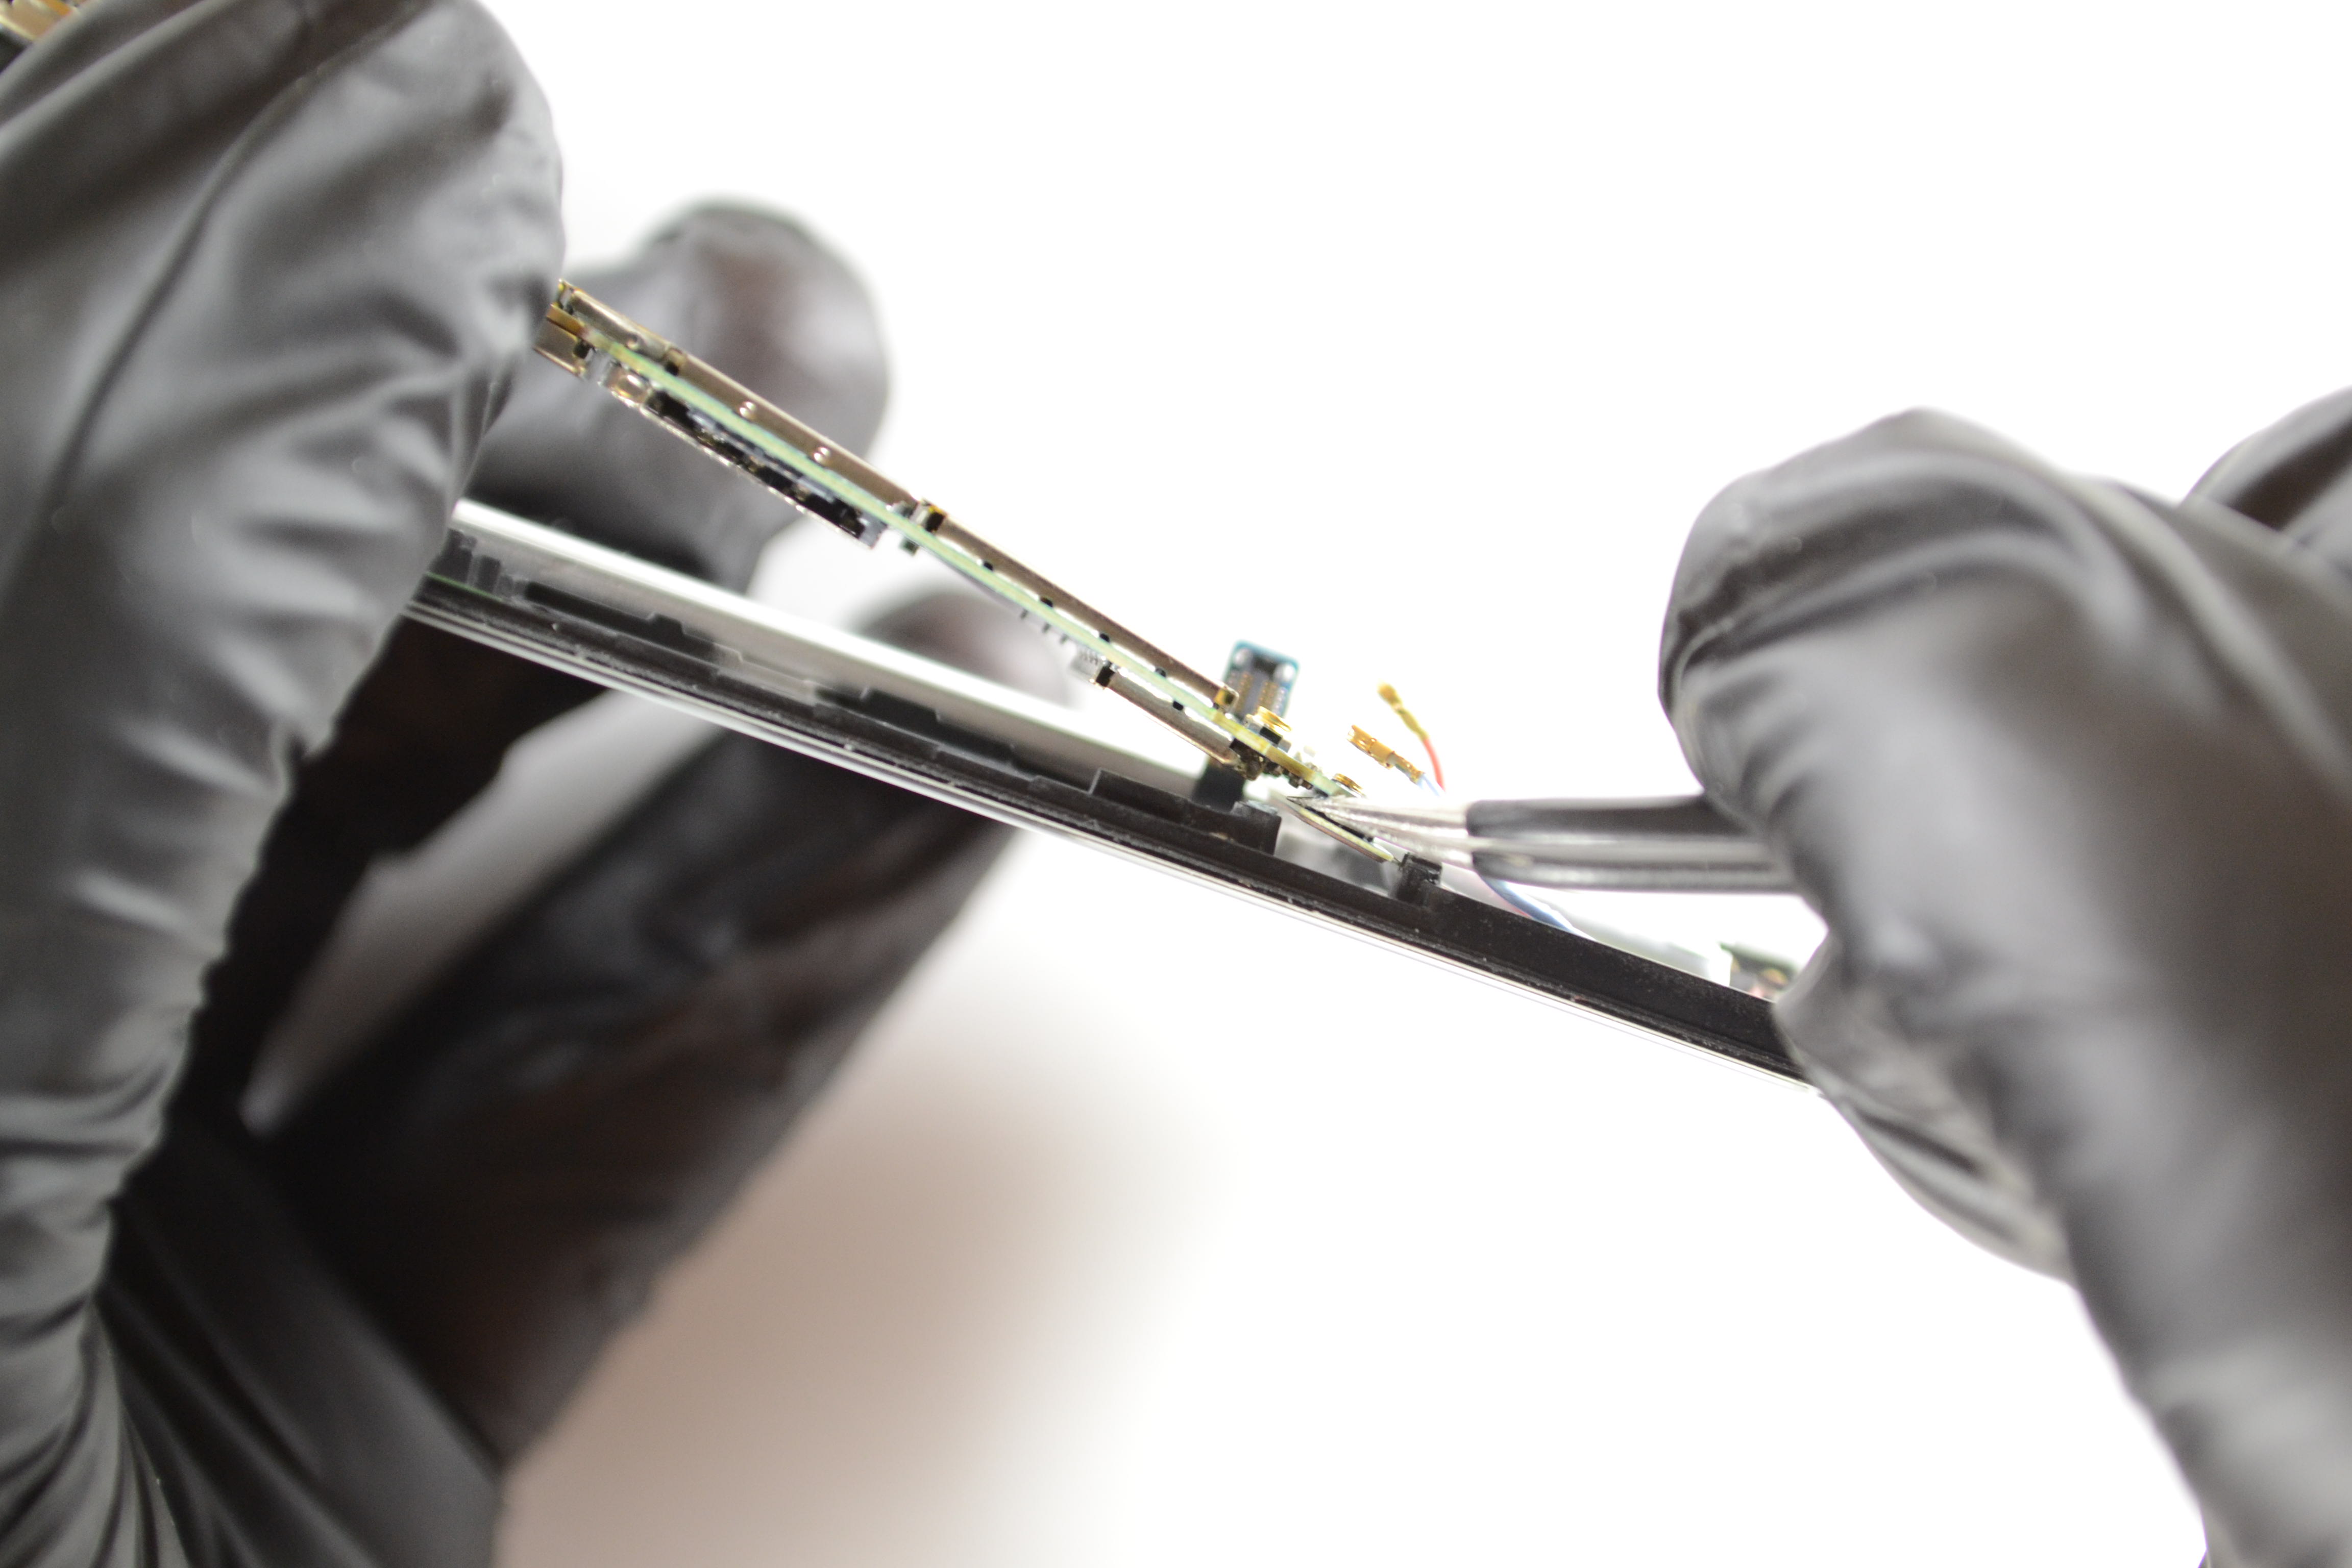
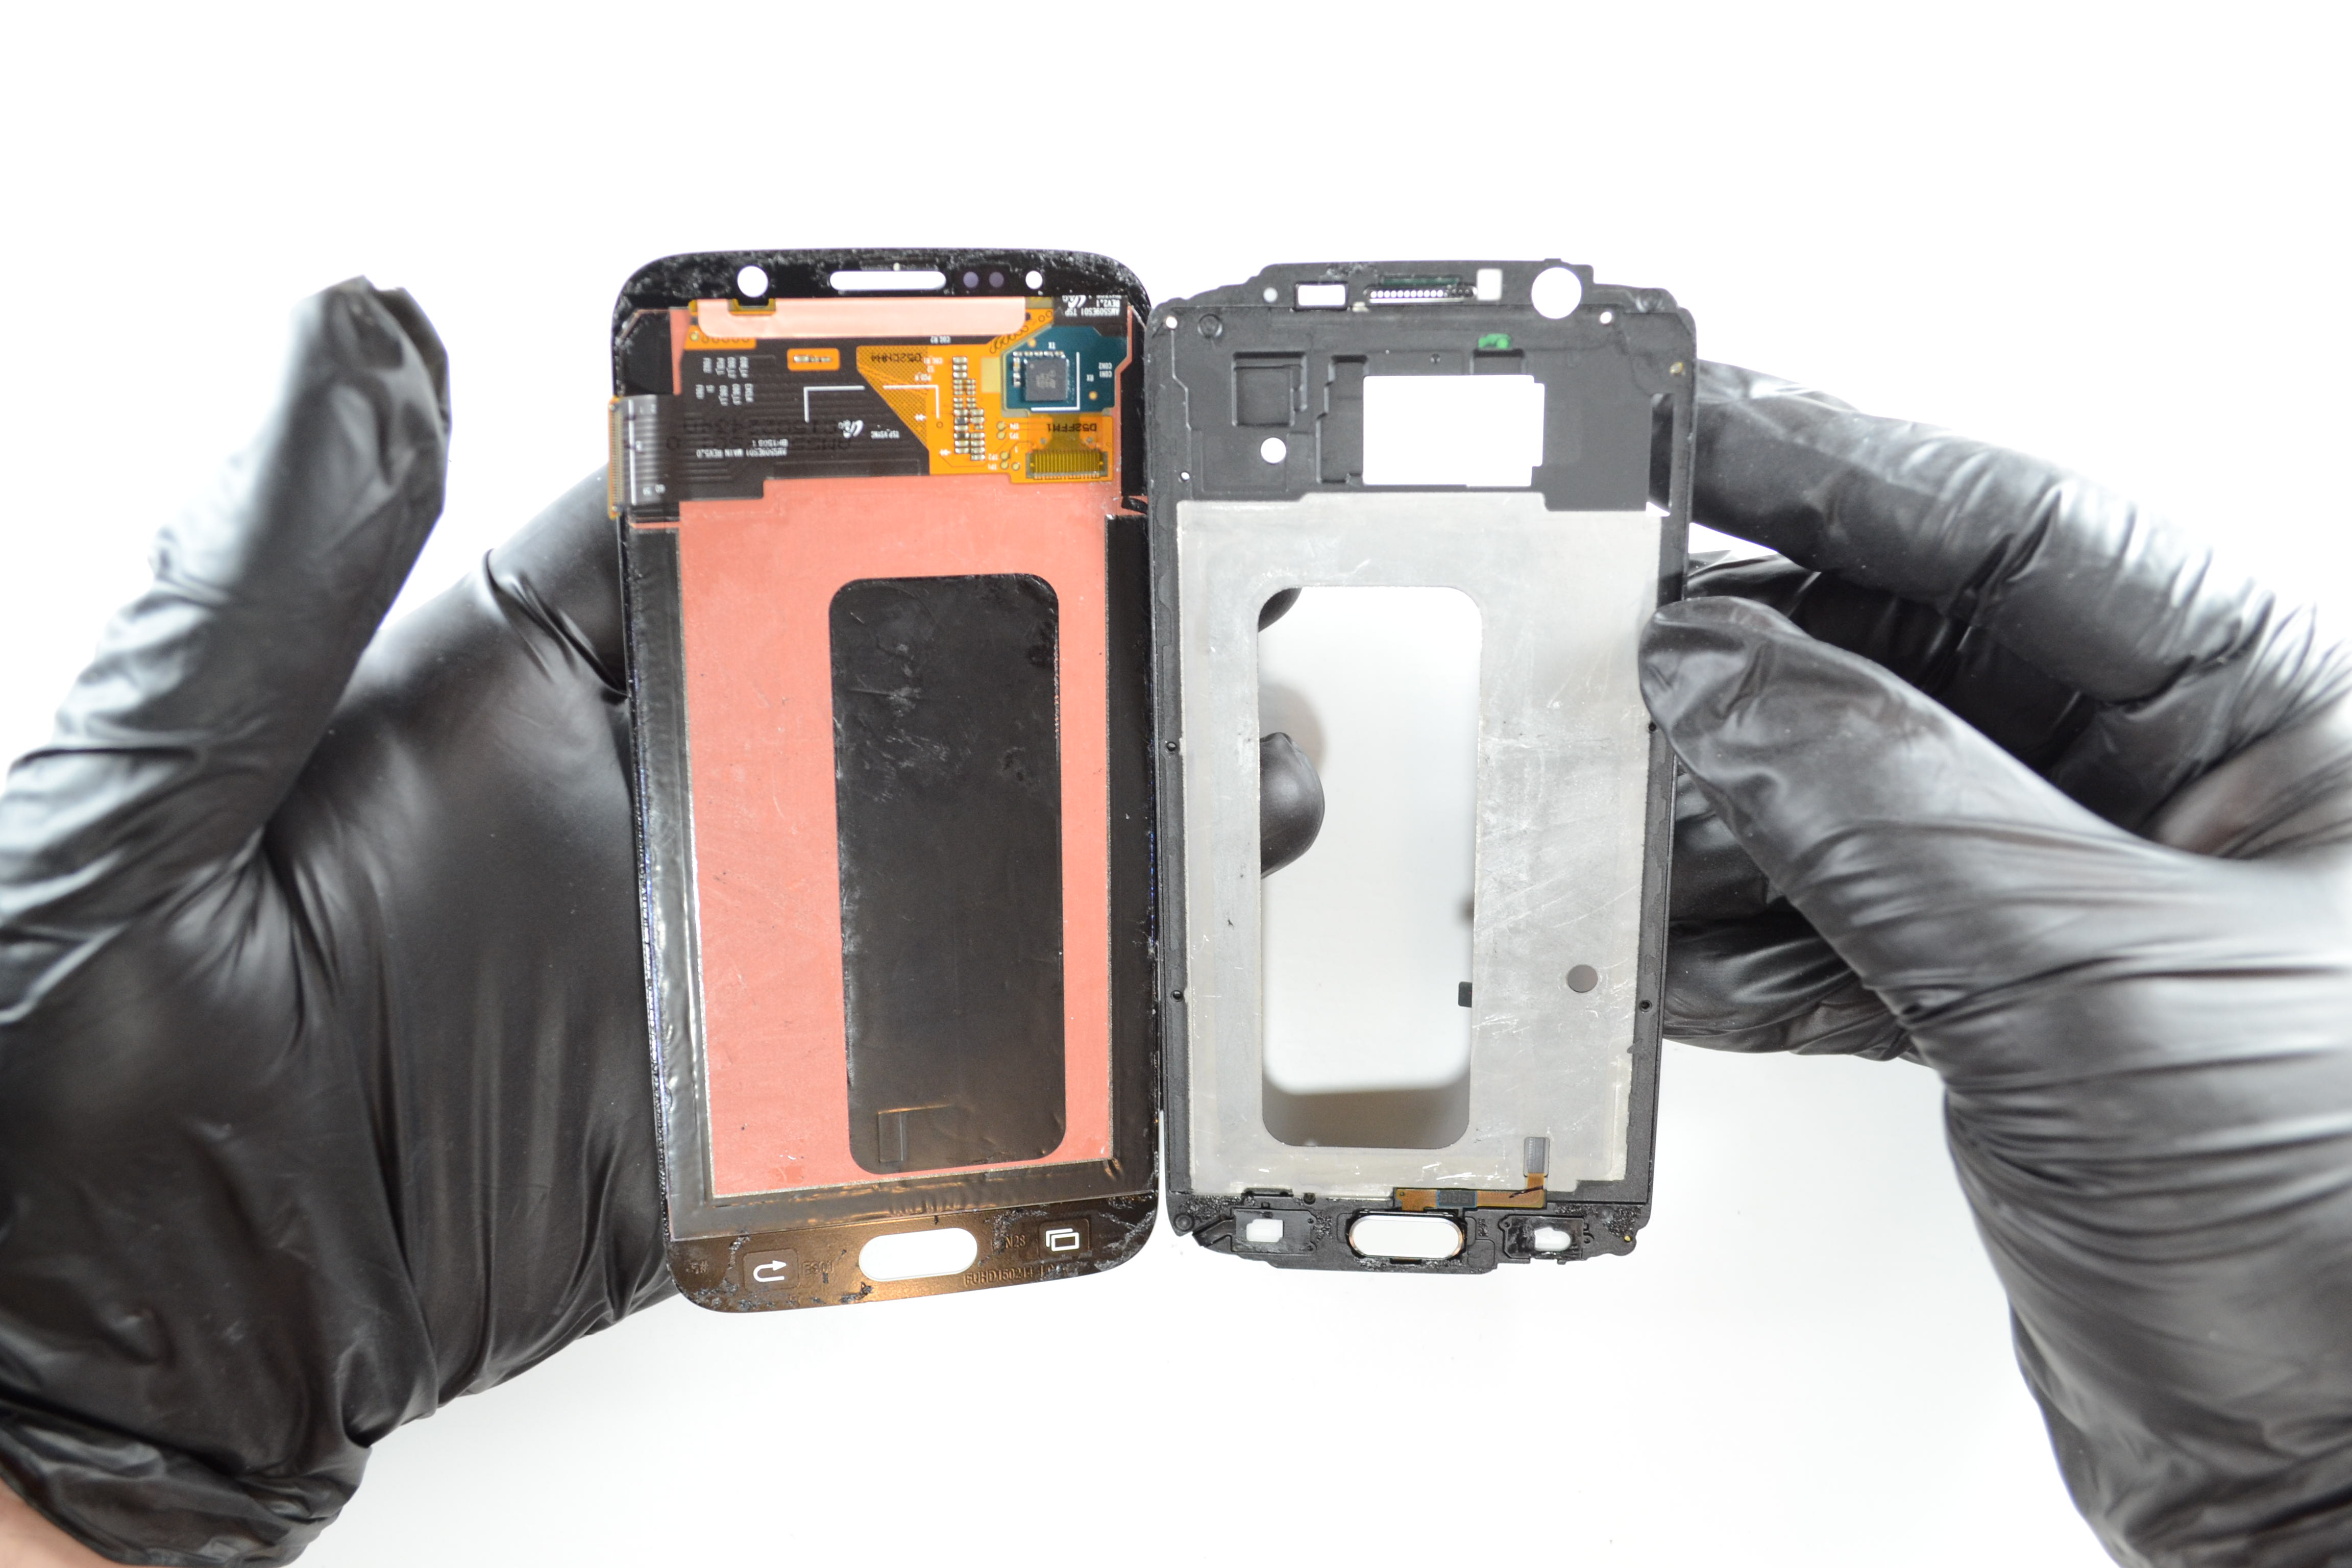
Step 11: Heat & Separate the LCD from the LCD Frame
Use your Heat Gun to heat both sides of the LCD and the LCD frame. Then, use your iSesamo Opening Tool and your Plastic Opening Tools to gently pry the two pieces apart. Reheat the device any time you feel resistance.
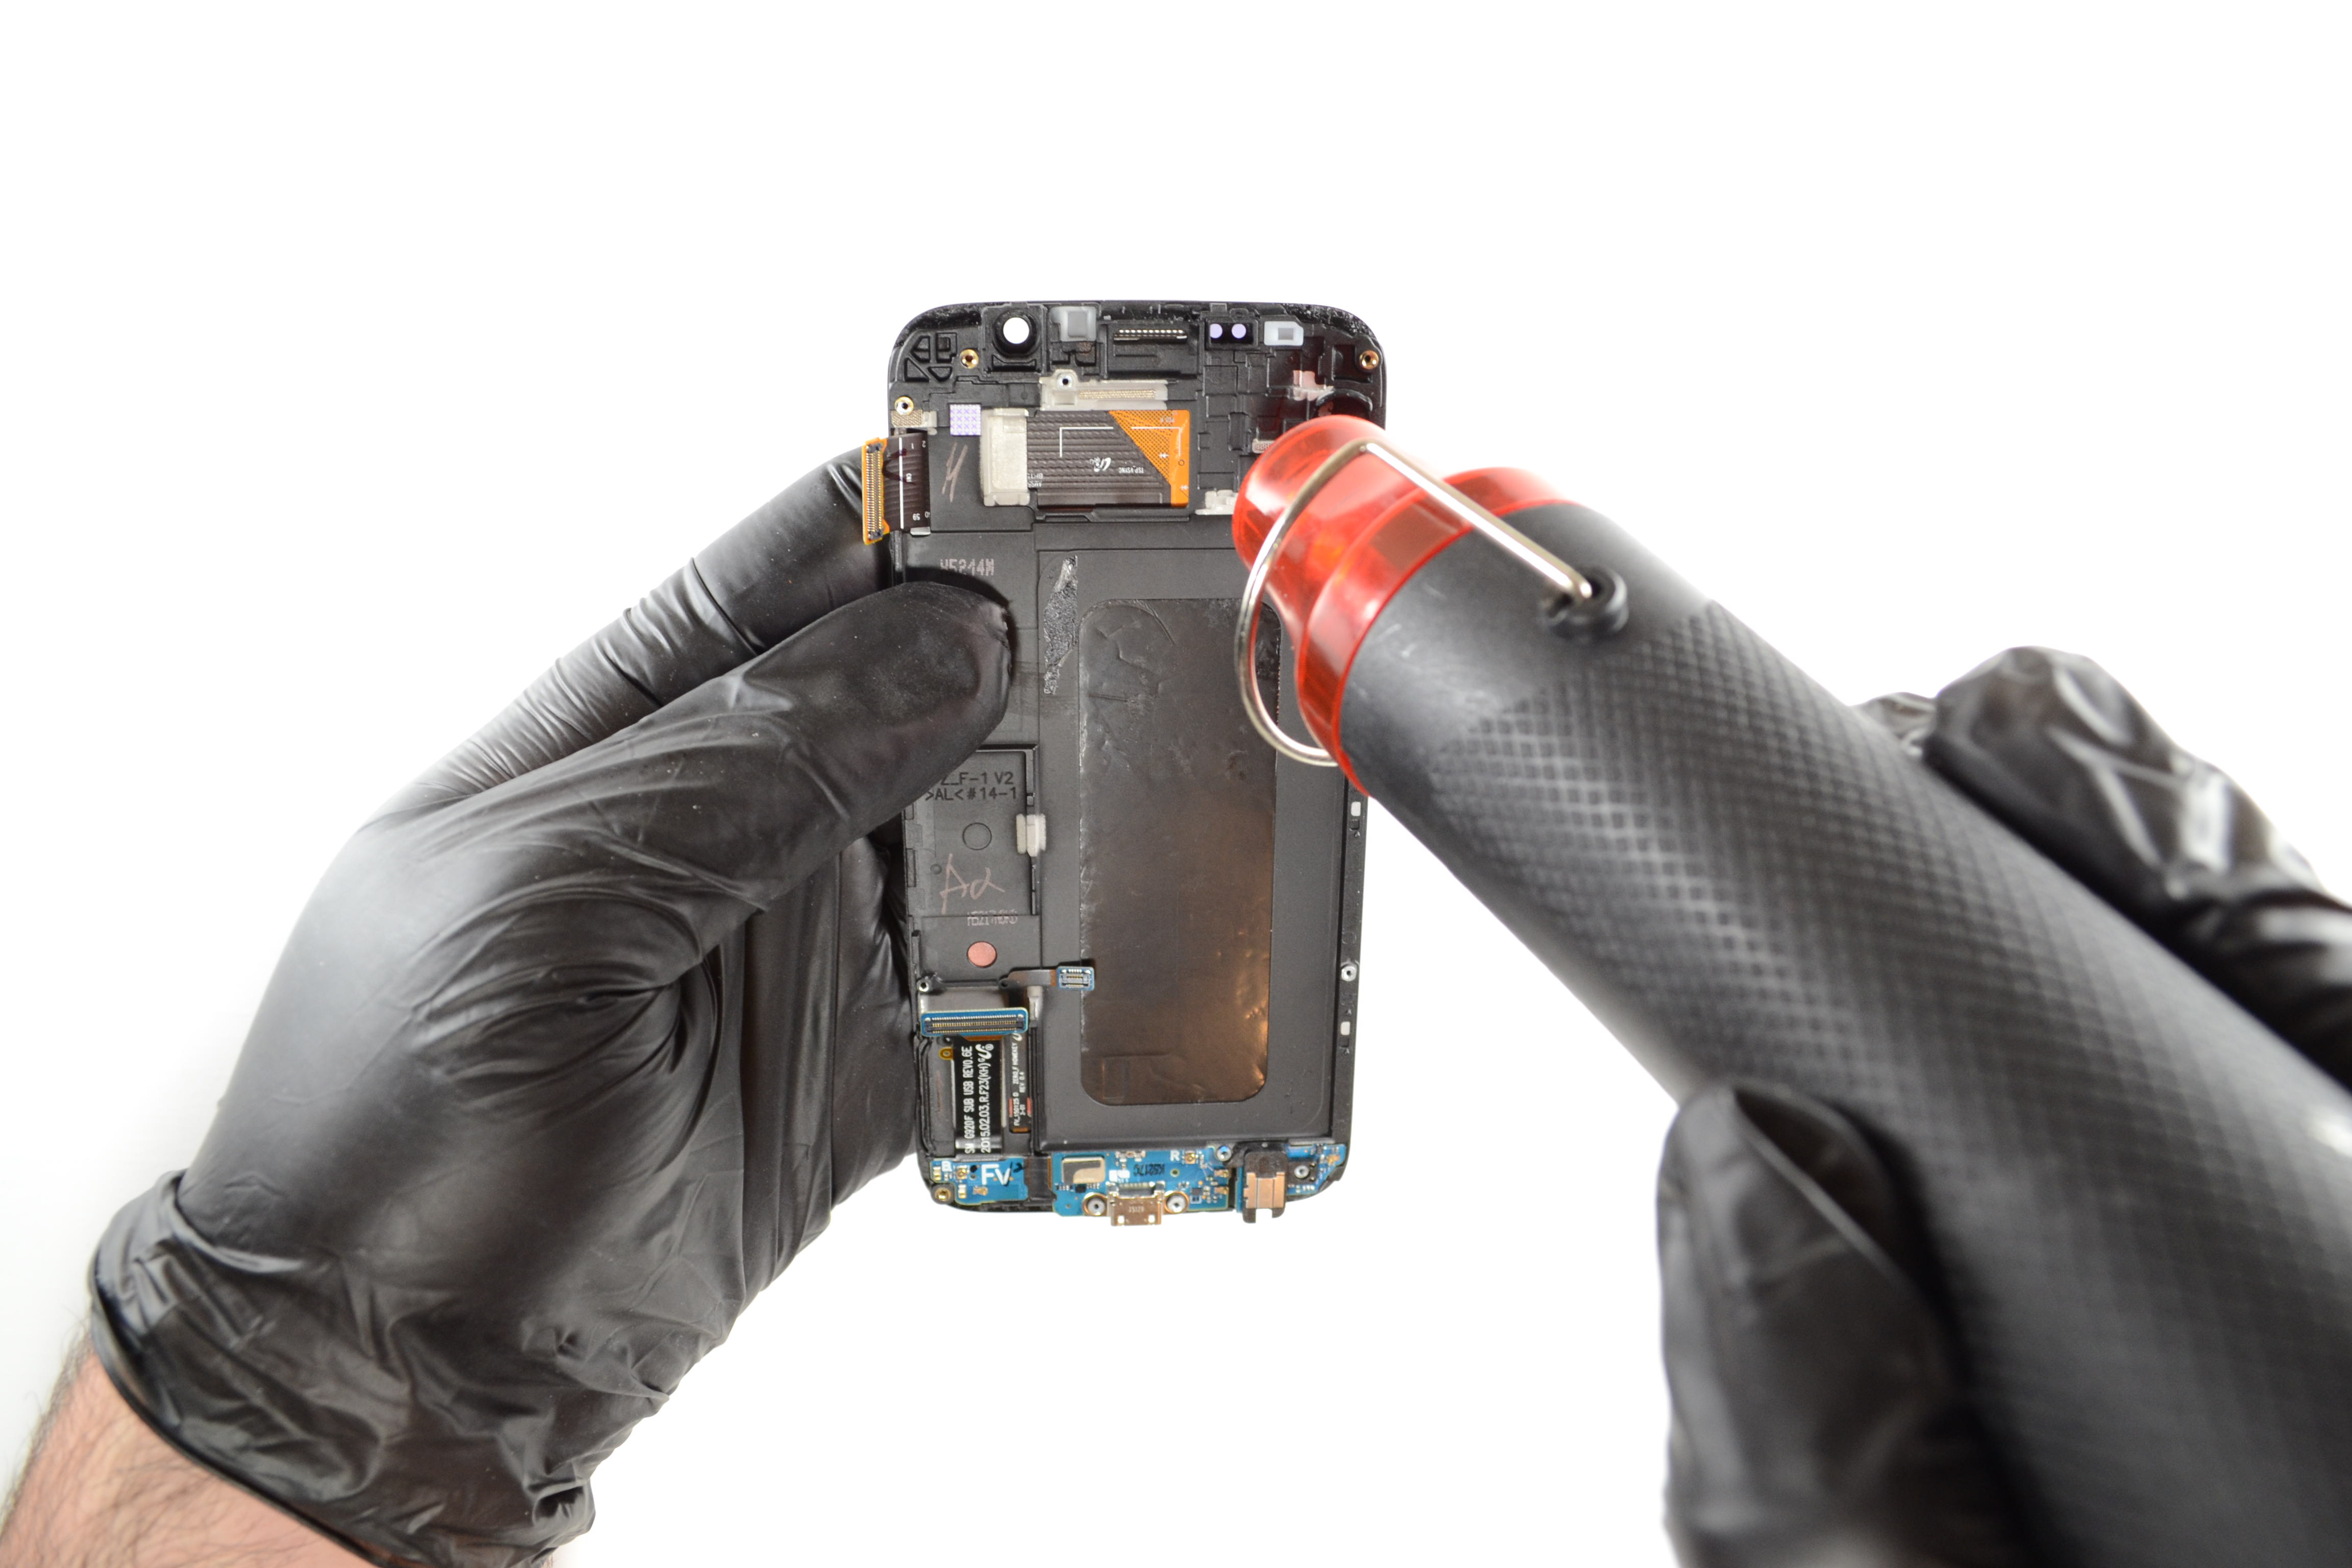
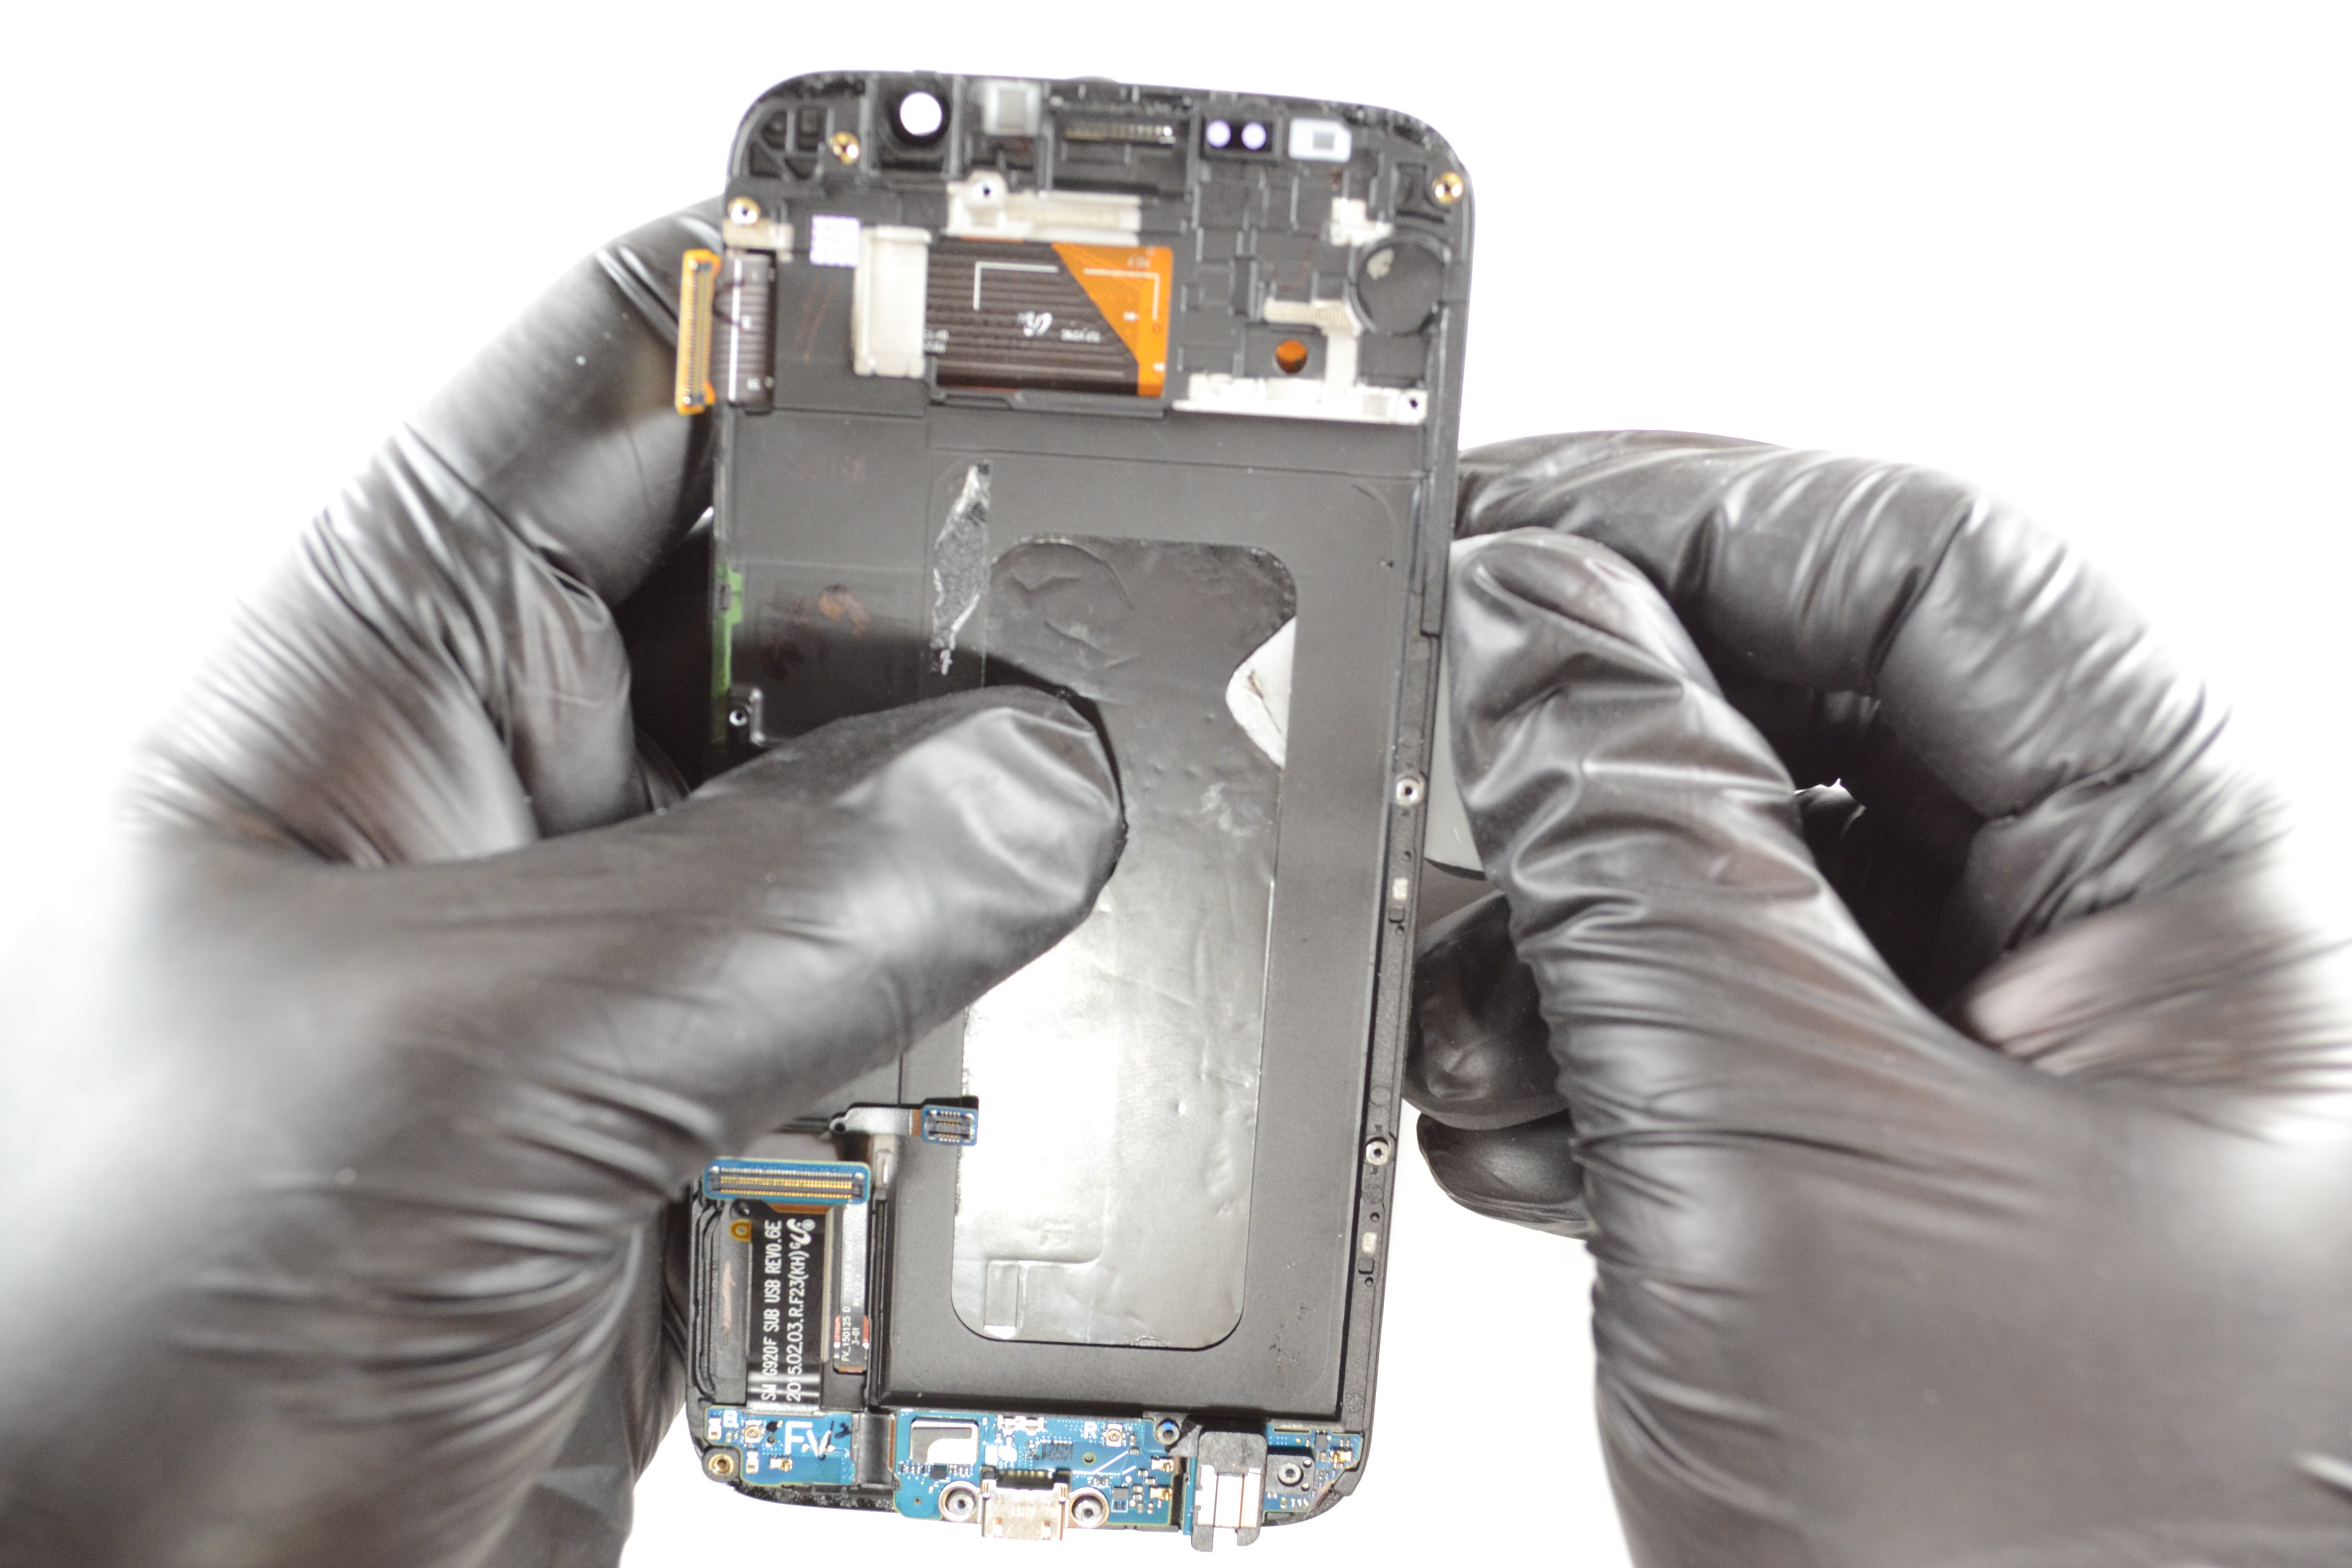
Step 12: Remove the Touch Keys
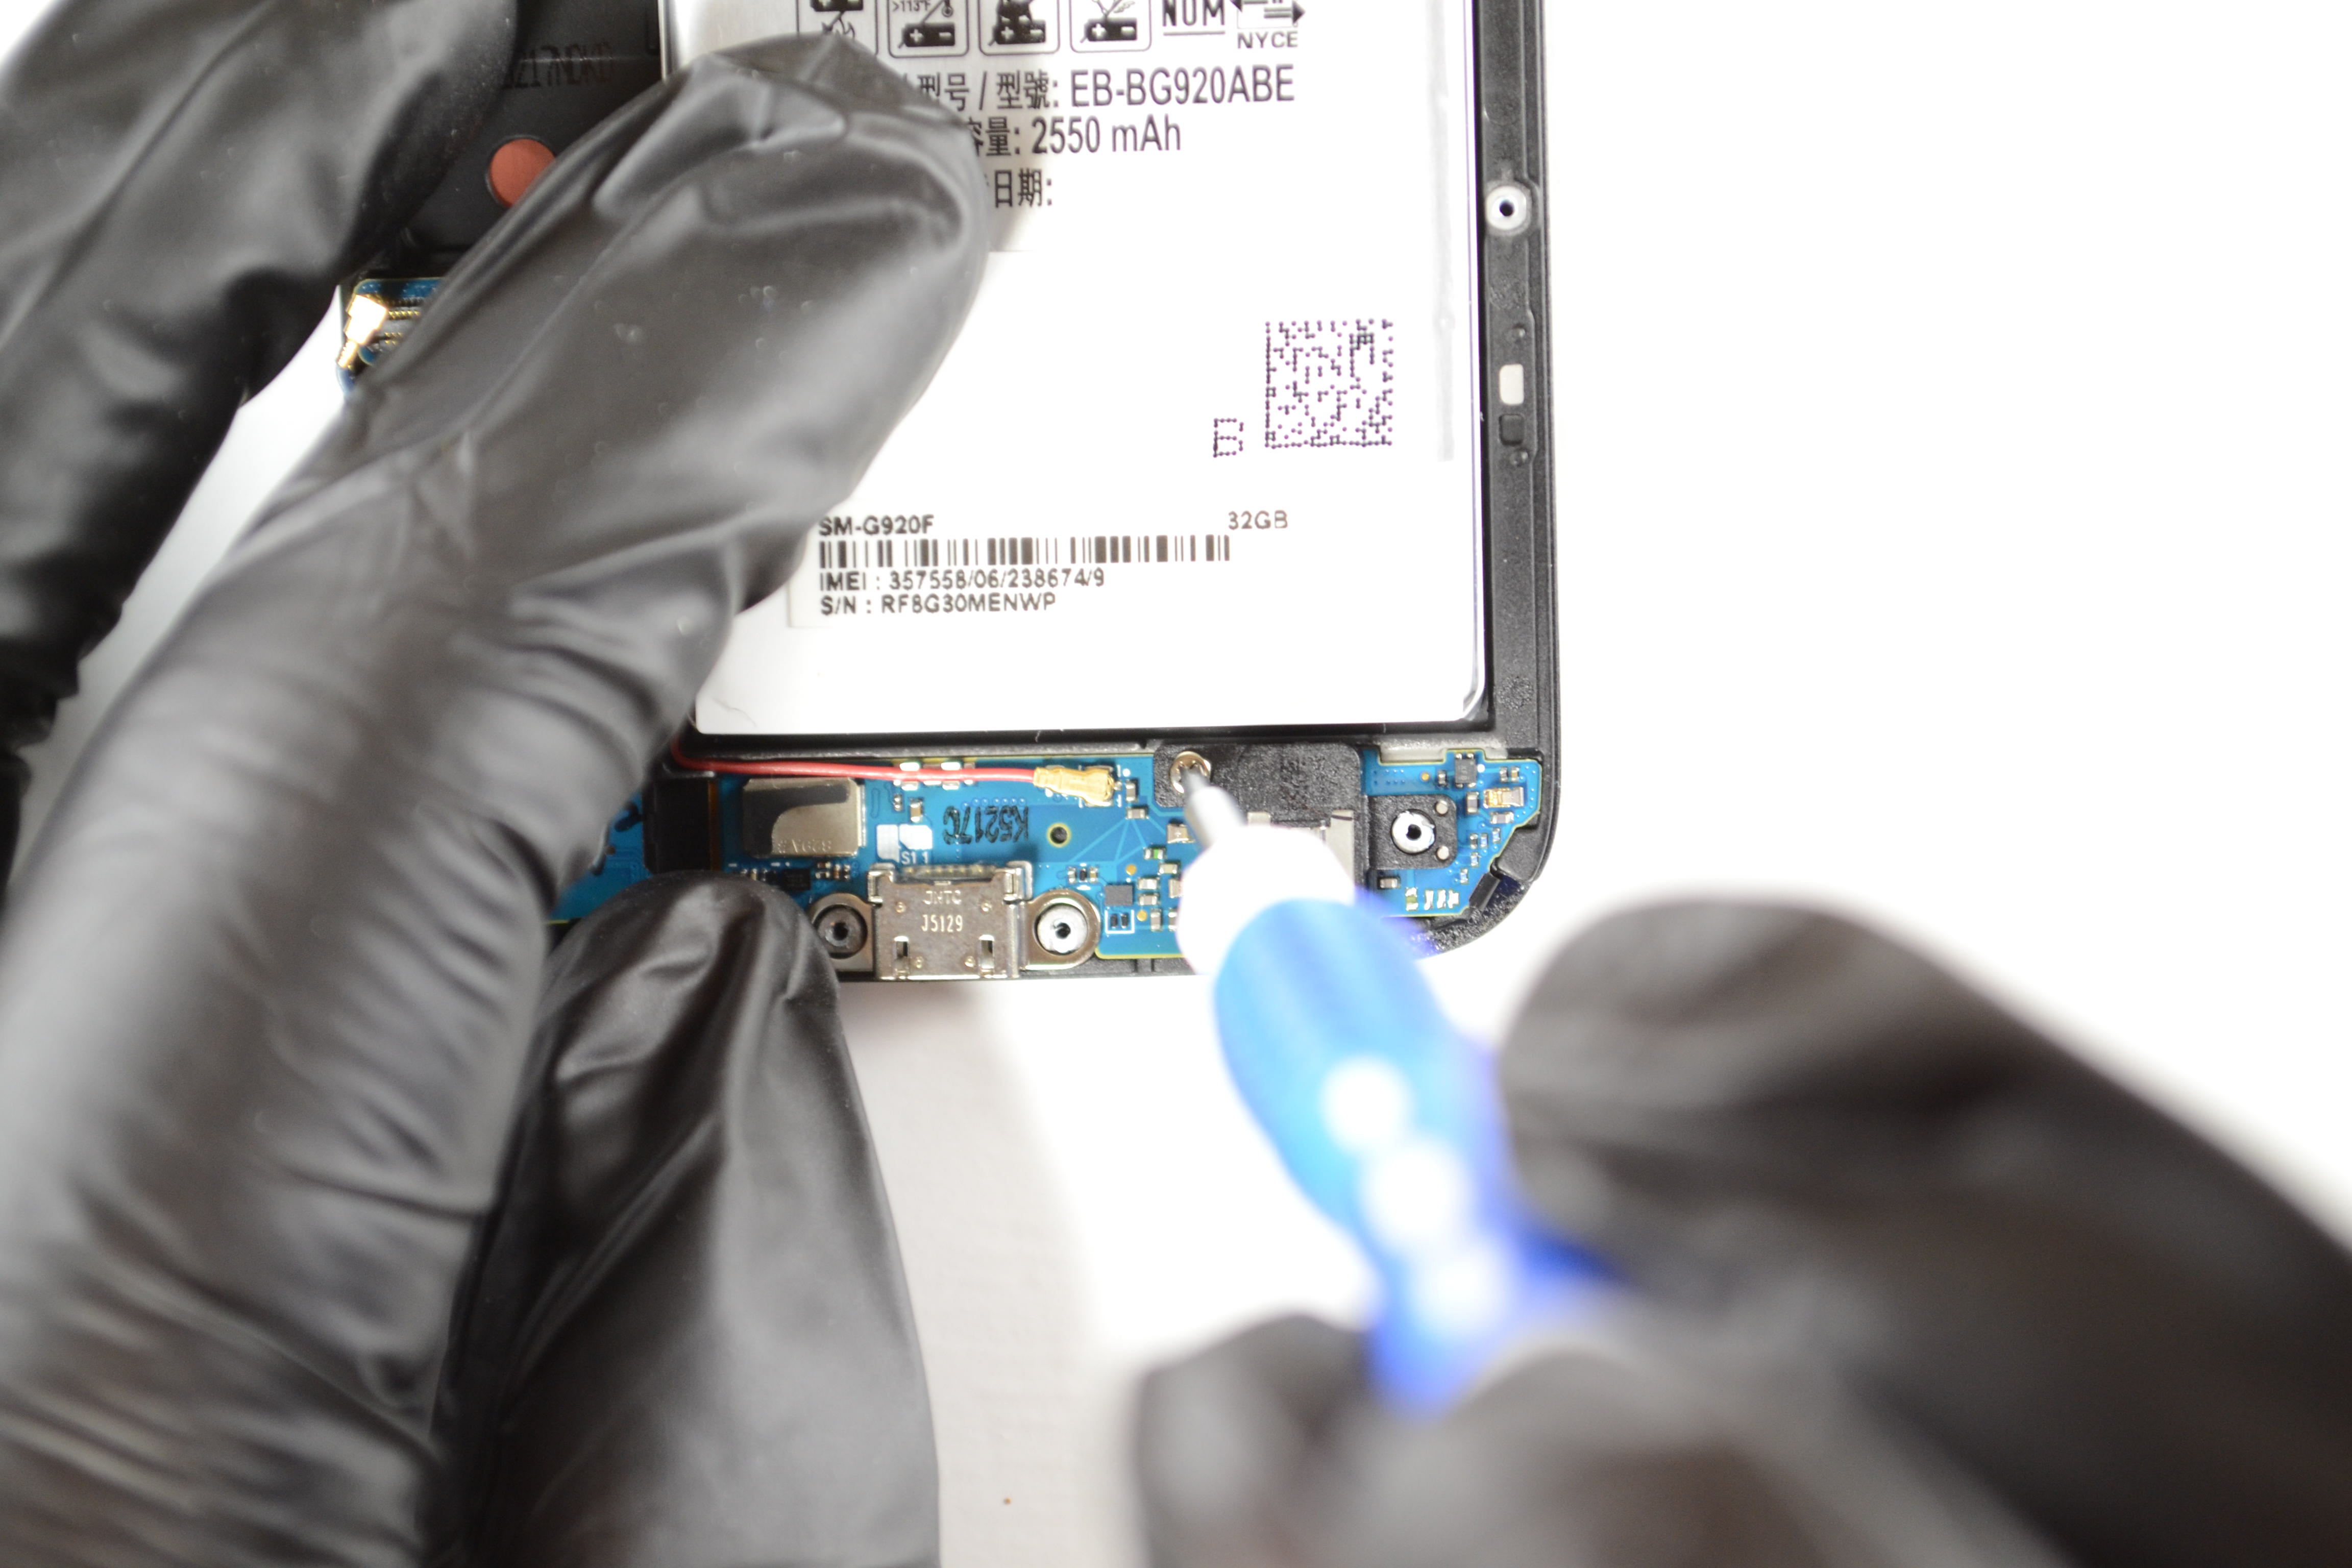
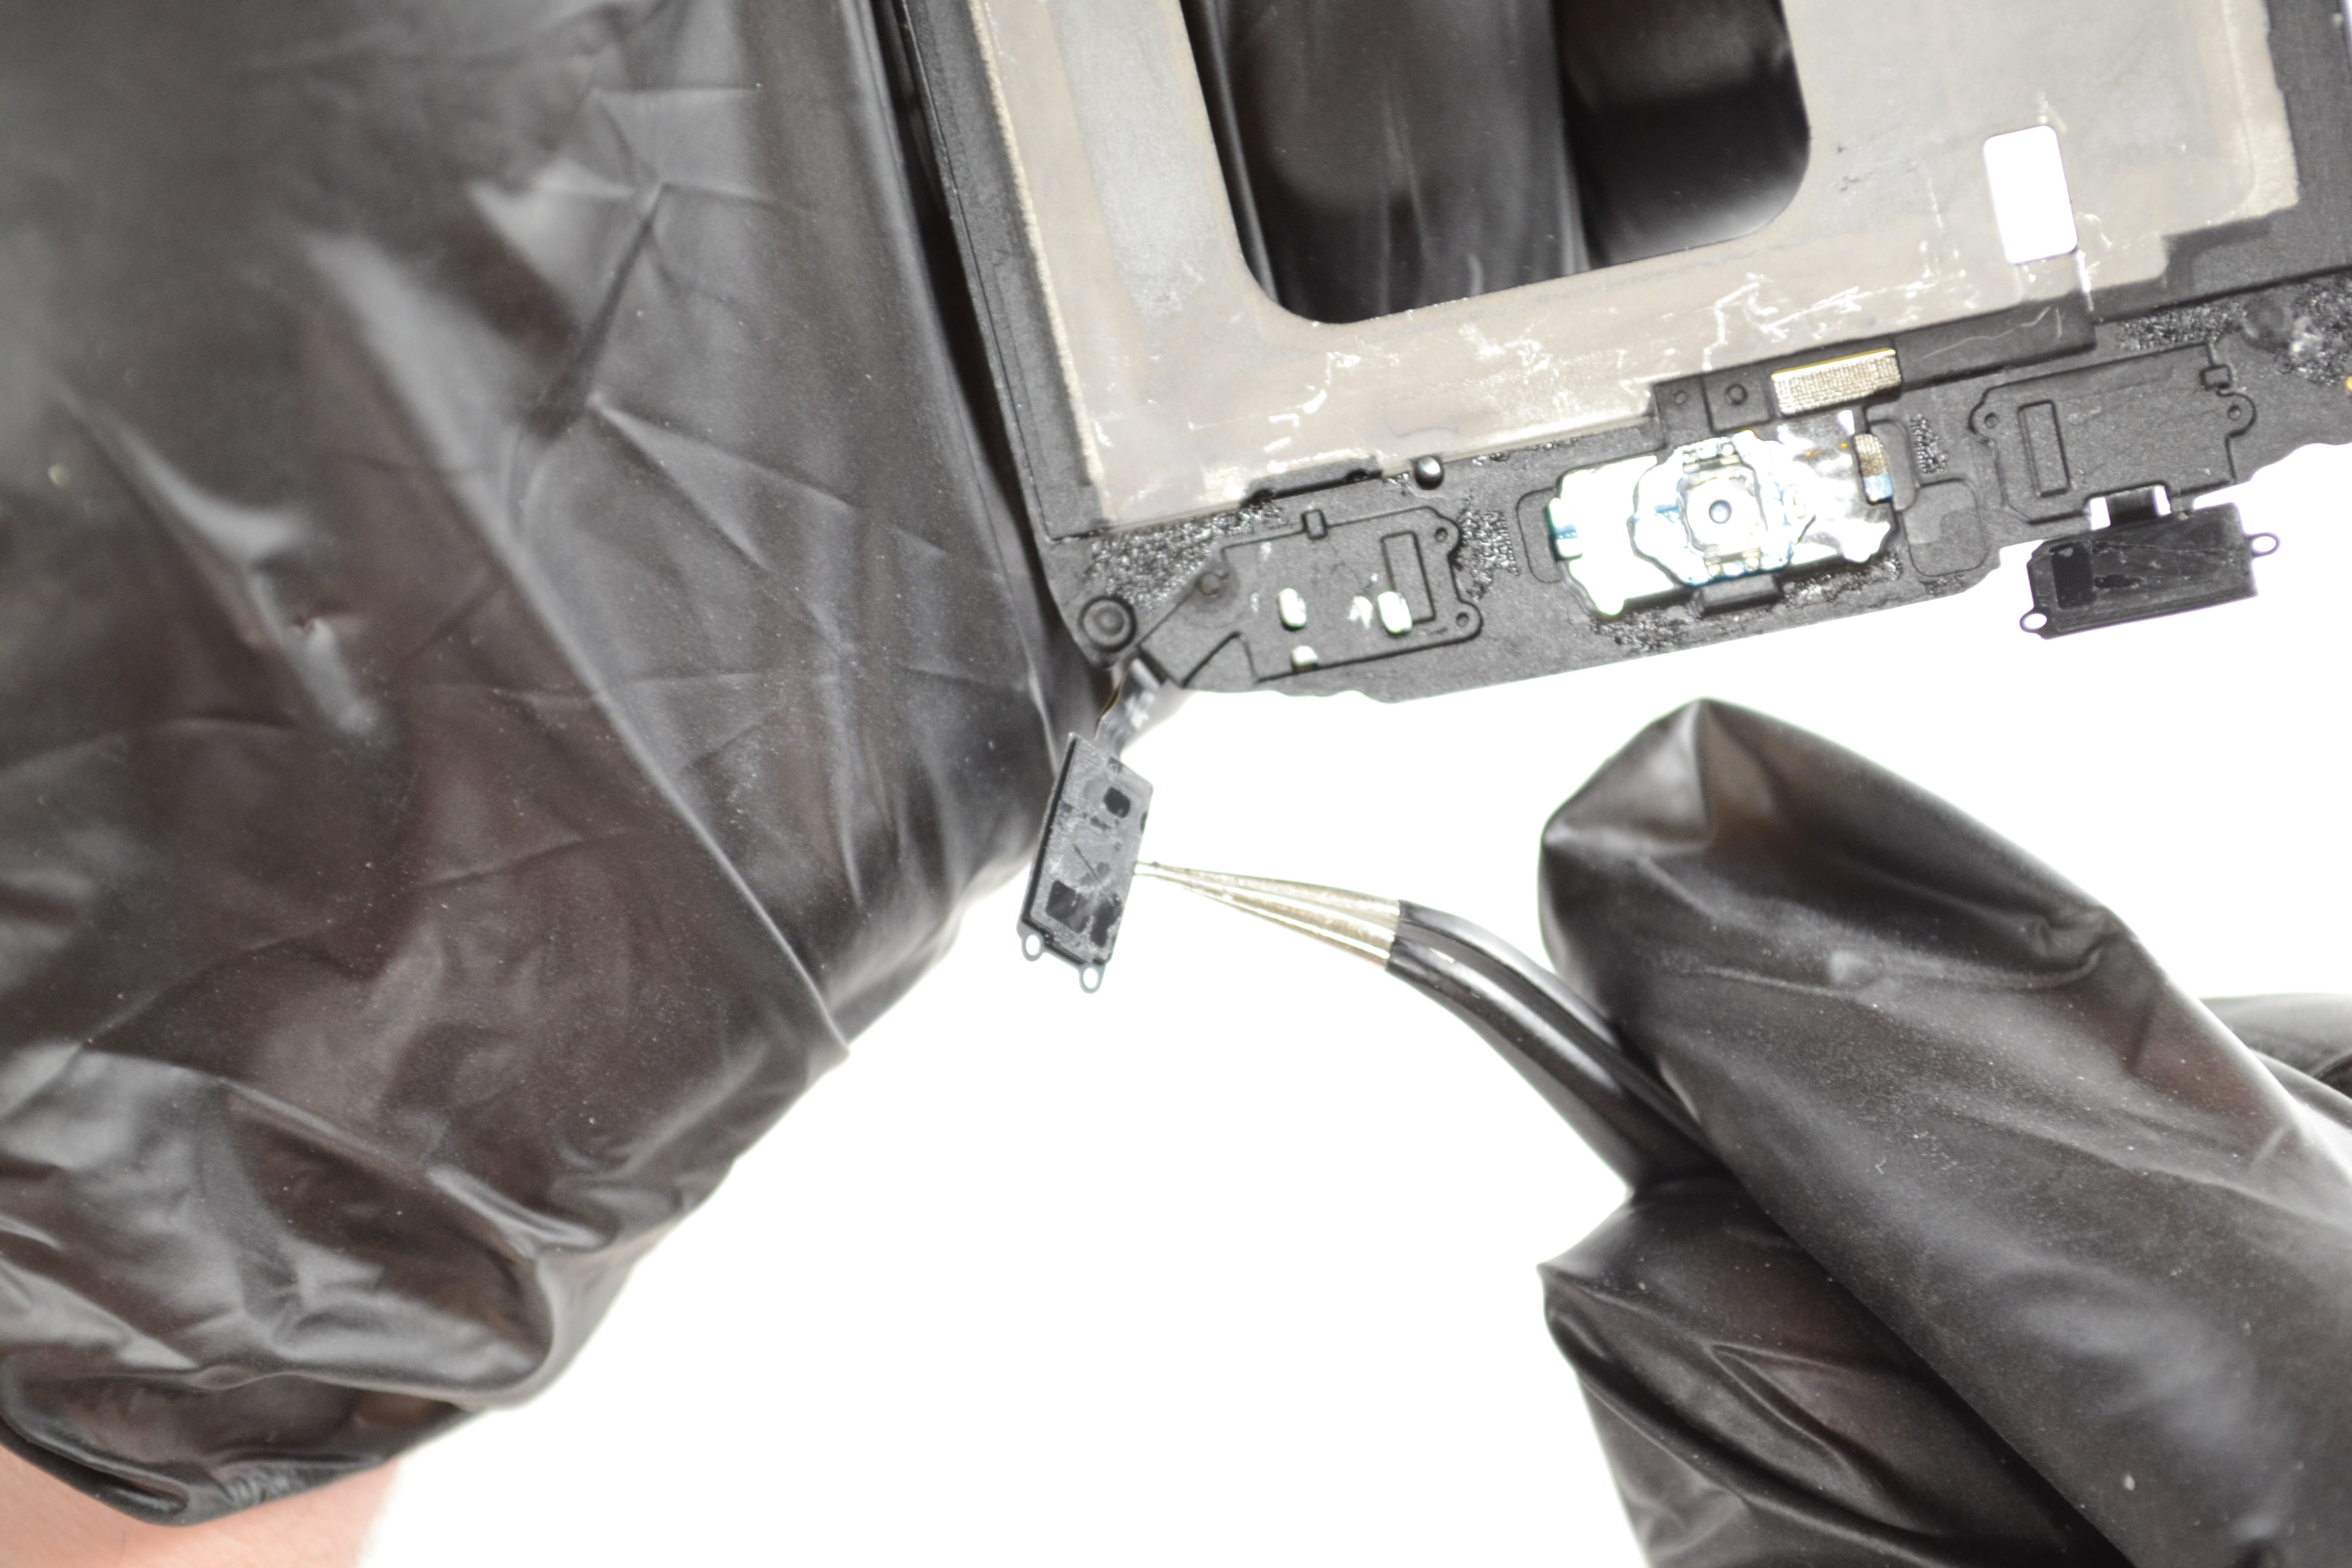
Use your Small Phillips Screwdriver to remove the single screw located near the headphone jack. Then, use the Fine Tip Curved Tweezers to remove the touch keys.
Step 13: Remove the Dock Port Flex from the Frame
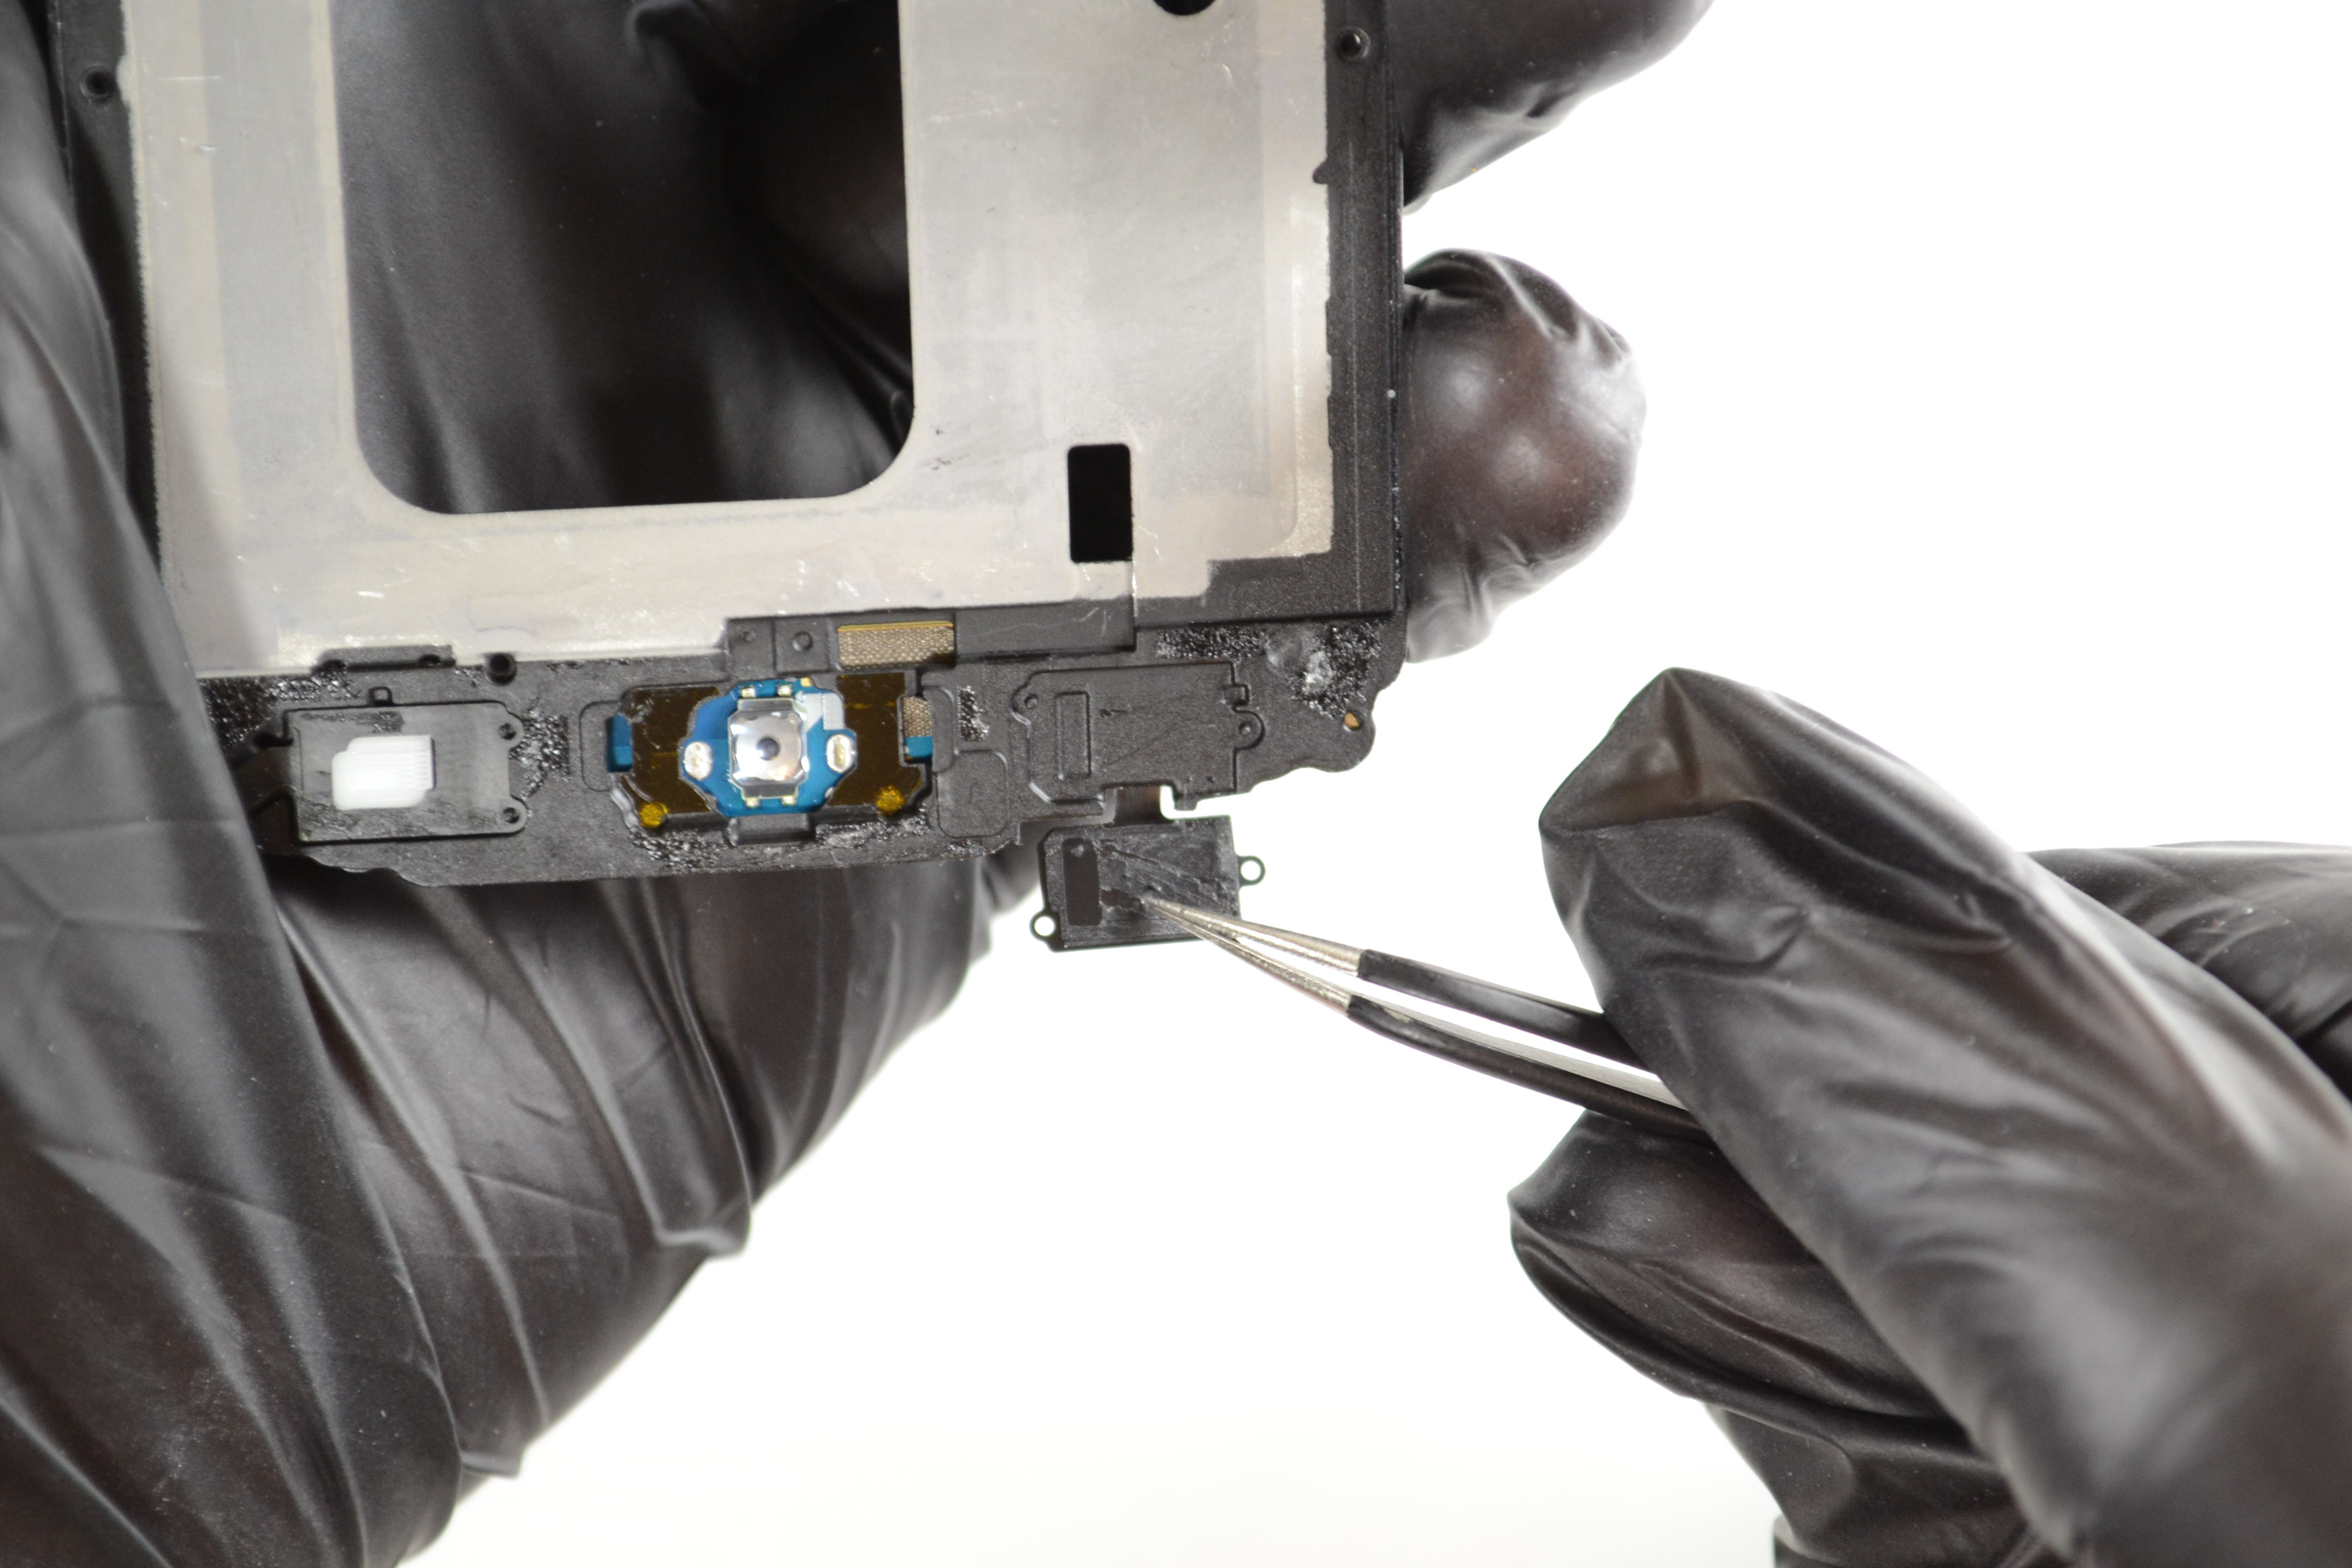
Use your Fine Tip Curved Tweezers to pry the dock port flex away from the frame.
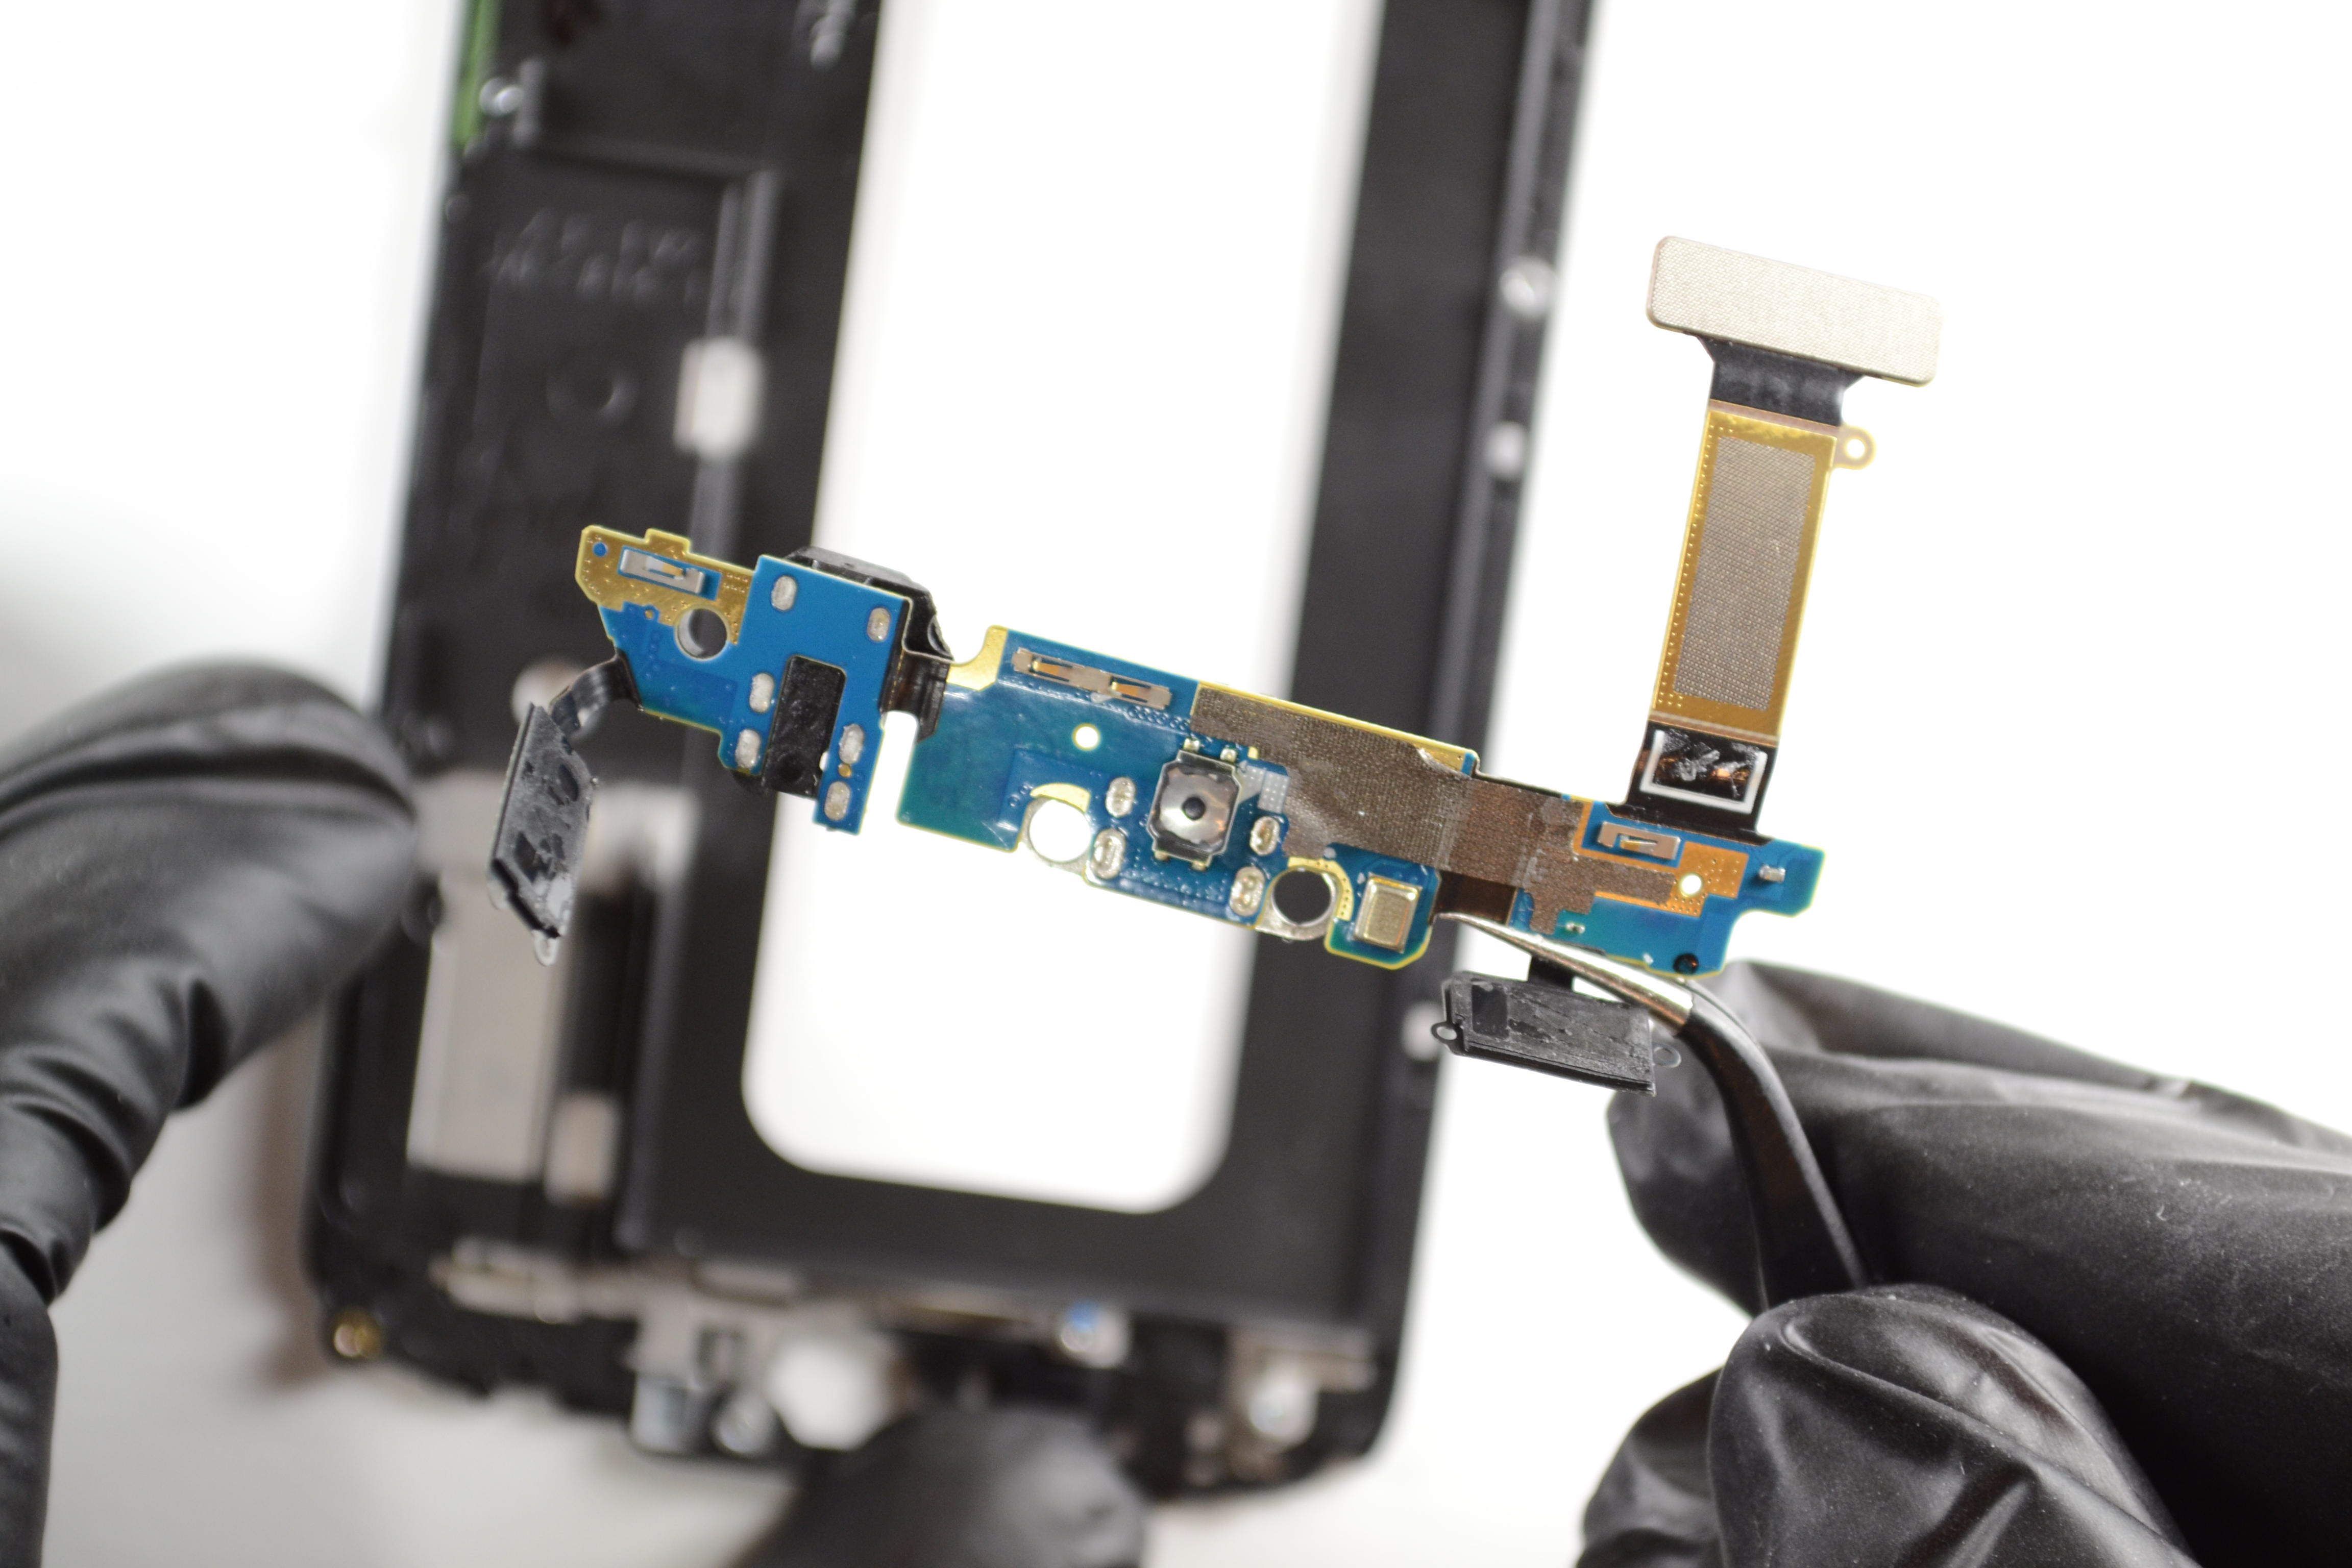
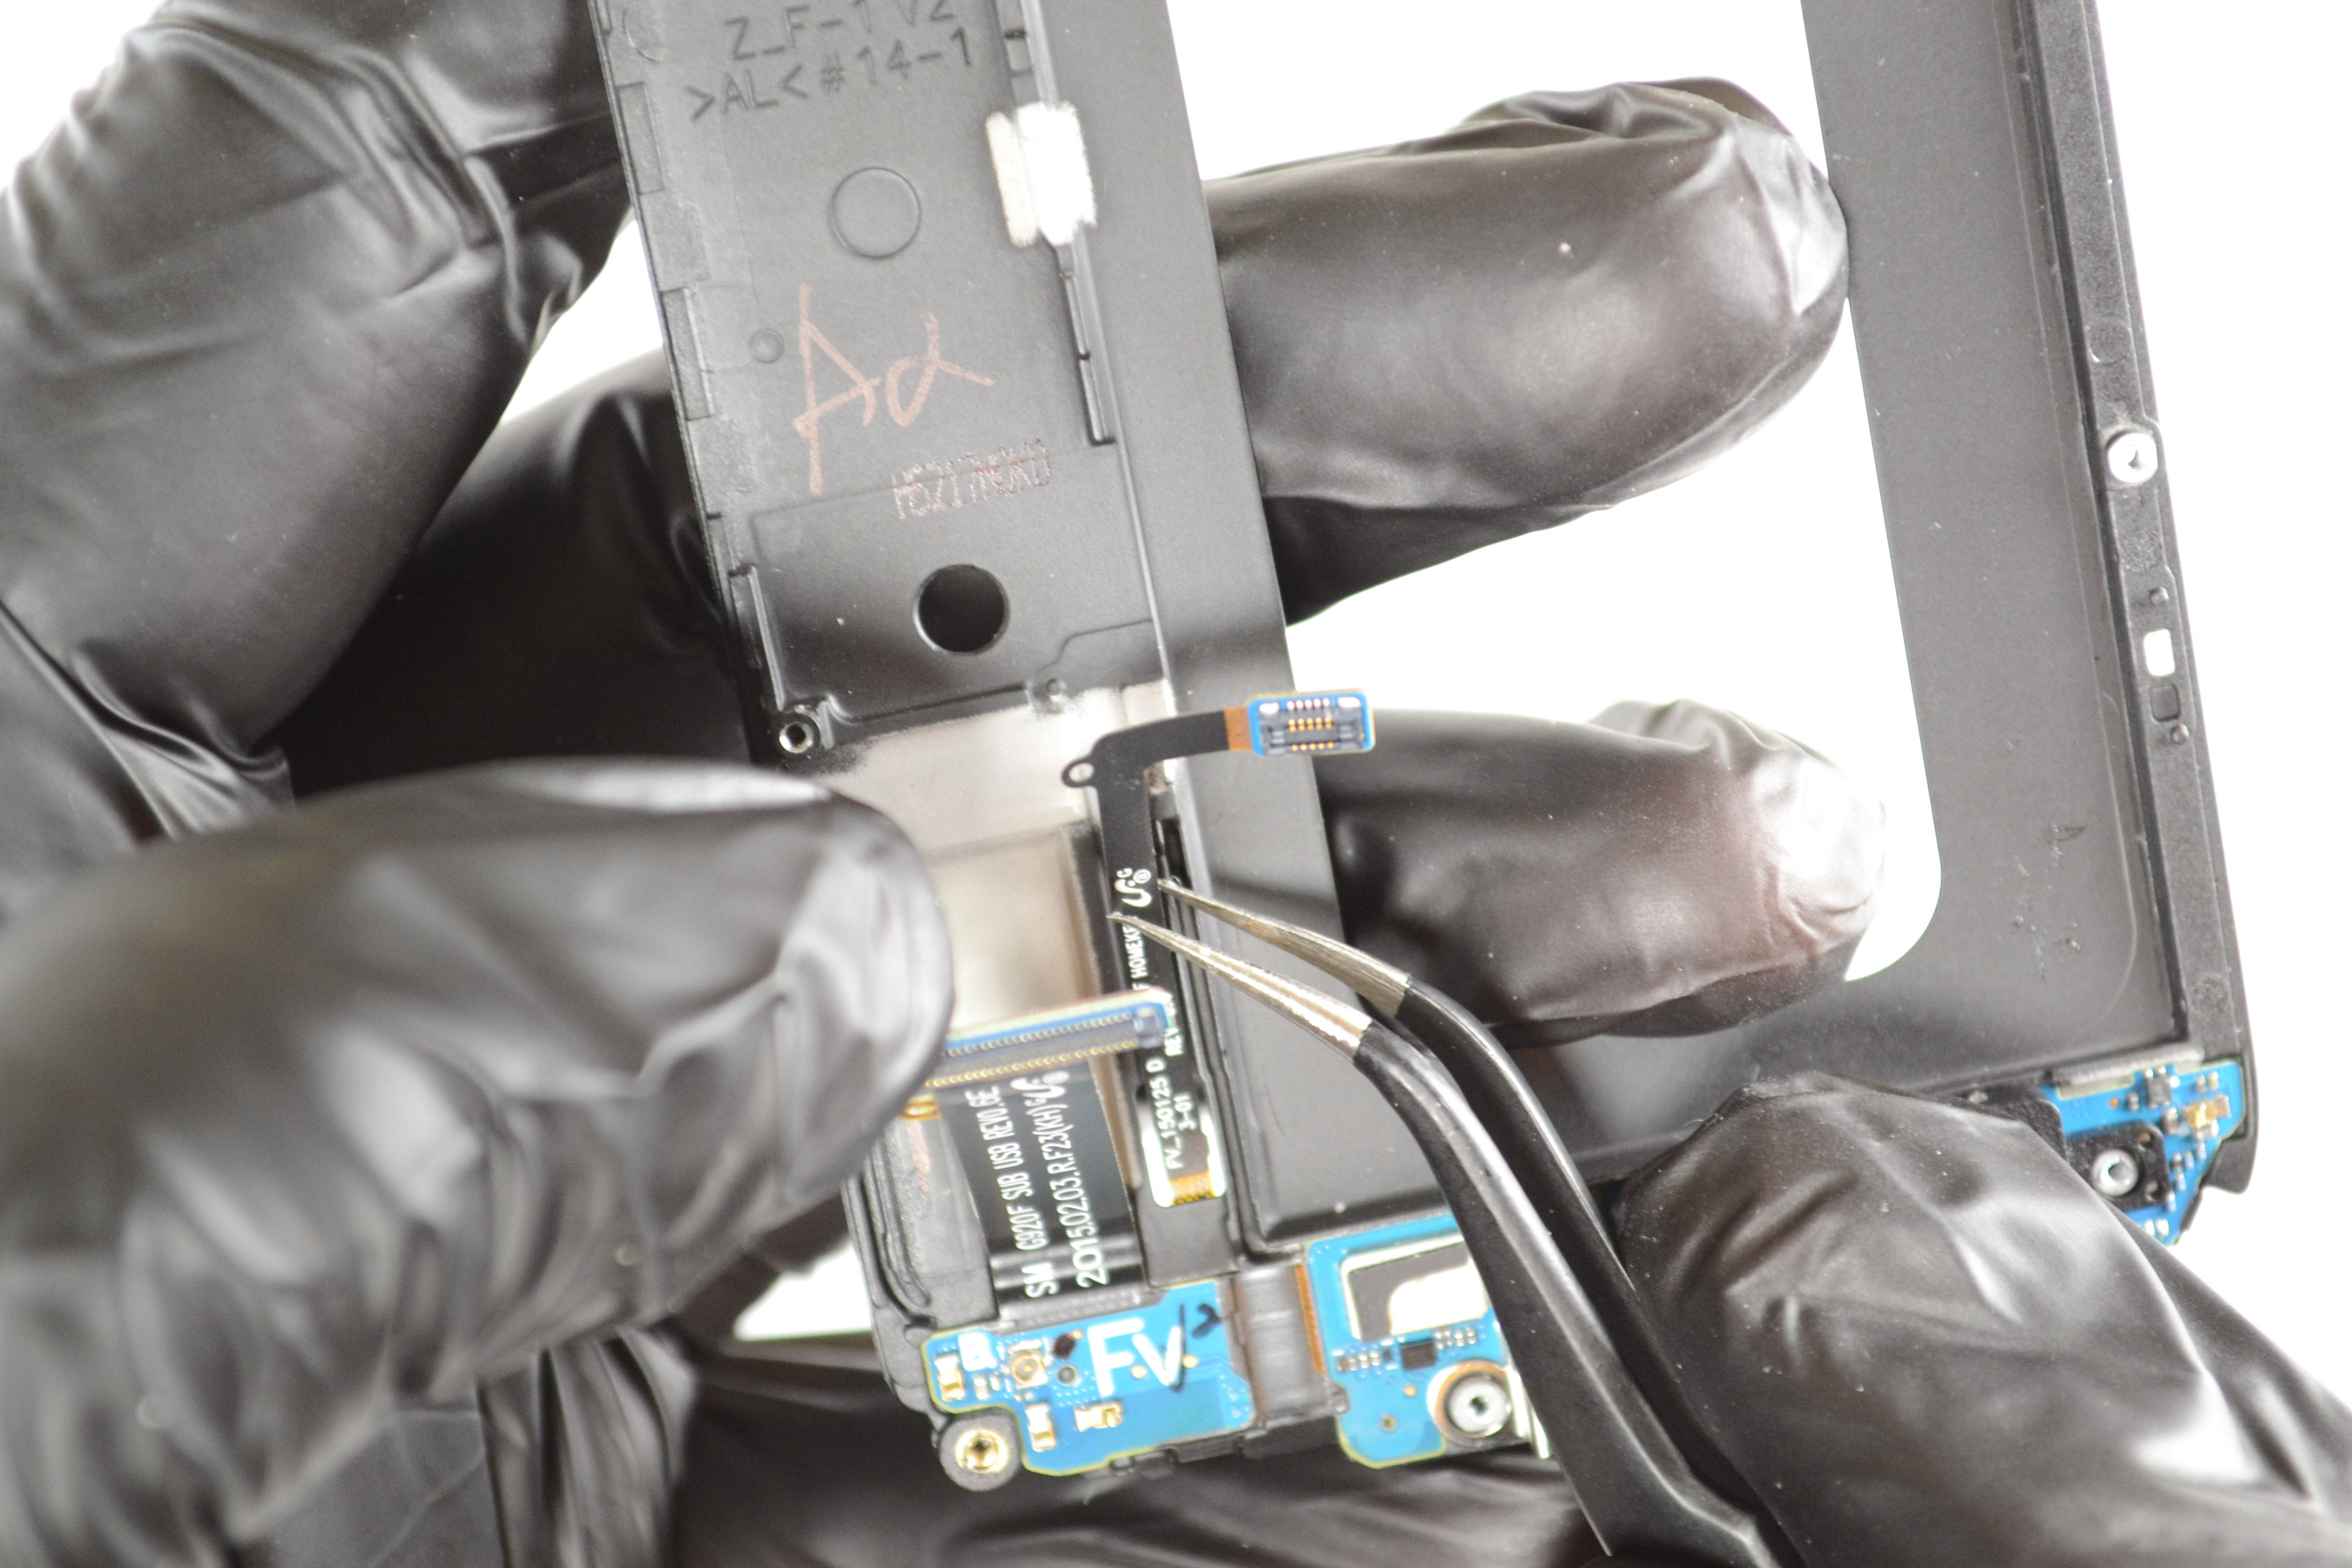
Step 14: Disconnect the Home Button Ribbon
Disconnect the home button ribbon from the frame with your Fine Tip Curved Tweezers
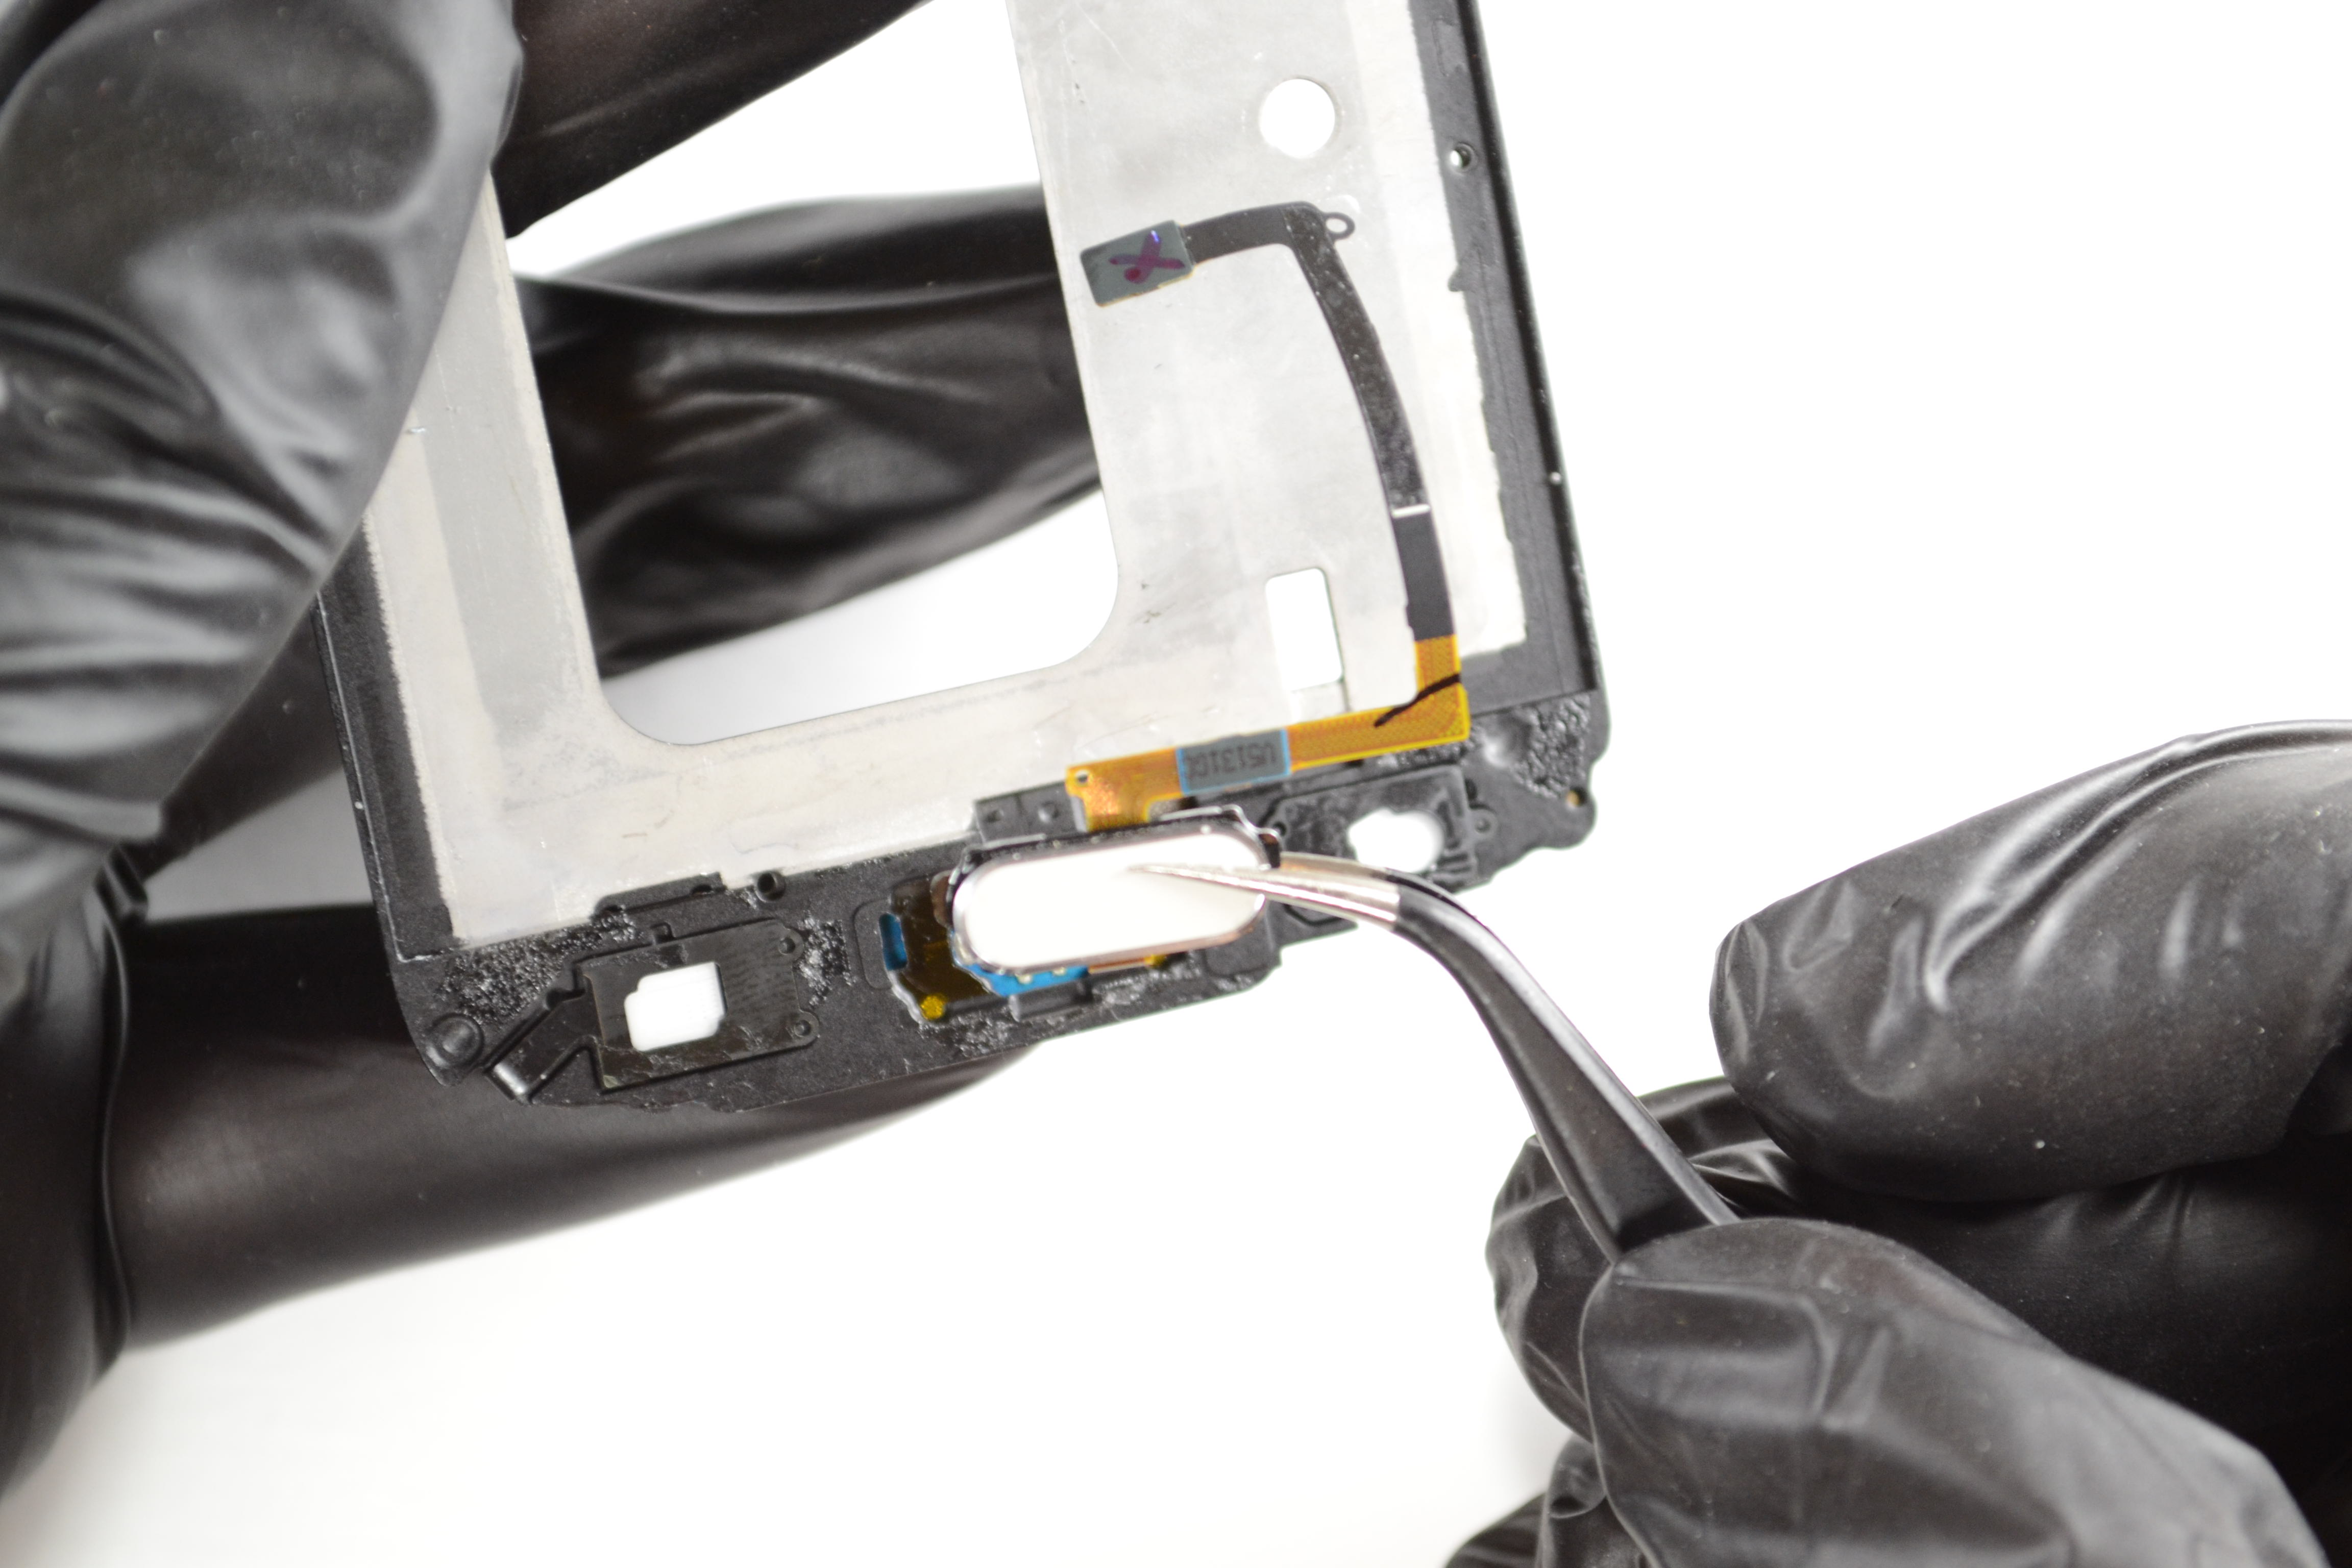
Step 15: Remove the Home Button
Continue using your Fine Tip Curved Tweezers to lift the home button free, and pull the connector cable from the other side of the phone.
At this point, you’re ready to attach your replacement home button, and work in reverse order to re-assemble your device. As always, you can find the high quality tablet & cell phone replacement parts you need at fixez.com. Still need help? Visit our Samsung Galaxy S6 video gallery to see more HD repair videos and step-by-step guides.